Those of you that have known me a long time will note that most (not all) of my pattern designs are based on traditional quilt blocks. There’s something satisfying about making up a block that my great, great aunt may have made up for her quilts. In fact – it was her quilts that inspired me to learn to quilt in the first place.
I love the patterns I’ve created with those traditional blocks – and don’t plan to stop making them. So many more ideas floating around in my head. That being said – I’ve been dreaming about taking those traditional blocks and turning them into something much less traditional. Some experimentation is in order! Along came the Quilt Pattern Designer’s Block Remix Challenge. This challenge is just what I needed – exactly when I need it. Each month – a group of Quilt Pattern Designers takes a classic quilt block and each of us “morphs” it into something else entirely.
You can see more of the Design Challenge on Instagram using these hashtags:
#morethanjustablockchallenge
#designerblockchallenge
I thought it would be fun to walk you through a bit of my process for taking a traditional block and redesigning (or remixing) it into something you can still recognize but that tells a different story. So here goes:
- The block is chosen. I spend some time looking at the shapes included in the block – all its individual pieces. This is easier to do in black and white rather than in color. I find that color keeps me from seeing all the options. I’ve been making a lot of flowers out of classic blocks lately so I look for flowers that include the shapes I am seeing within the block.
- Choosing the flower – sometimes a flower idea will jump right out at me. Other times – I spend time looking through my gardening books or googling different types of flowers to look for a design idea that works with the shapes in the block.
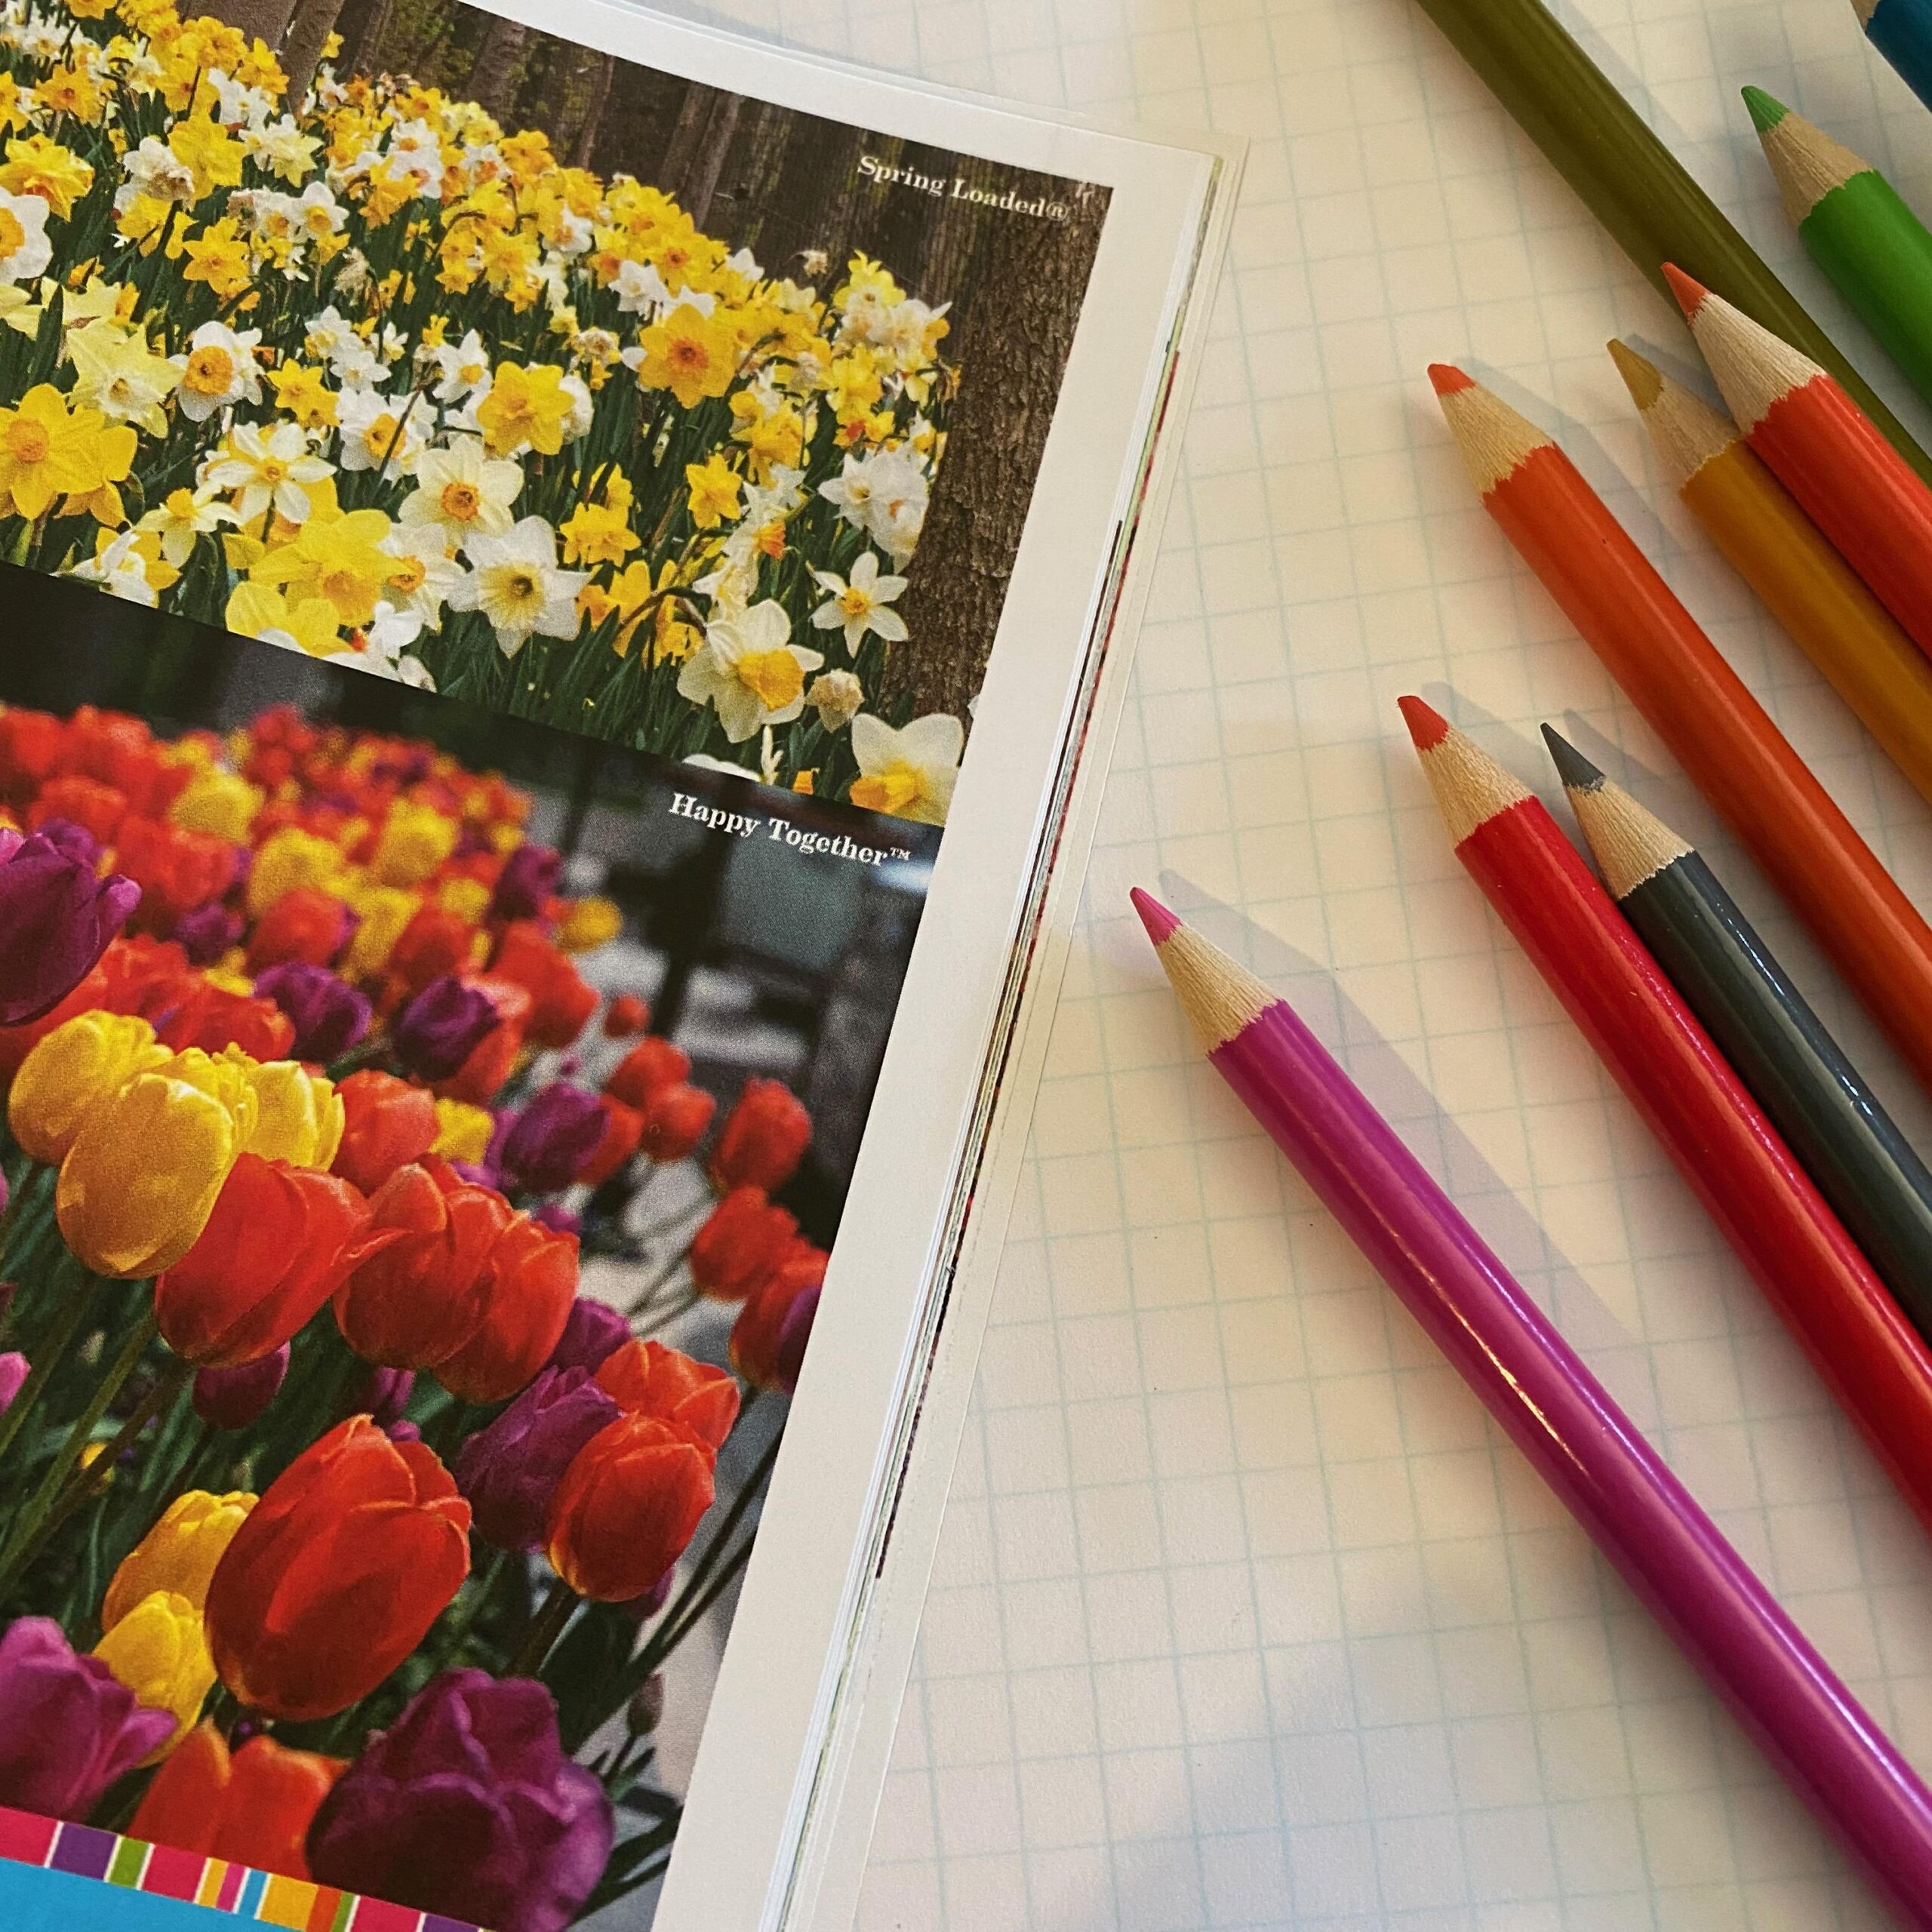
- What can I add or take away from the block shapes that will help me to see the flower? This is where the graph paper and colored pencils come out to play. Can I break down the large spaces into smaller pieces so I can play more with where I add color?
- Thinking about technique – I’ve mostly been piecing my “remixed” blocks but I think about what other techniques I can add the will provide some dimension. Creating a single block is a great way to experiment with learning a new technique.
- Working out the Math – once I’ve chosen my flower and the classic block – I need to work out the math so I can make all the pieces fit together. What size do I want my finished piece to be? Most of the projects I’ve been working on lately have been about 20″ square. This is a great size to have some fun with – without it being too big of a commitment.
- You’ll notice in the pictures that I normally make my block design into a composition – made of up several smaller versions of the original classic block. I love playing with size and placement of the blocks within a larger design.
- Choosing the fabrics – This is the really fun part! The flower I’ve chosen will normally dictate the colors of fabrics I’ll work with but I’ve found that nearly every kind of flower comes in a range of colors. I’ve been using batiks but have also worked in some tonal solids here and there.
- Don’t be afraid to toss it out and start over if you don’t like the direction it’s going. It often takes me several tries before a design comes together.
- Most importantly – remember that the only person you have to please – it yourself.
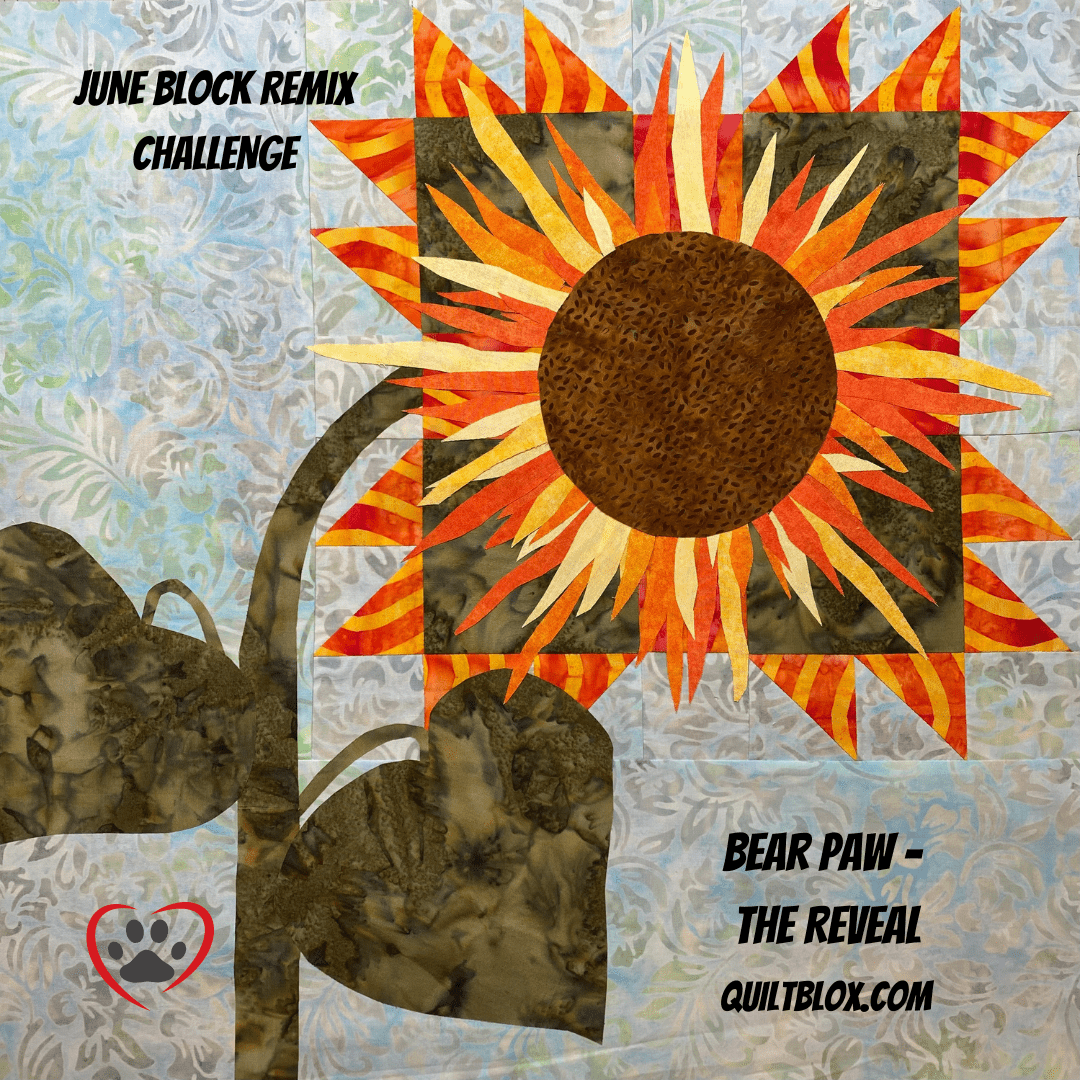
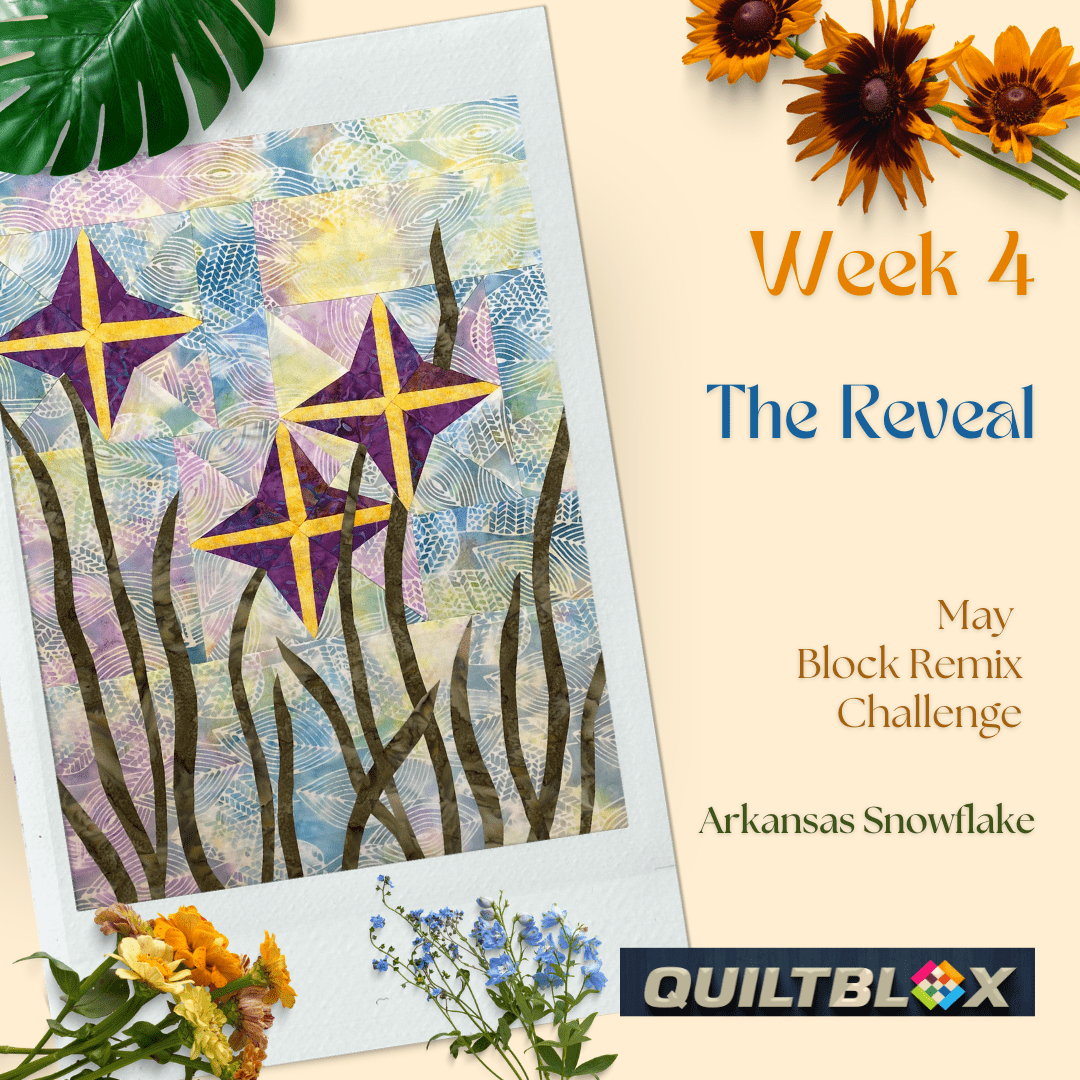
In the pictures below – you’ll see the name of the classic block I started with – and the pieced design I came up with.
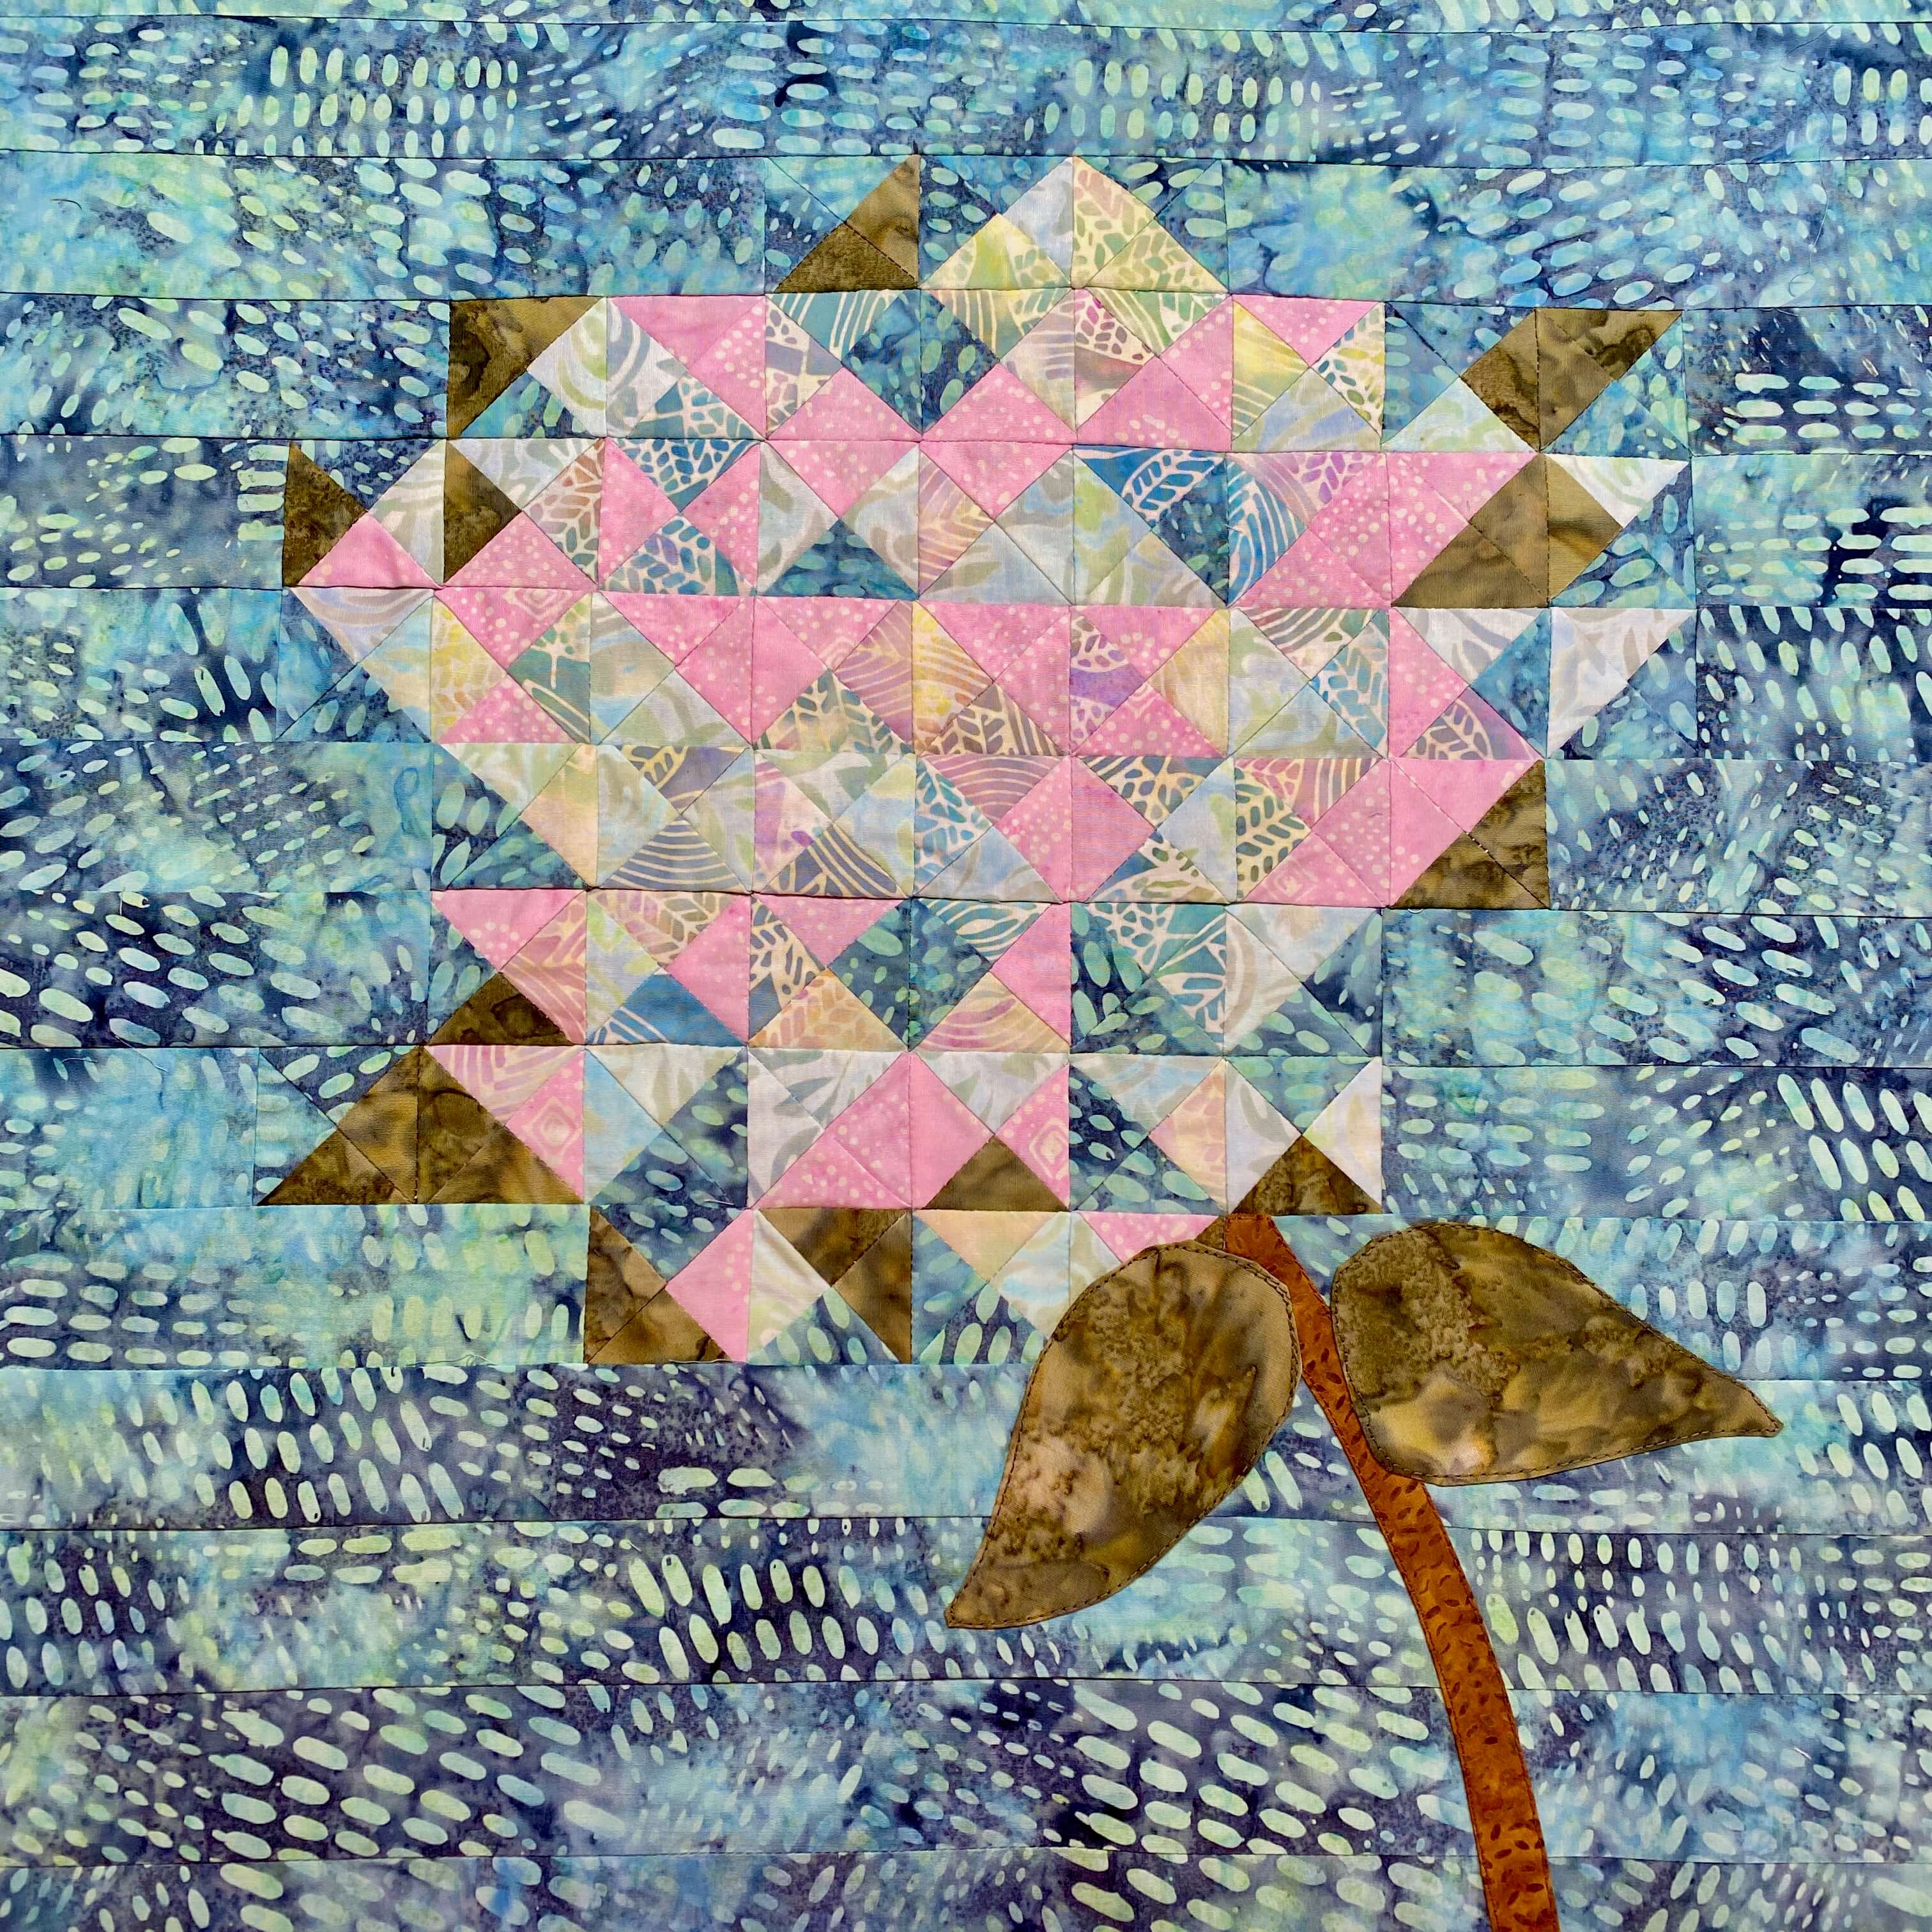
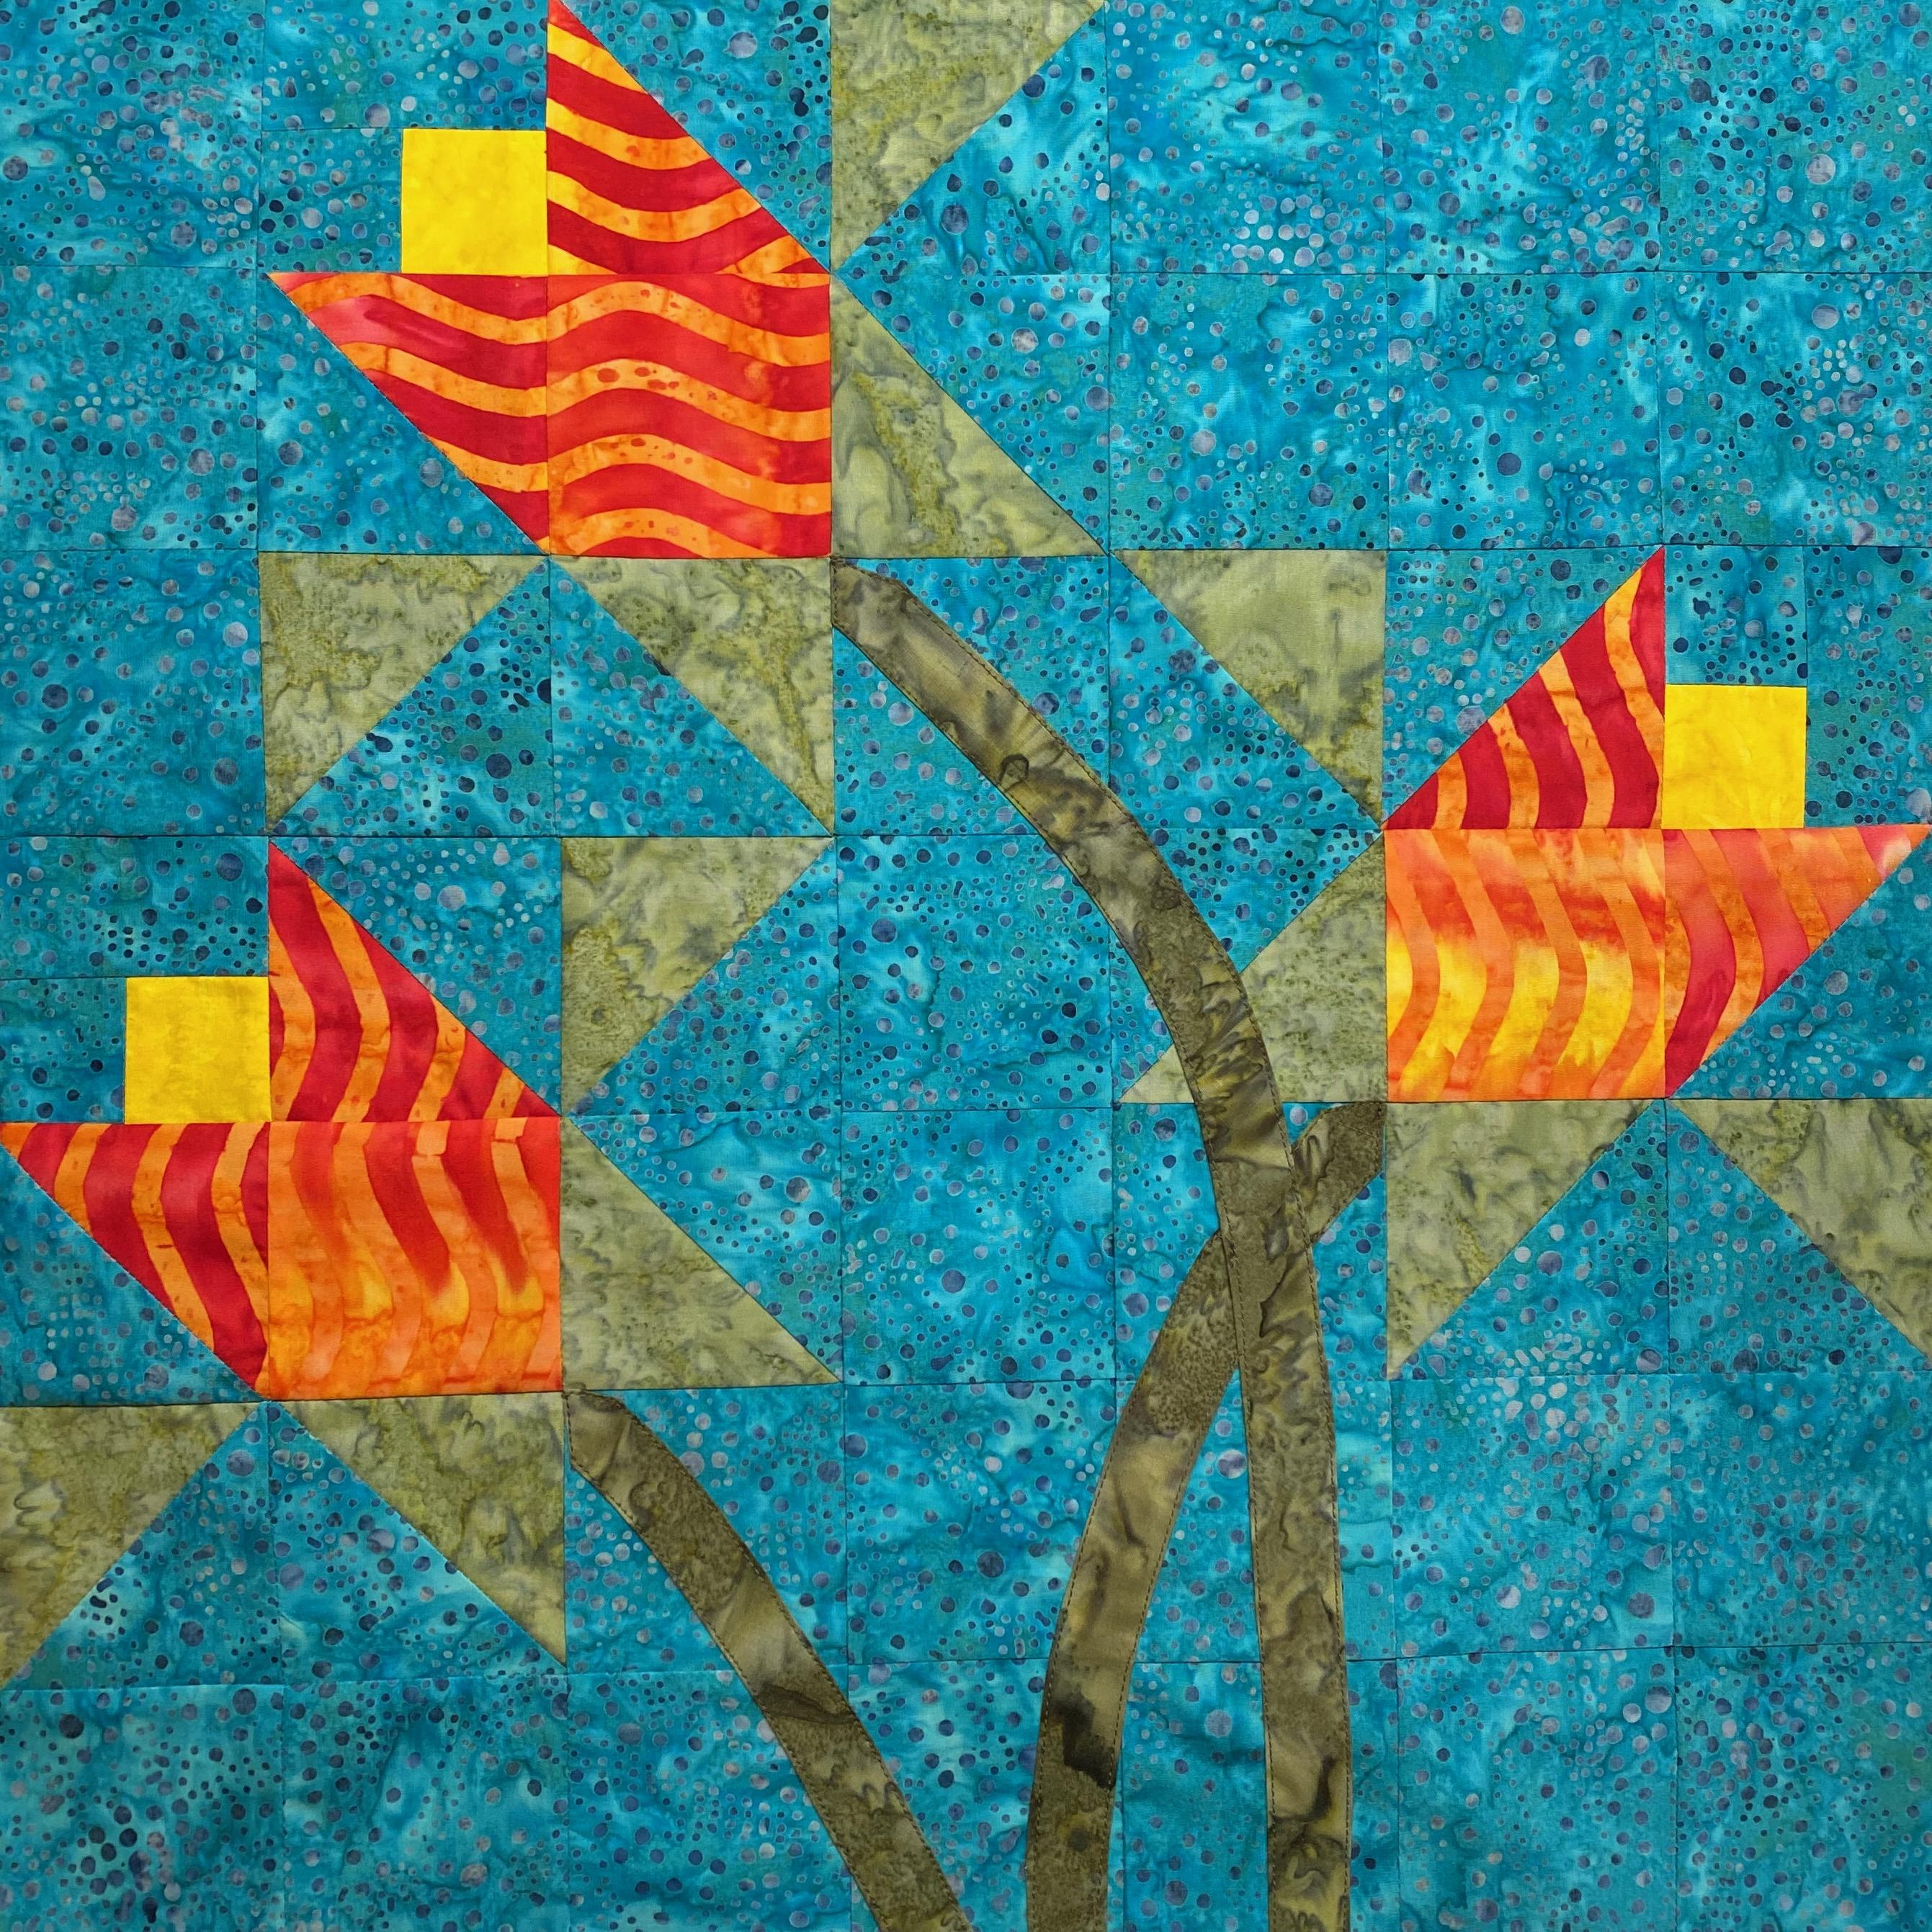
My advice when you want to create something brand new – out of something traditional (while still respecting the original design) – know what the rules are – and don’t be afraid to break them. It’s just graph paper and colored pencils, fabric, and thread – go ahead and have some fun with it.

