… I Learned the Hard Way
I had a great sewing teacher – my grandfather. When I was 10 or 11 – he taught me how to draft patterns and use the old Singer sewing machine that no one else in the house ever used. He expected me to keep at it until I got it right. There was no “quit” there was “get it done”. We made drapes, recovered chairs, and made all kinds of useful things. What he didn’t know how to teach me was perfect piecing when it came to quilting. I didn’t see this as a problem. it was just something I needed to figure out.
Keep in mind – this was quite some time ago (as in decades ago). Quilting had not yet started it’s resurgence. There was no such thing as a rotary cutter or a self healing mat (or all the other lovely tools we take for granted today).
Block templates were made from Cheerios or Corn Flakes cereal boxes and the cutting was done with the same scissors used for everything else. Fabric patches were cut with those scissors – one at a time. I thought that the seam allowance was the same 5/8″ I had been using for the clothing I made. There were no classes – I just made it up and figured things out as I went along.
There wasn’t even such a thing as a dedicated quilt shop. Any fabrics that I used were purchased from the House of Fabrics – a full line fabric store or they were salvaged from old clothes. I didn’t know then, that later in life I would own a quilt shop myself – filled with all those tools and gorgeous fabrics.
None of that was a problem to my young mind – it was what it was and I wanted to make quilts – so I did. When I got frustrated that my corners did’t match, or my points got cut off, or (so many other things) – I went searching for a better way to do whatever it was that I was doing. Along the way, over all those decades I mentioned a minute a go, I learned lots of things about quilts – most of it – the hard way.
I thought I’d start a running list of some of the things that I learned and why it’s so important. You might already know all this stuff (YAY!). If you find even on of these tips to be useful – that makes my day!
Perfect Piecing Tips (I wish I had known back then)
[1] Trimming Blocks To Size: No matter how carefully we cut and sew our fabrics – our blocks will always be a bit wonky. Pressing and then trimming the blocks to their finished size makes joining them together so much easier.
[2] Cut oversize and then trim to perfect blocks: I have no patience for block sizes that end in x/8. None. I have found that rounding up to the nearest 1/4, 1/2 or whole number allows me to make the block and then trim it to it’s final size. For example – if the pattern says cut the fabric – 4-3/8″square, it’s going to be cut at 4-1/2″ square and I’ll trim it to size (I need to trim it anyway – why not make the process a little easier).
[3] Trimming Dog Ears: The “Dog ears” happen when you sew two pieces of fabric together and press to one side. The little “ears” stick out – and add bulk to your seams where they join together with other blocks. The dog ears need to be trimmed off.
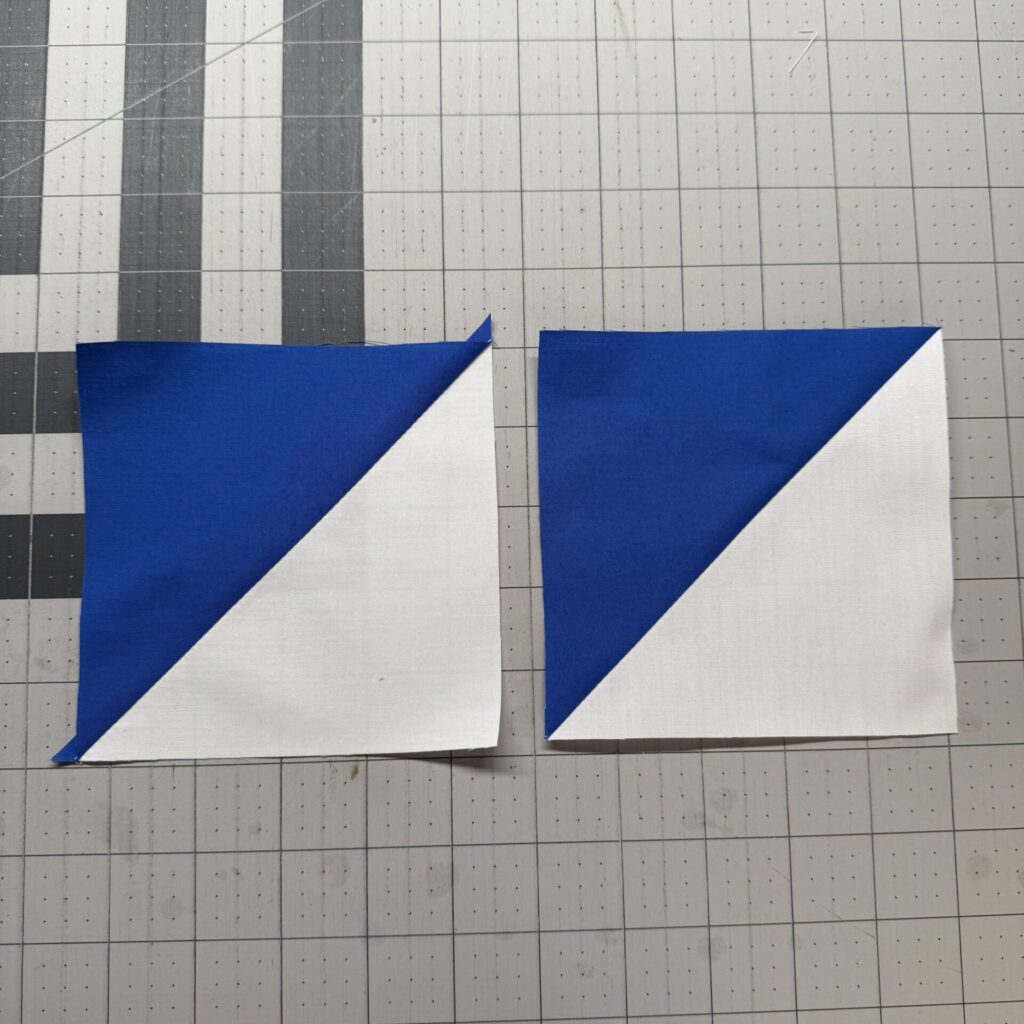
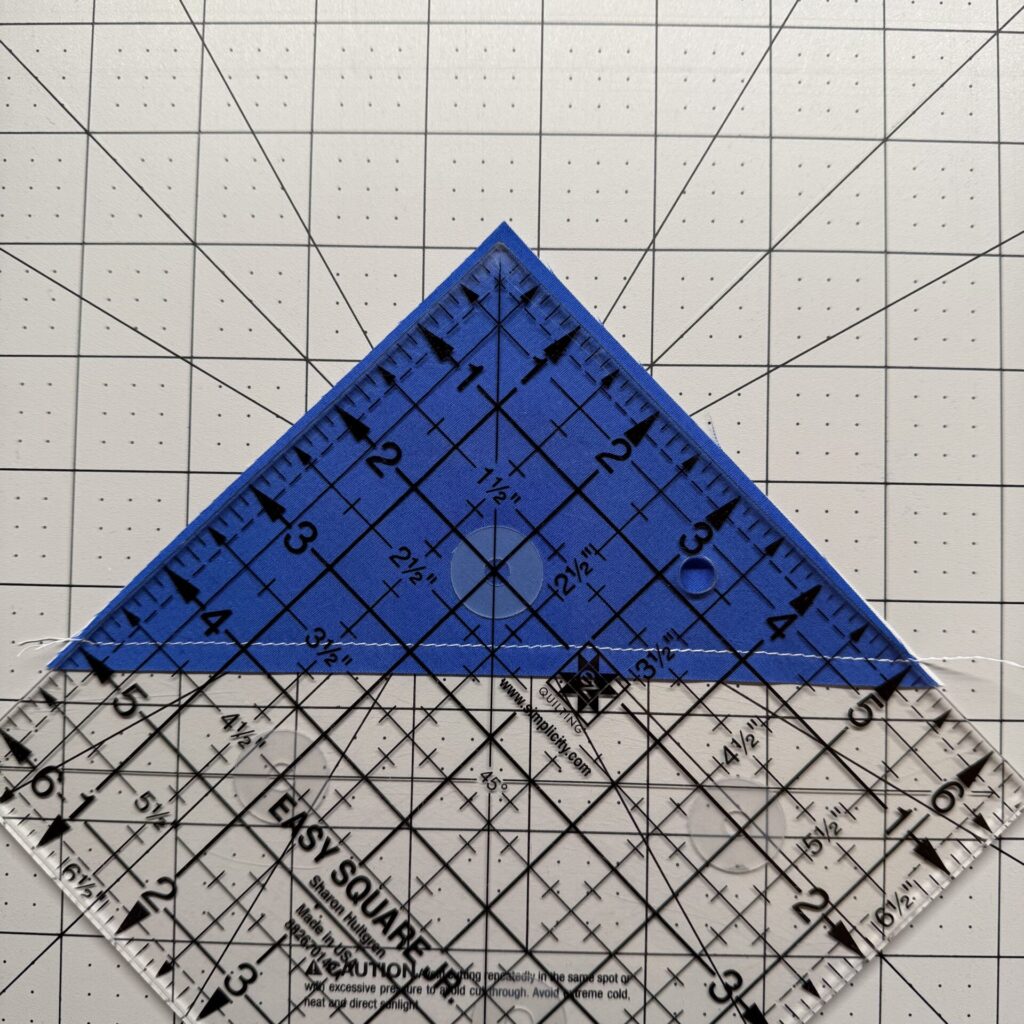
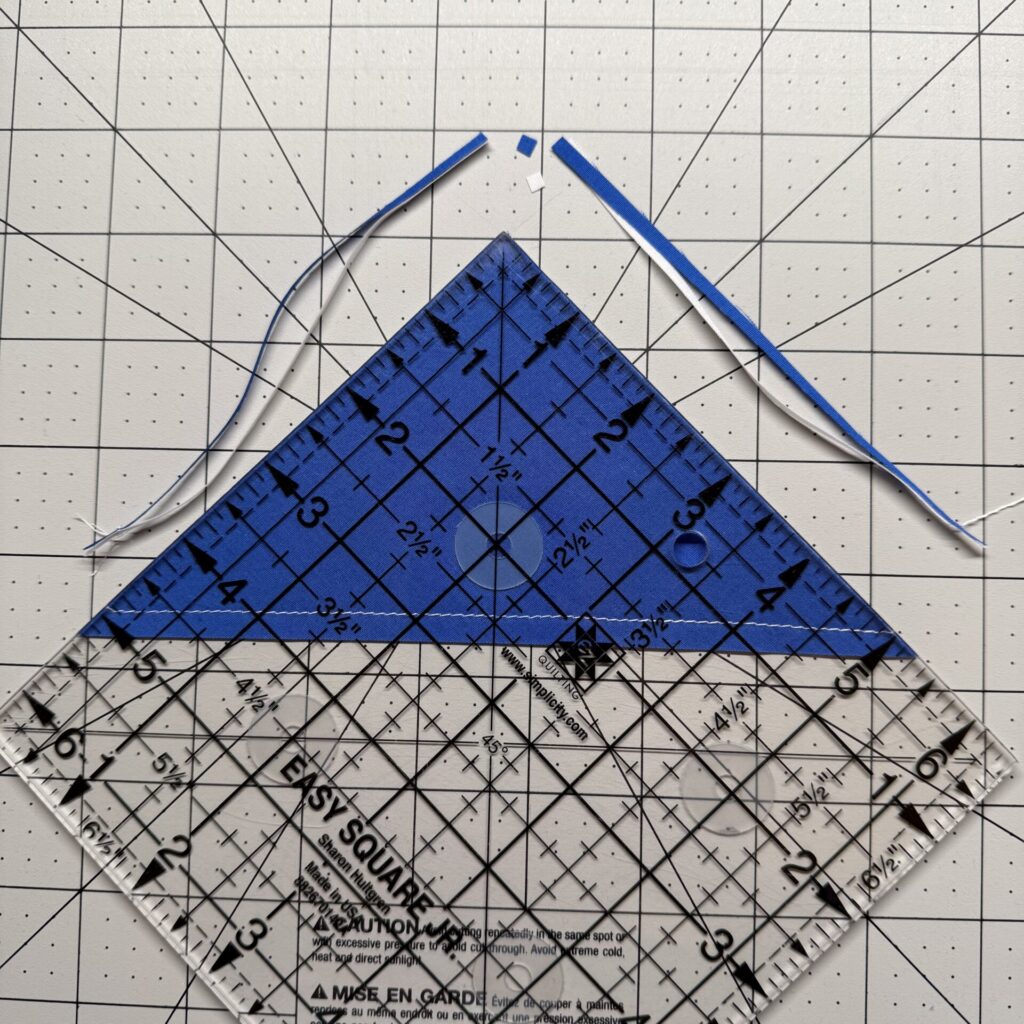
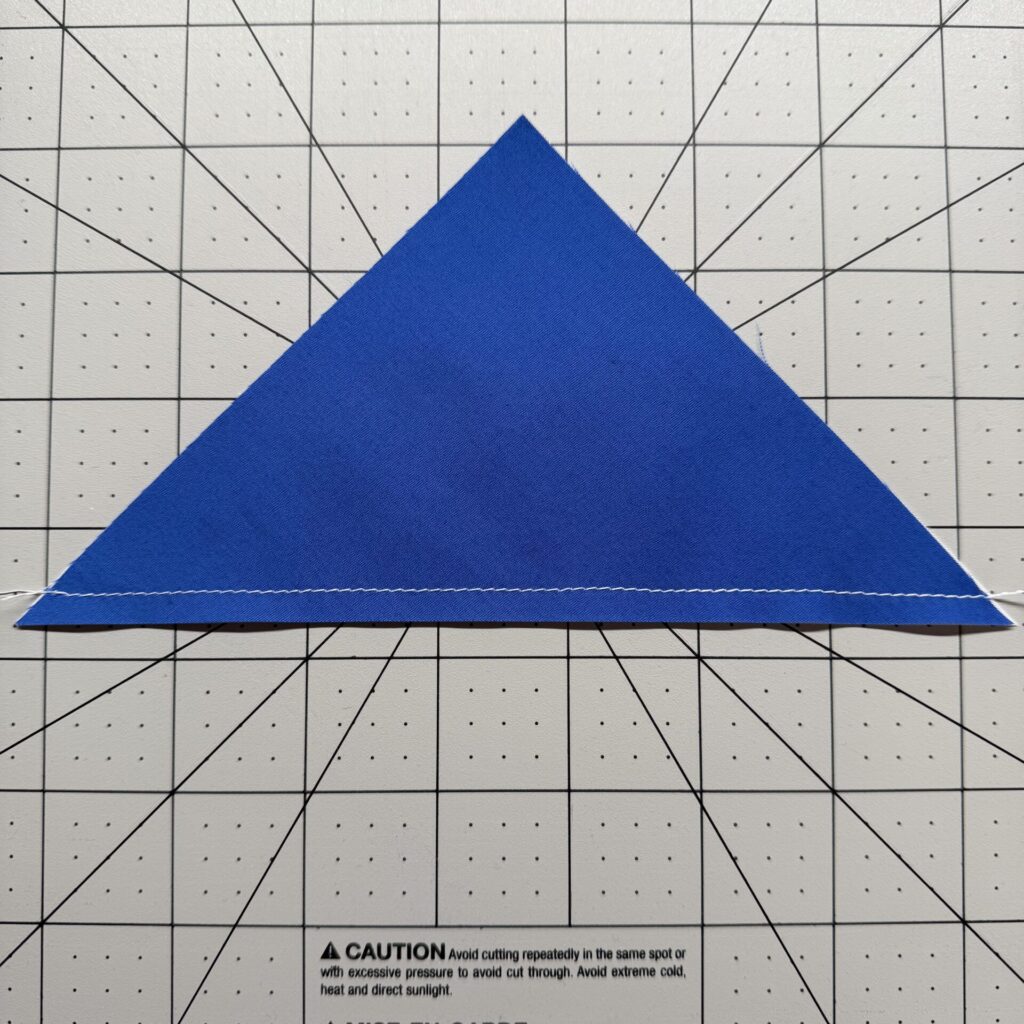
[4] Trimming Half Square Triangles: Trim HST’s before pressing open – trim 2 sides at a time without moving the ruler. Be sure to remove those “dogears”.
[5] Complete all your piecing – on the same machine: Like many of you – I have several machines. Each one is a little different. More than once I have worked on a project on more than one machine (why – I don’t know). I am very careful to set up my machines the same way for each project – but – I have been frustrated with things not matching up exactly when I have switched machines mid-project.
[6] Finger pressing: is not the same as using a hot iron. Flat seams – better fit. I should note that Batiks do hold a finger press pretty well.
[7] Pressing is not optional: At the beginning of my quilting career – I was in such a hurry to complete any project I was working on – I skipped the pressing of the seams – at every step along the way. Big mistake on my part. Pressing each seam well at soon as it’s been sewn – helps the whole quilt to go together more easily – and more precisely.
[8] Mist is a wonderful thing: The best pressing tip I have ever received – was from my grandmother. She ironed (she did not press). Every week there was a big basket of shirts that needed to be pressed. When she was ready to tackle the job, she misted the shirts in the basket – very lightly, and then let them rest for a few minutes. I have found that most of the spray bottle I was using – did not mist, they spritzed too much water. The extra water can distort the cut cotton fabrics we use in quilting, twisting them out of shape. Not ideal. Try this misting spray bottle instead – it can be filled with plain water, Best Press, or another pressing liquid.
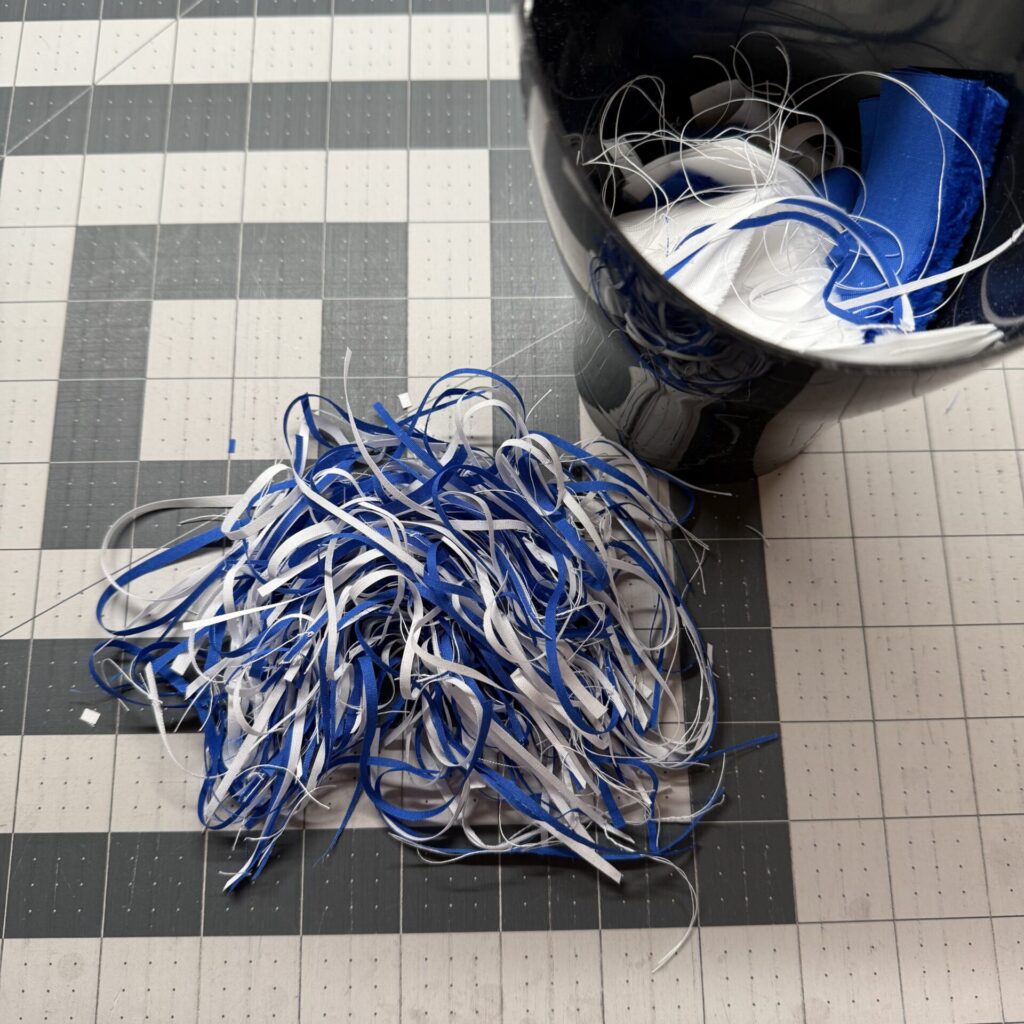
[9] Use good quality thread: Most of the thread we can buy today is good quality. However, if it’s not stored properly, it can become fragile and break easily. Store it out of the sun, ideally in a container to keep it dust free. Life it too short to fight with fragile thread.
[10] Make a practice block: This one is so important – a practice block helps you to fix any problems – before they become a problem.
[11] Stay stitching the edge of the quilt top: all those seams that run into the edge of the quilt top can easily come unstitched with handling. It’s a great idea to make a habit of sewing an extra long basting stitch about 1/8 of and inch from the edge of your quilt – all the way around the quilt top. On my machine – I set the stitch length to 6 to get a long stitch. This just takes a couple of minutes to do – but your long arm quilter will thank you.
This is far from an all inclusive list. As I think of other tips to add – I’ll include them on this list. One of the things I love most about quilting – there is always so much to learn!