Have you ever hesitated to cut into a newly purchased pattern? I certainly have. What if I make a mistake or need to alter it? Will I have to buy a whole new copy? I could make a copy and alter the copy, but print shops often hesitate to copy patterns due to copyright laws.
This isn’t normally a problem when I’m making quilt blocks. It only becomes a problem when I’m making anything else (apparel, bags, plushie toys, etc.).
So … what’s the solution?
Trace your pattern pieces using a lightweight, sew-in interfacing. I’ll show you step by step how I do it using the Criss Cross Apron pattern by Mary Mulari (why this pattern – because I need a new apron, and I love this particular pattern).
Here’s what you’ll need to use this process to trace your pattern (and leave the original pattern intact):
Step 1: Prepare Your Fabric
Make sure your fabric is ready to go by pre-washing and pressing it. Set the prepared fabric aside for now.
Step 2: Trace the Pattern Pieces
Open up your original pattern on a firm surface (like your cutting table), and smooth it out.
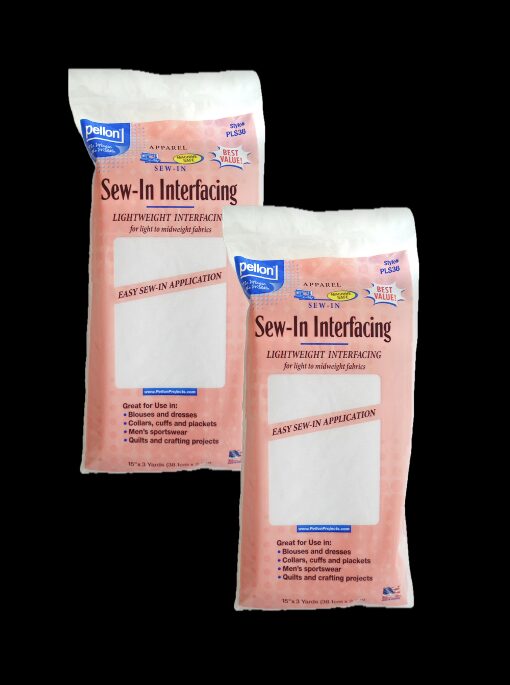
Layer a piece of the lightweight, sew-in interfacing on top of the original pattern and secure it with pattern weights. Please note – don’t bother with fusible interfacing for this process. You don’t want to take the chance that these pieces will come near a hot iron and accidentally get fused to something they shouldn’t be fused to. Ask me how I know this …
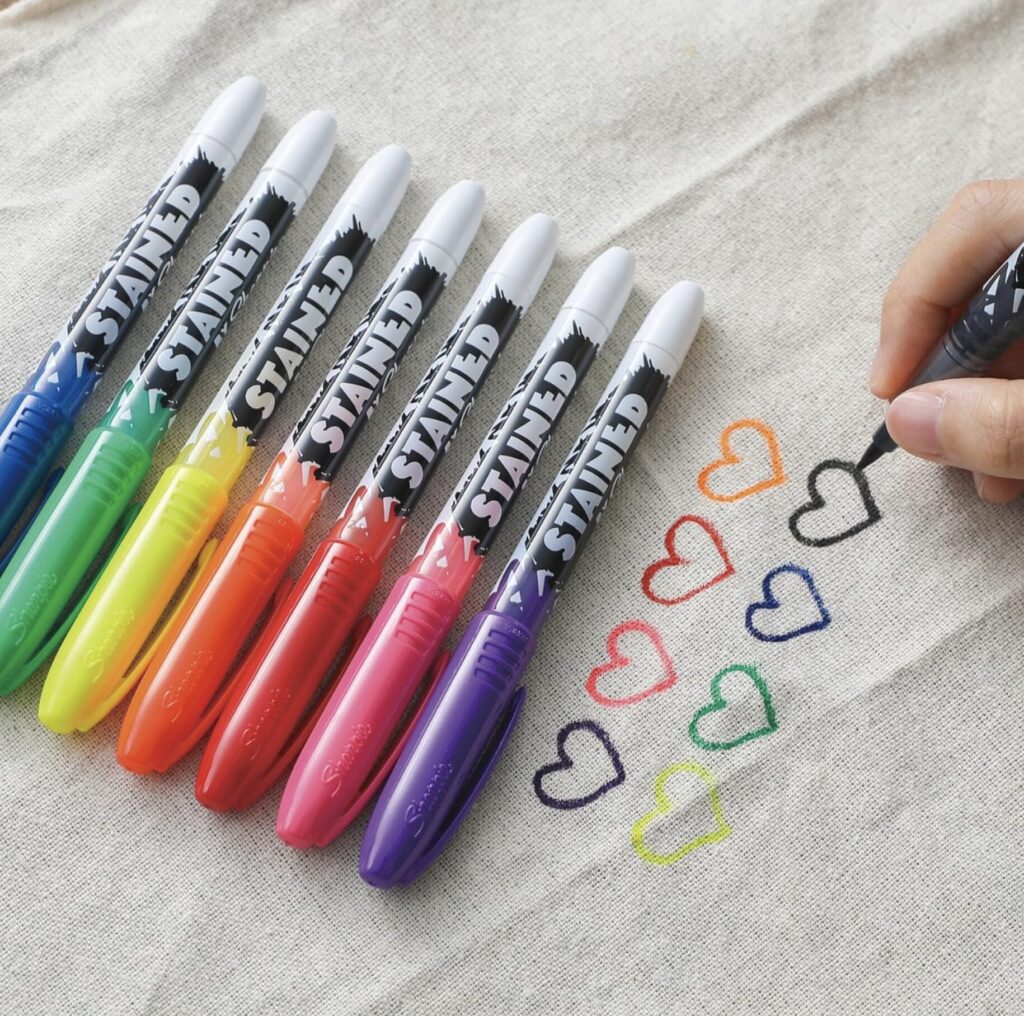
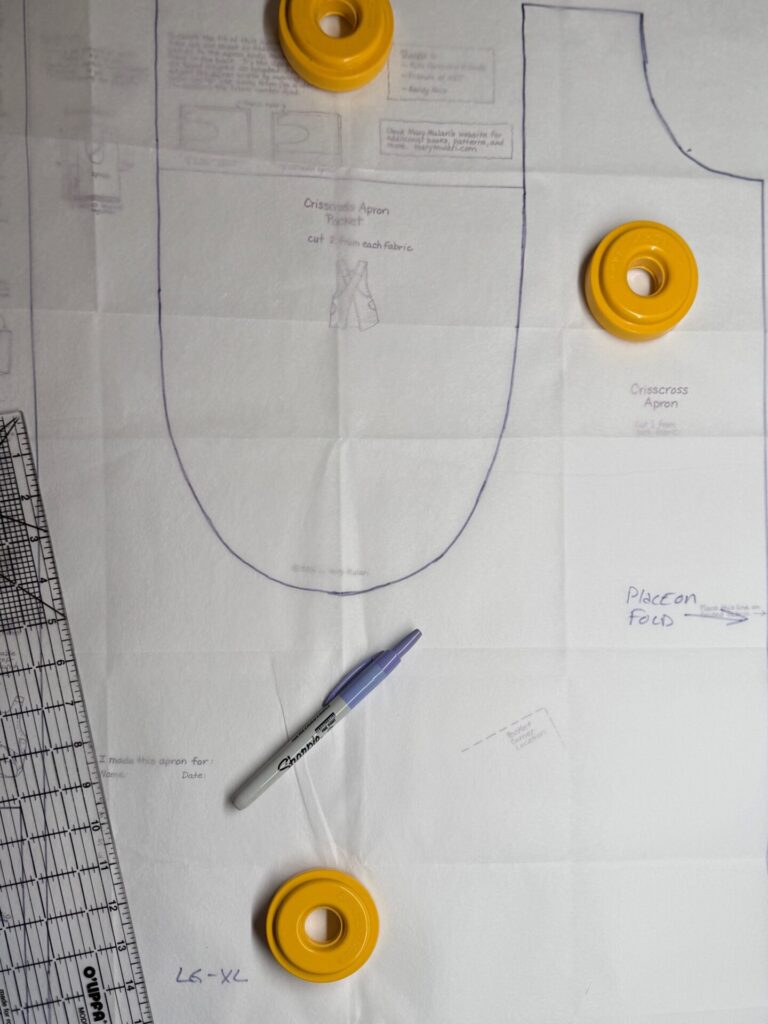
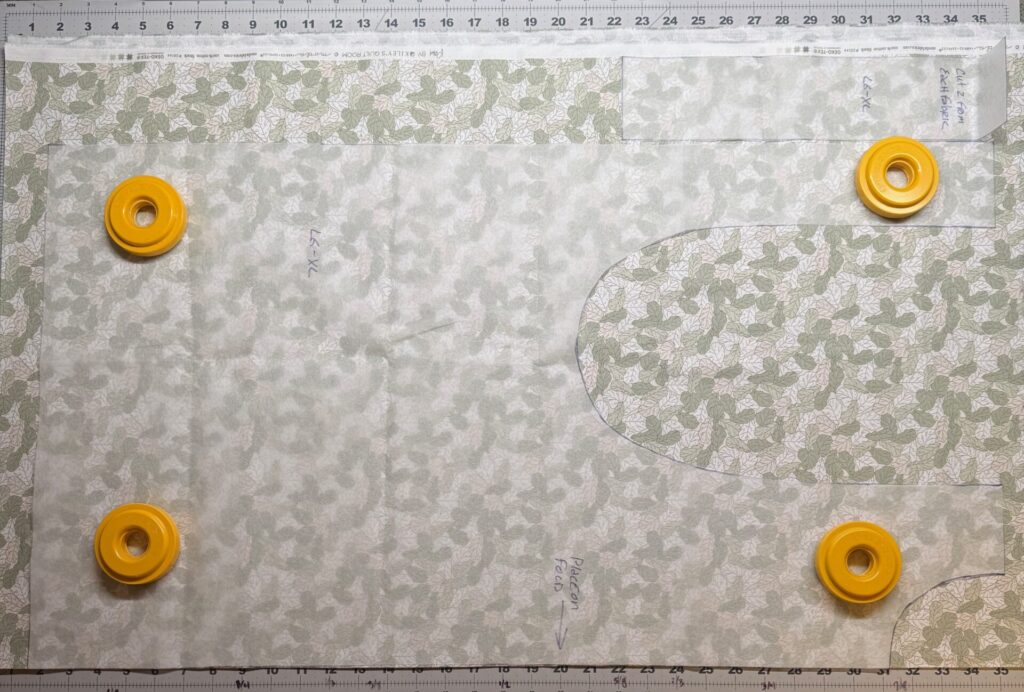
Using the Sharpie markers, trace all of the lines for each pattern piece onto the interfacing. Be sure to include any other important information (number of pieces to cut, grain line, fold line, etc.). Here’s what that looks like for the apron I’m making.
Set your original pattern aside and cut out the pieces you’ve traced onto the interfacing. If you need to make any adjustments to the pattern pieces, you can easily make them to the traced versions without ruining your original pattern. I didn’t need to do this for the apron, so I used the pieces as is.
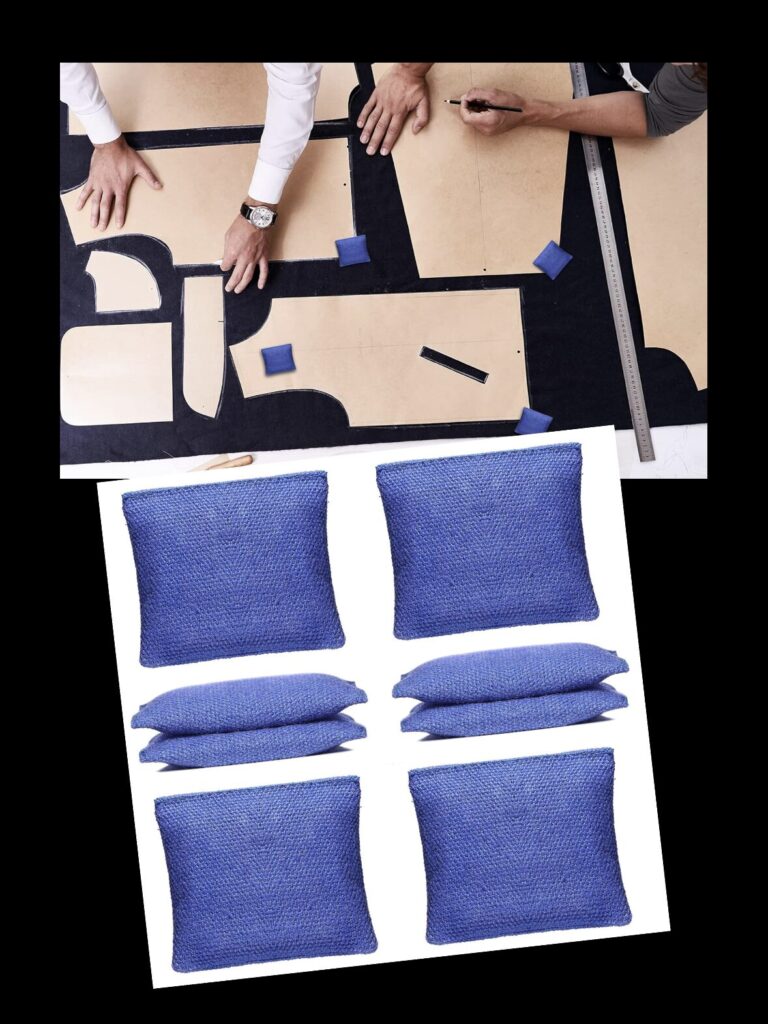
Lay out the traced pieces onto your fabric and secure them with fabric weights. You could also use pins, but I prefer to use the fabric weights to avoid any holes in my fabric or the traced pattern pieces. They are also faster to pick up or slide around.
You’ll notice that the fabric weights in the picture below are not the same ones I mentioned above. I received these yellow ring fabric weights from a friend, and while I do like them, I’m not a fan of the “pokey” prongs on the bottom of each weight – and I only have 4 of them. I will be replacing them with the fabric ones I shared earlier.
Stitch up your project
I won’t go into every stitching step for making this apron but here is what the cut pieces look like along with the interfacing pattern pieces for this project.
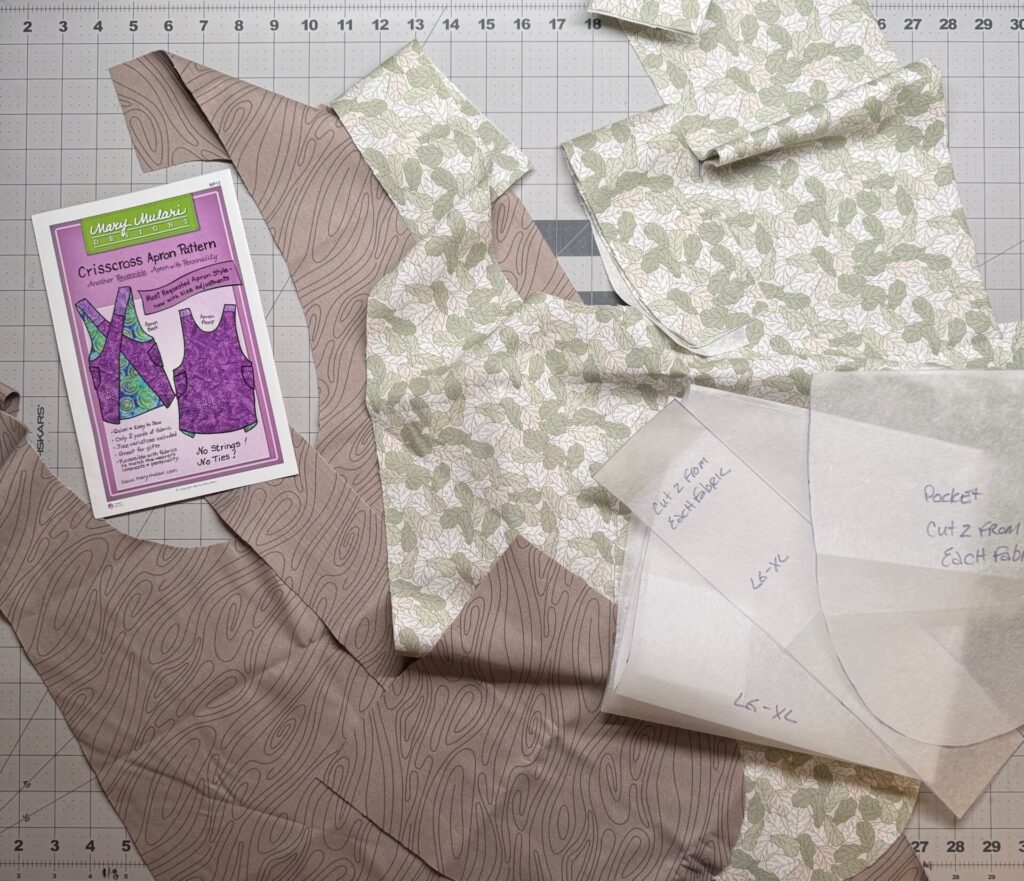
The nice part about using the lightweight interfacing to trace your pattern is that it can be folded up and placed inside the pattern bag along with the original pattern. Since I make this pattern every once in a while, it’s nice to have these traced pieces ready to use again.
Want to see my finished apron?
I found this Moda fabric at Montavilla Sewing Center in Lake Oswego – they have a wonderful selection of fabrics that are perfect for projects like this.
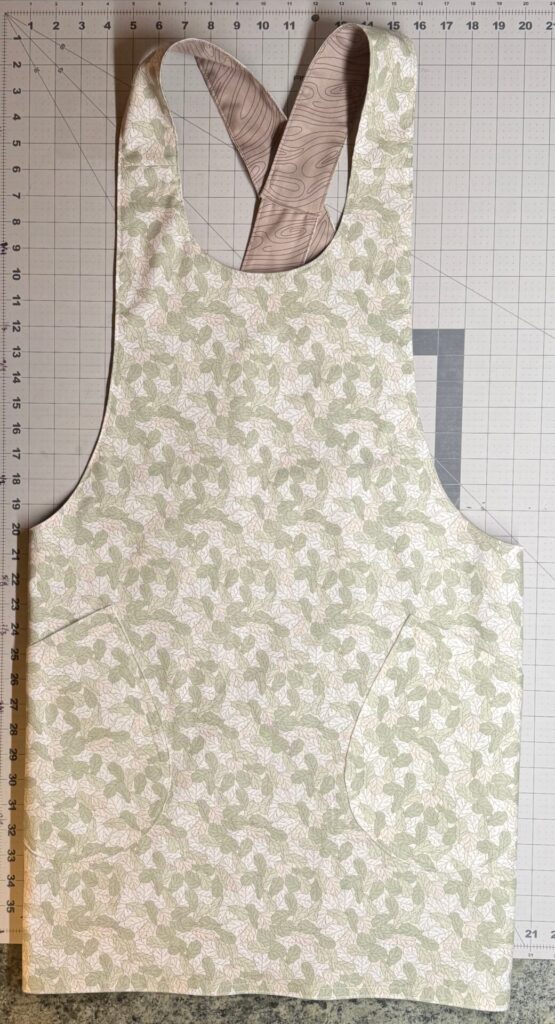
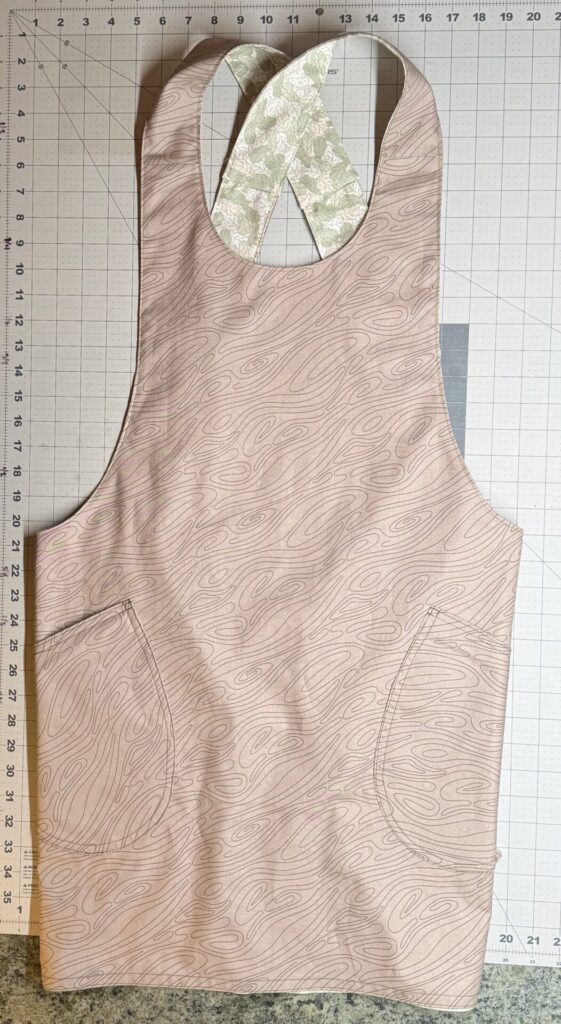
I love an apron that just goes over my head with no strings or ties and nothing resting on the back of my neck. This one also has some nicely placed pockets – where I put my phone and glasses when I’m working in the kitchen.