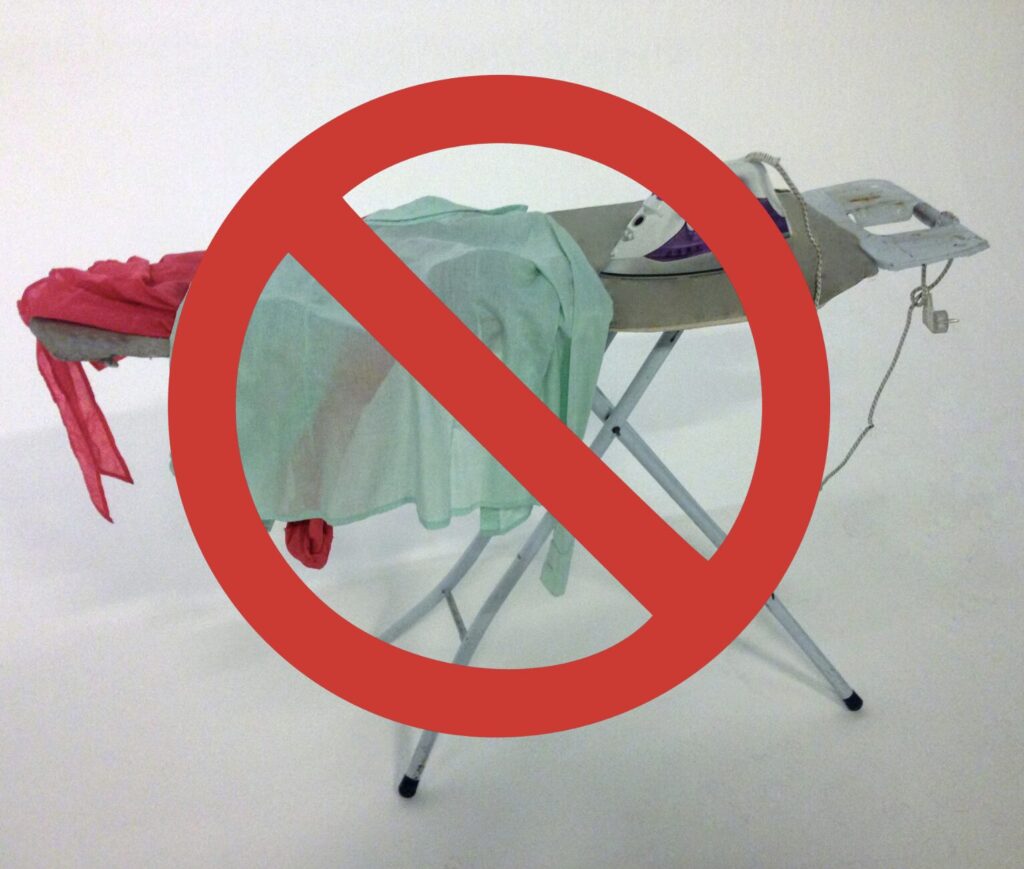
I’ve fought my last battle with my ironing board. It’s been banned from my sewing room. That may seem a little extreme – but I’ve fought with it one too many times and I’m just done with it. The only thing saving it from being kicked to the curb is that I do have some ideas about making some clothing (someday).
What’s the problem with it?
I have a couple of problems with my ironing board that prevent me from pressing effectively.
[1] The mechanism that lifts and lowers the ironing board sometimes fails, and it drops halfway to the floor. Or .. the ratcheting arm so you can adjust the height – gets stuck on the wrong side of the cross bar – and the *#!* thing gets completely stuck in the halfway up position.
[2] The shape. I can only use about half of the board’s length because of the curve on one end. This means that every WOF piece, or quilt top, or quilt back I want to press takes far longer than necessary.
A Short (and Surprisingly Interesting!) History of the Ironing Board
…and how we ended up with that funny curved end
Long before ironing boards folded, squeaked, or tried to collapse on you mid-press, people used whatever sturdy surface they had—usually a table or a wide wooden board perched across two chairs. For a long time, an “ironing board” really did start as just… a board. Flat. Wide. Simple. Effective.
As we moved into the 1800s and clothing became more fitted, sewists needed something that could handle curves, sleeves, and bodices. This is when all sorts of specialty pressing tools appeared—little sleeve boards, collar boards, hat boards, and hams—each designed to help navigate the shaped pieces of garments.
One of the most important advancements came in 1892, when Sarah Boone, an African American inventor, patented a streamlined, slightly curved board that made pressing sleeves and armholes easier. Her design planted the seed for what would eventually become the “traditional” ironing board shape. (Way to go, Sarah!)
By the early 20th century, manufacturers leaned into that idea and introduced full-size boards with one rounded, tapered end. The logic was simple: you could slide a sleeve or shoulder over that narrow end and press more smoothly, without creating creases. By the 1940s and ’50s, that shape was in almost every home—and it hasn’t changed much since.
Why quilters often look at that shape and think… “Really?”
That narrow, curved end is fantastic if you’re pressing set-in sleeves. But for quilters? Not so much. Most of us are pressing long strips, large quilt blocks, rows, backing fabric, and yardage. We need a wide, generous surface that won’t tip, wobble, or eat half our pressing space with a pointy end designed for a garment we’re not making.
I looked at several commercially made rectangular boards to see if they could solve my problem. I found a couple of interesting options; however, they are made to sit on top of your existing ironing board (you remember – that one I banned from the sewing room?) If they were a folding board with a rectangular top, they would be priced far outside of my budget.
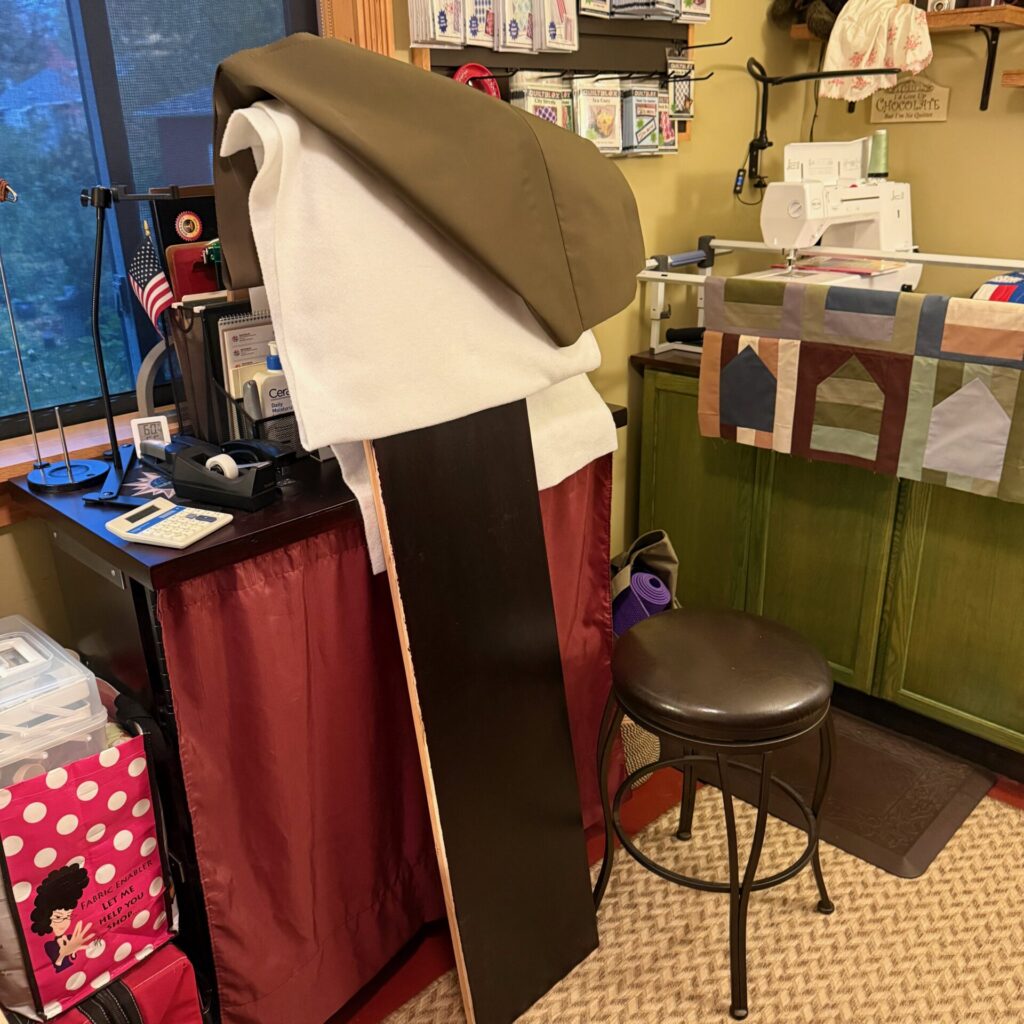
So .. what’s a crafty quilter to do? I made my own, of course. The whole process was pretty easy and only took me about 45 minutes once I got the staple gun to function properly. It doesn’t fold, so I don’t have to fight with that pesky mechanism. I just support it between two counters that are across from each other in my sewing space. If necessary, I could also lay it on a table, or between two chairs, like they did before Sarah created the curved end nearly all ironing boards have today.
Here’s how I made my own ironing board (and you can too)
Start by gathering these materials:
[1] A board or shelf that is between 4 and 5 feet long and at least 12 – 15 inches wide (wider than that is fine if you have the space to store it). If your board is thin, you may want to double it up so that it won’t sag while you are pressing. A couple of layers of plywood will work just fine if you don’t already have a shelf or a board that will work. I happened to have a shelf that was 15 inches wide by 52 inches long.
[2] Batting – enough to cover the board and wrap under the edges at least 1 inch. I used Pellon fleece batting because I also added a layer of reflective ironing board fabric over the top of the batting layer. If you are not using the (optional) reflective ironing board fabric, I recommend using a couple of layers of cotton batting instead of the poly (which will melt when heat is applied). Insul-bright (or similar) is also a great option.
[3] Reflective ironing board fabric (optional). I used this on top of the batting because I happened to have it left over from another project. If I didn’t already have it, I probably wouldn’t have bothered with it.
[4] Cotton Duck (or thin canvas). Purchase enough to cover the surface of the board and wrap around and under all the edges – without any seams. This is the “pretty layer”, but I like working on this kind of surface rather than directly on the reflective ironing board fabric.
[5] Staple gun. You will also need staples that are at least 1/4 inch long to penetrate the fabrics and the wood.
[6] Scissors for trimming the batting and fabric layers at the corners so they lie as flat as possible.
[7] Hammer. Some of those staples will give you a little trouble, and a hammer takes care of them quite nicely.
Assembling your DIY Ironing Board
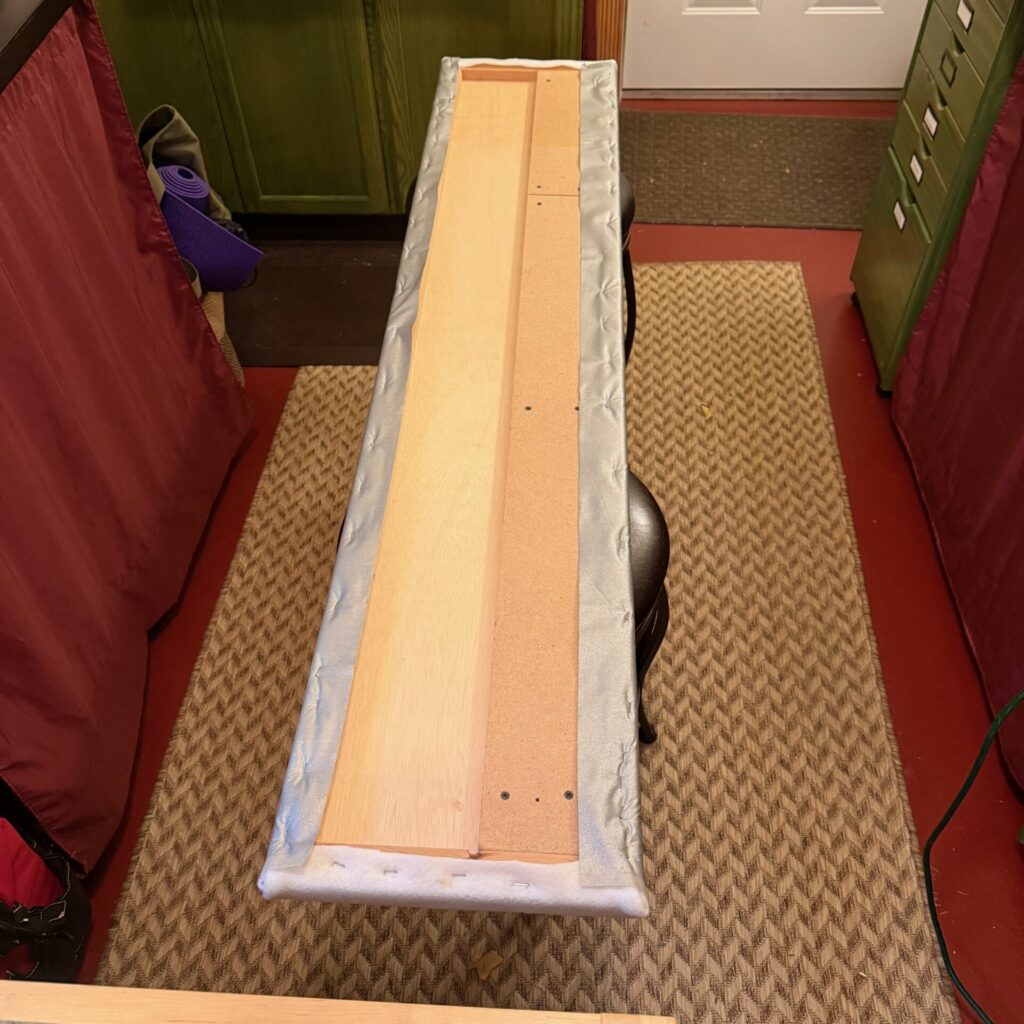
[1] Support the board across two stools or a workbench.
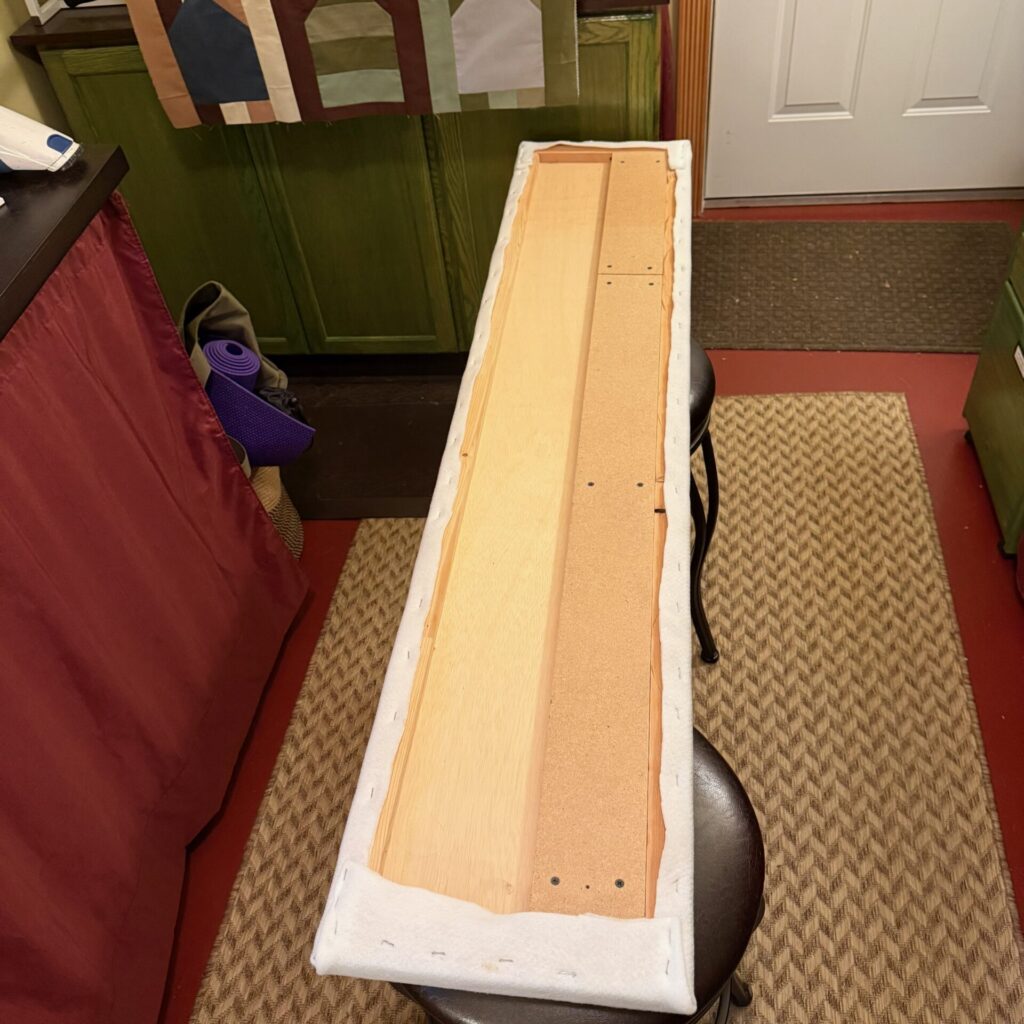
[2] Layer the batting on top of the board and make sure you have enough batting on all sides to wrap under all the way around. I used a few pieces of painters’ tape to hold the edges in place on the underside so I could turn the board over for the next step.
[3] Staple the batting in place – near the edges of the underside of the board. Use the hammer to deal with any staples that aren’t behaving themselves.
[4] Wrap the corners like wrapping a package – trimming away any excess batting so the corners are as flat as possible. Trim any excess batting around the entire back of the board so you have a neat edge. Turn the board over so you are looking at the top again.
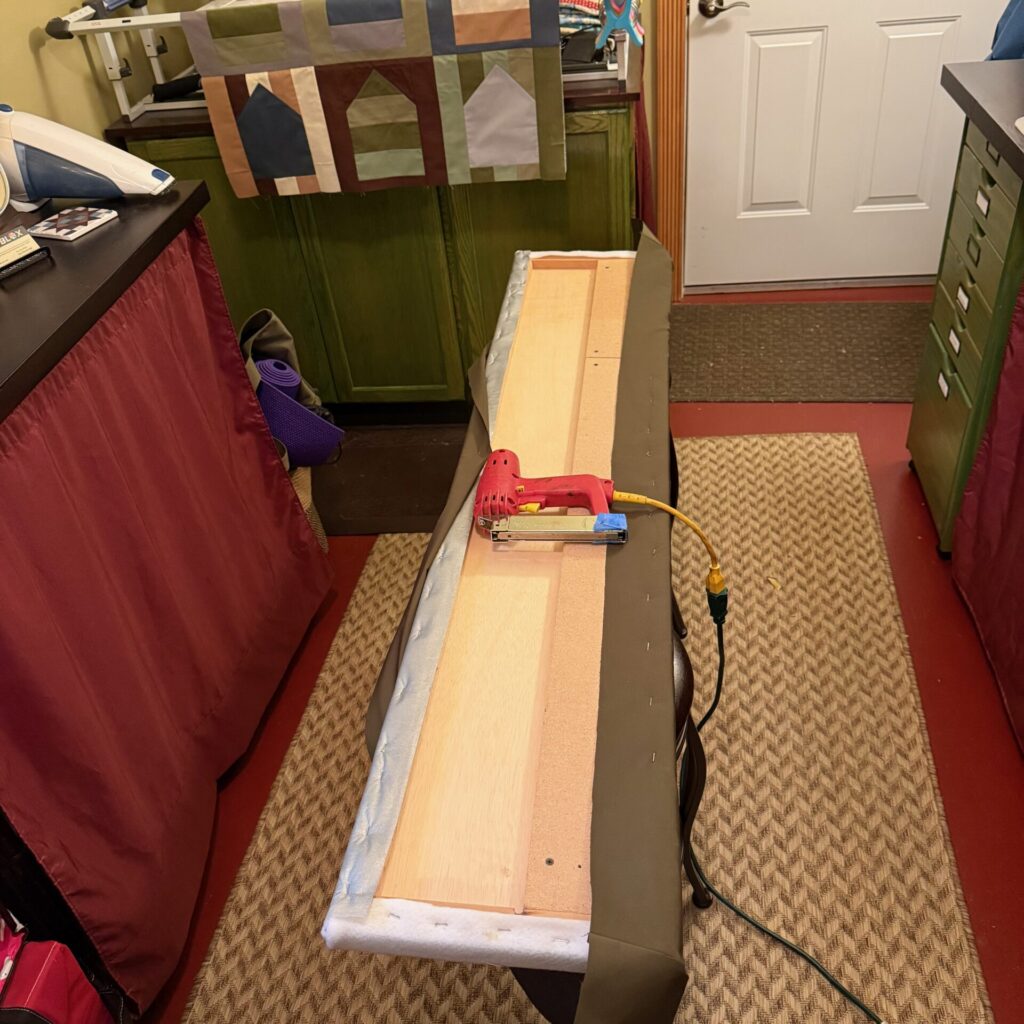
[5] Repeat the process with the reflective ironing board fabric if you are using it. If not, layer the cotton duck/thin canvas fabric over the top of the board and secure it with the staple gun in the same way you did the batting layer.
[6] If you are at all concerned about the metal staples scratching your table tops, use some fusible batting tape to cover the line of staples and fuse it in place with your iron.
That’s all there is to it.

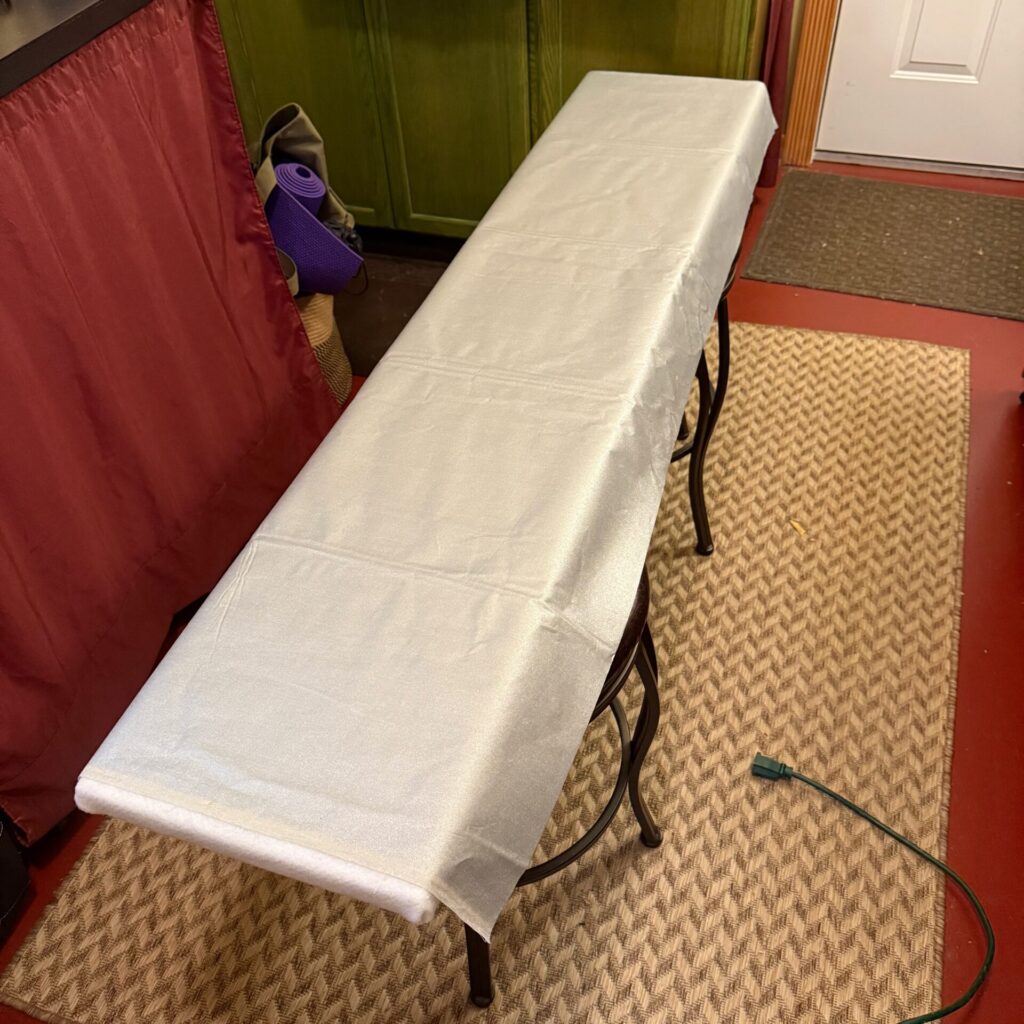

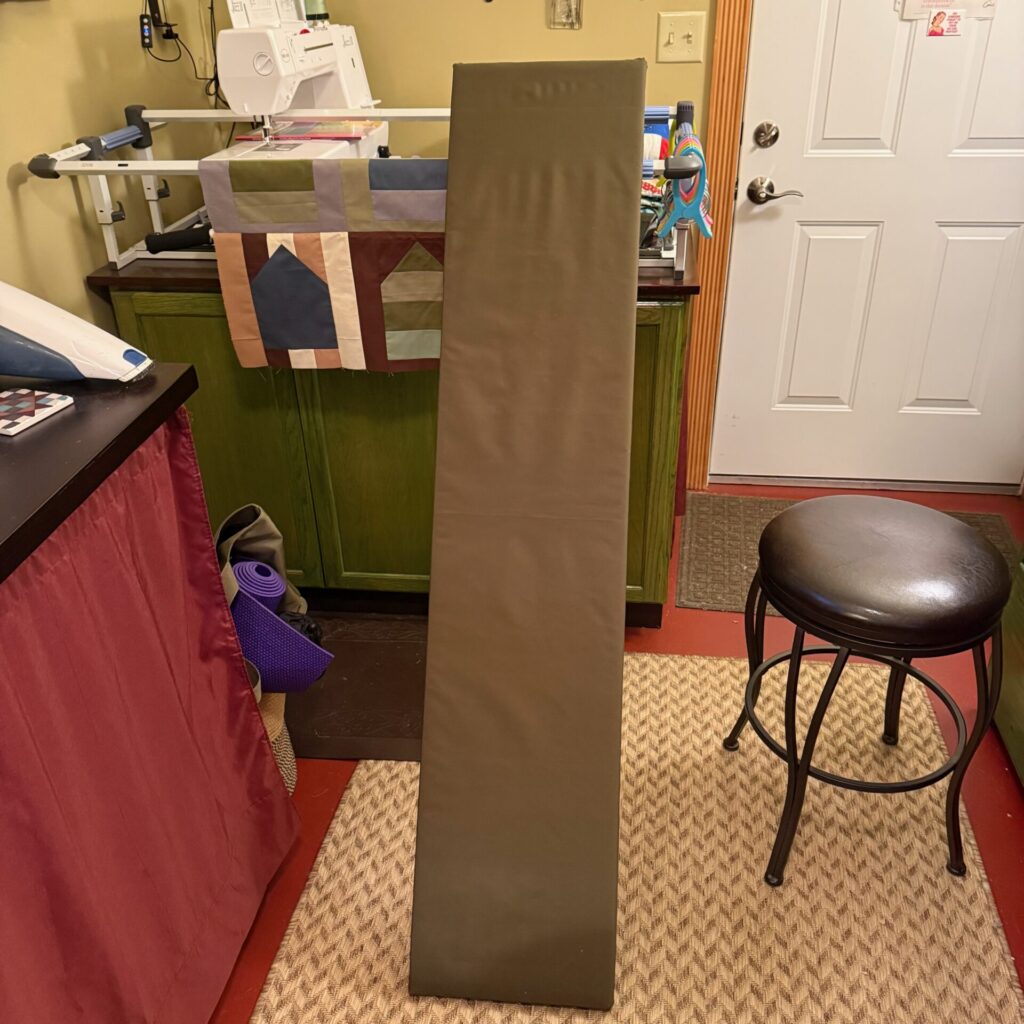
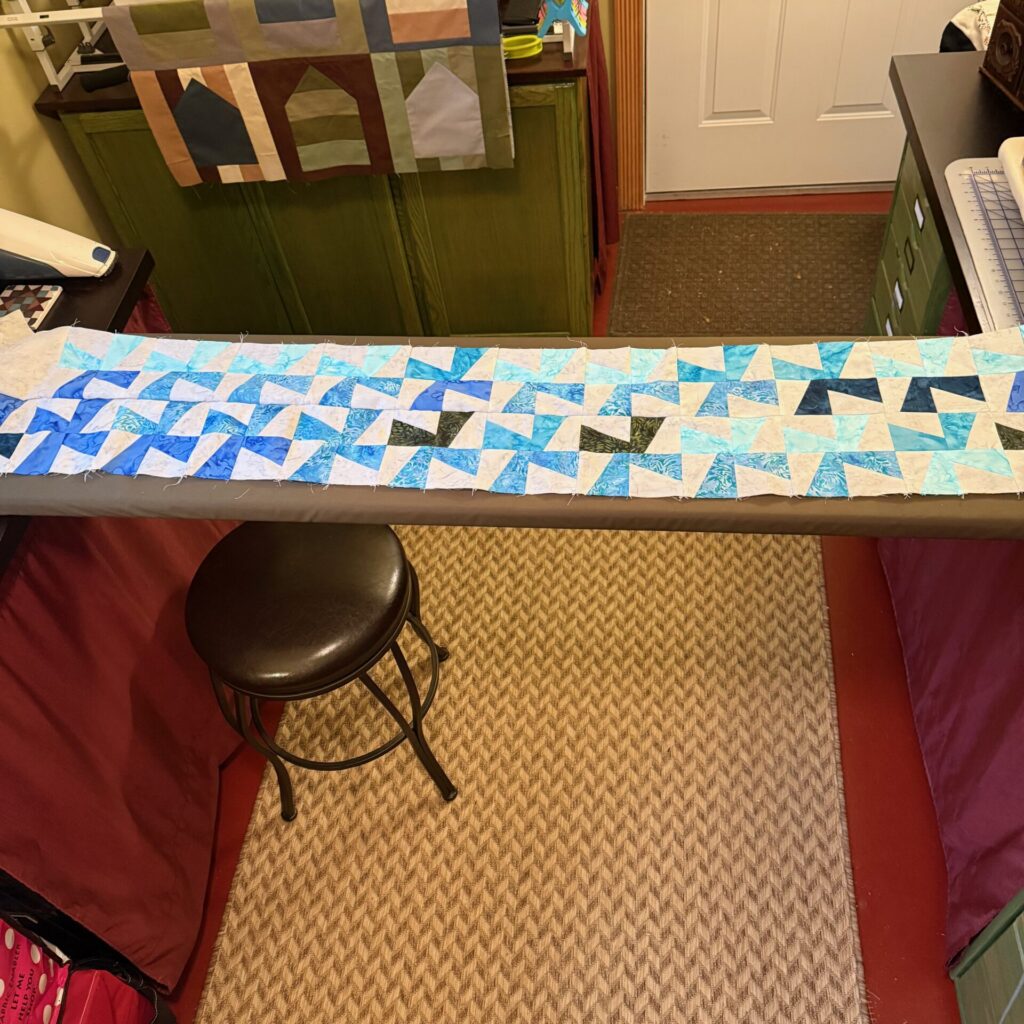
As you can see from the final picture, I have my completed ironing board spanning the gap between the counters that line each side of my small space. I put it up when I need it, and take it down and store it in the corner when I don’t. The board is long enough (mine is 52″ long) that I can comfortably press a full width of fabric. YAY!
The struggle can be real, which is exactly why a DIY ironing board can be such a game-changer: we get to build the pressing surface that fits the way we work now, not the way garment sewists worked a century ago.