If you’ve been quilting for any length of time, chances are you have a growing stash of leftover batting pieces. These off-cuts are the result of trimming batting to fit a quilt, and while they’re too large to discard without a pang of guilt, they’re often too small for your next project. Enter the ingenious world of “Franken Batting” – the art of joining together smaller batting remnants into a usable, larger piece. Not only does this technique breathe new life into your batting scraps, but it also saves money and reduces waste, all while fueling your crafty sense of satisfaction.
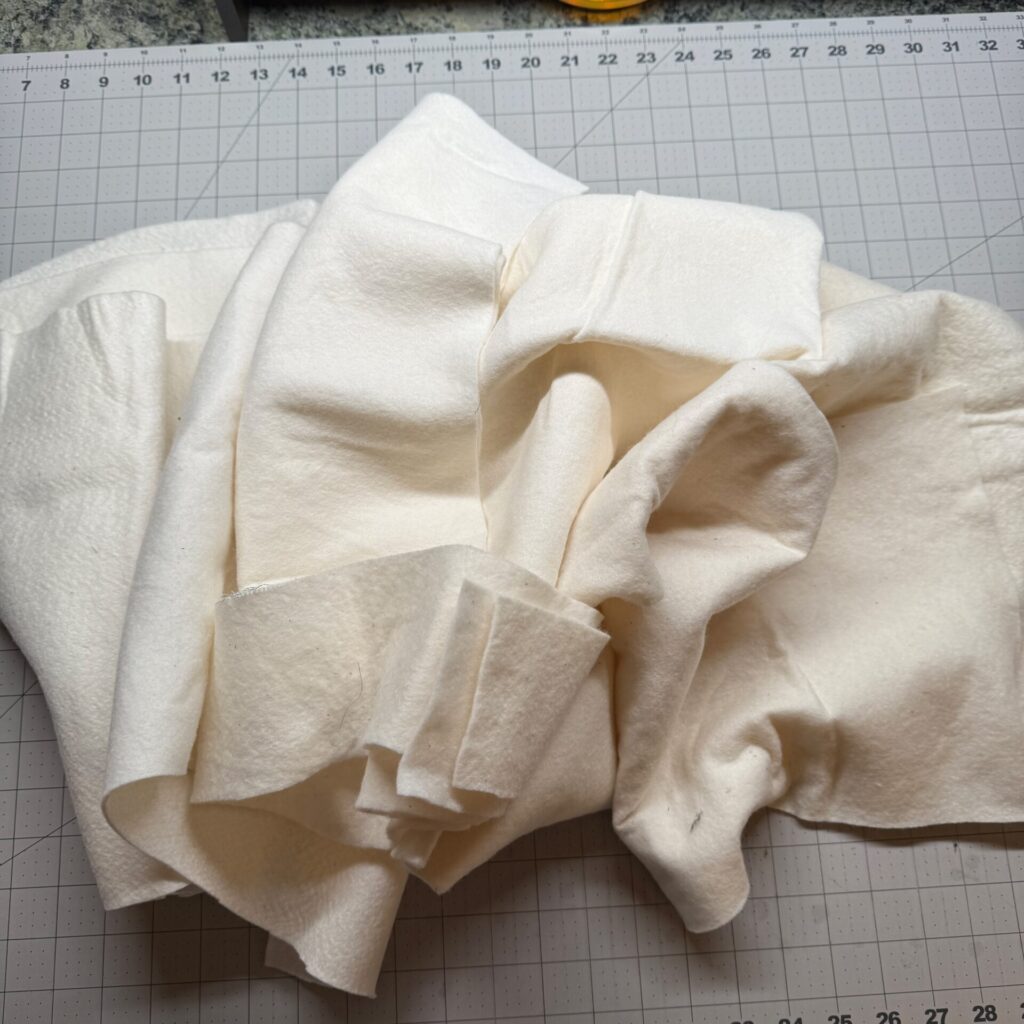
In this post, I’ll explain how to join batting pieces using batting tape, offer practical tips for best results, and share advice for creating seamless, functional franken batting for your next project.
What Is Franken Batting?
The term “Franken Batting” is a playful nod to Frankenstein’s monster—a patchwork creation brought to life from disparate parts. With quilting, franken batting is the process of piecing together offcuts of batting, using batting tape (or other joining methods like stitching), to create a new sheet of batting large enough for a quilt. This process helps quilters stretch their batting investment and contributes to more sustainable crafting.
What Is Batting Tape?
Batting tape is a narrow adhesive strip specifically designed to fuse pieces of batting together. It’s most commonly made from lightweight, nonwoven material with a fusible side. The tape is ironed over the seams where two pieces of batting meet, securely bonding them with minimal bulk. It’s available in various widths, usually ranging from 1 to 2 inches, and can be found at most quilt shops or online retailers.
Batting tape is generally designed to work with all types of batting—cotton, polyester, wool, blends—and is especially valued for its soft hand and invisible finish once the quilt is completed.
How to Use Batting Tape
[1] Gather Your Materials:
- Batting scraps
- Batting tape
- Iron and ironing board
- Scissors or rotary cutter and mat
- Ruler or straight edge
[2] Prepare Your Batting Pieces:
- Sort your batting scraps by type (e.g., 100% cotton, polyester, blends) and loft (thickness).
- For best results, only join batting with similar content and thickness. This prevents unevenness in your finished quilt and ensures a consistent hand and drape.
- For example, I regularly use Quilters Dream 100% Cotton and Quilters Dream 80/20. I don’t mix the two different fiber contents in the same franken batting because they have different amounts of stretch and shrinkage.
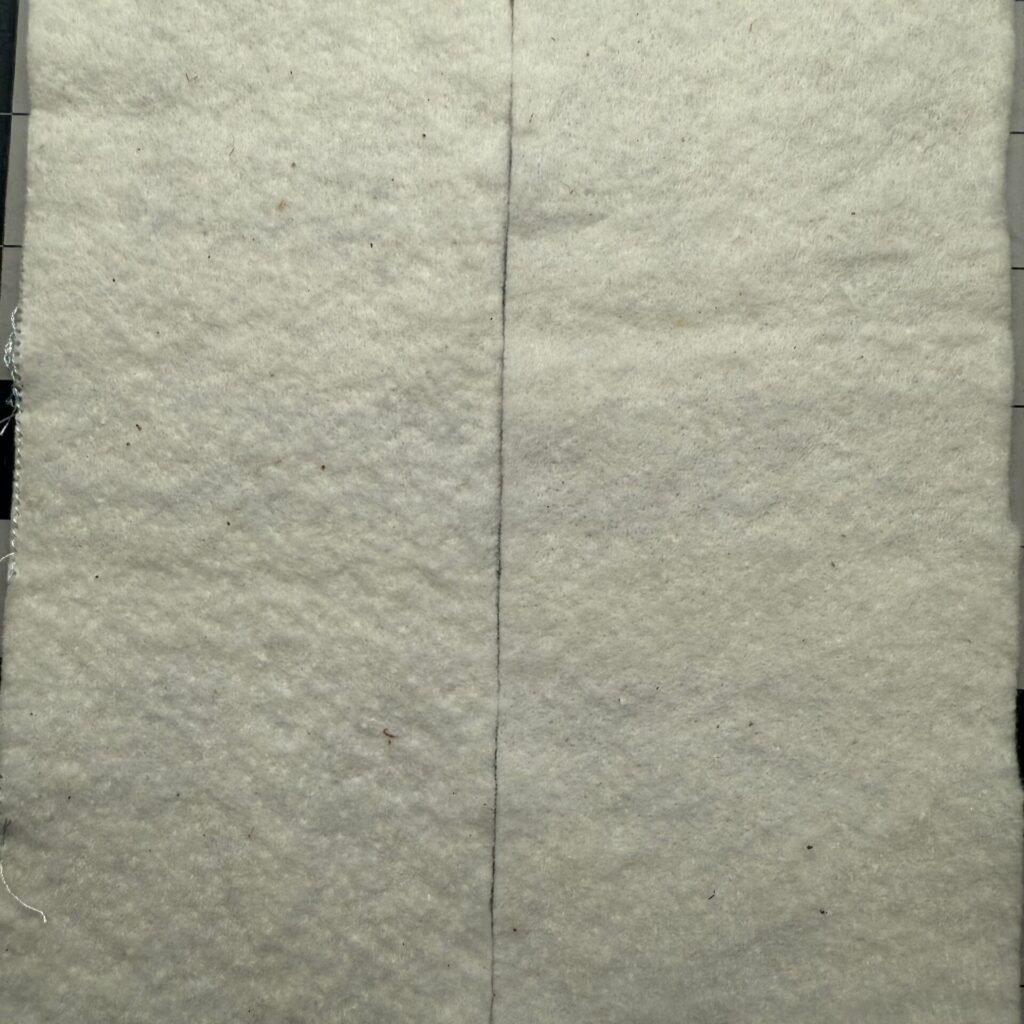
[3] Trim the Edges:
- For a neat join, trim the edges of your batting scraps so they’re straight and free of frayed bits. Use a rotary cutter and a ruler for long, straight lines.
- You can butt the pieces together edge-to-edge, or for an even less noticeable seam, cut the joining edges in a gentle wave or zigzag pattern (this increases the surface area for joining and makes the seam less visible in the finished quilt). I nearly always use a curved join when I’m joining batting pieces together.
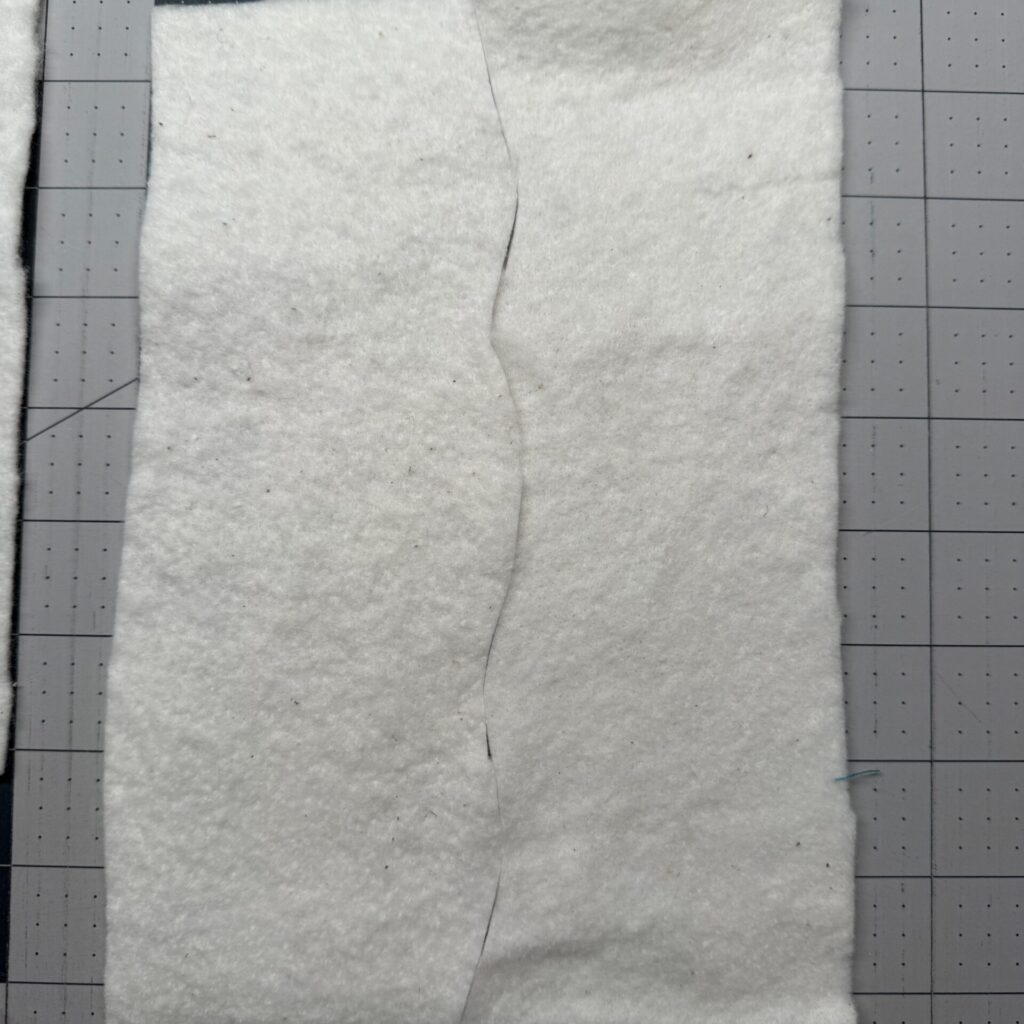
[4] Arrange Your Layout:
- Place your batting pieces on a flat surface and arrange them into the overall shape and size you need for your quilt project.
- Make sure the edges you’ll be joining are flush with each other—avoid gaps or overlaps, which can cause puckering or bulky spots in your quilt.
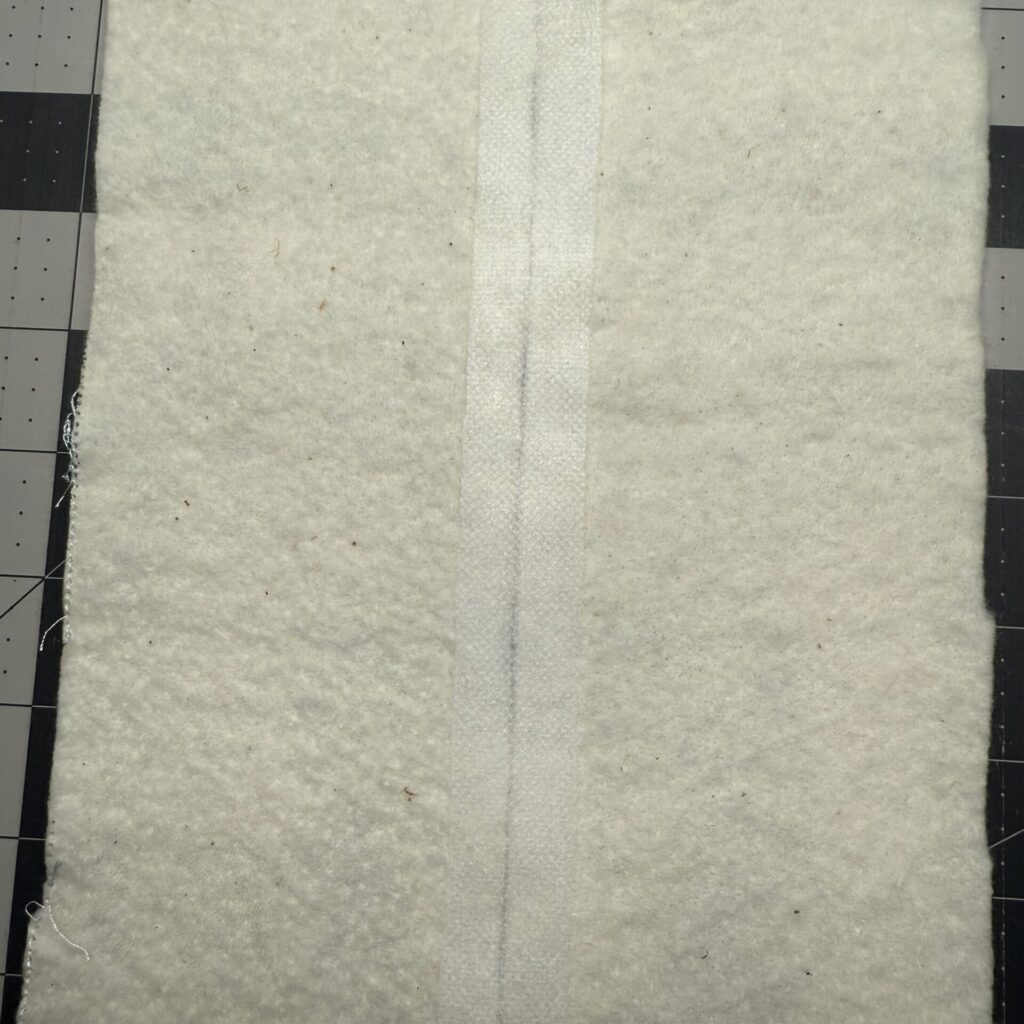
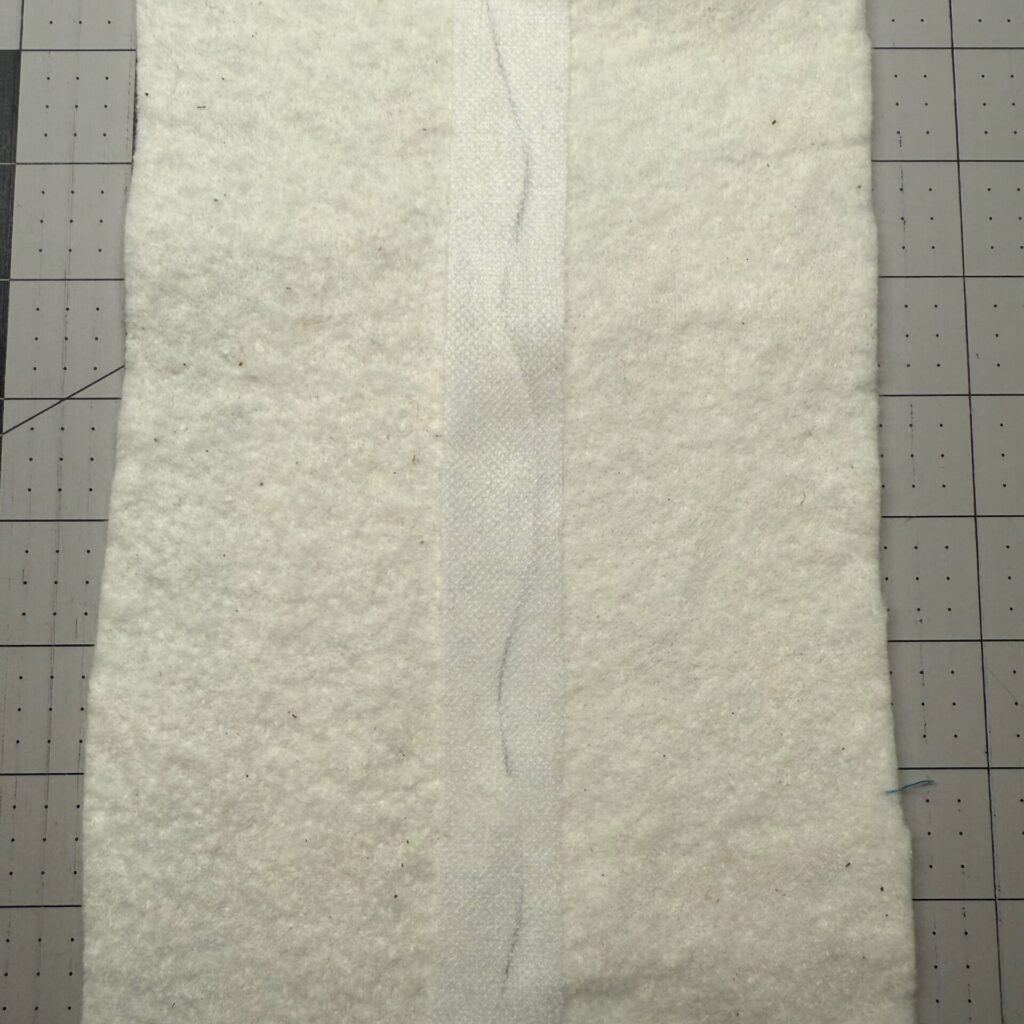
[5] Apply the Batting Tape:
- Lay a strip of batting tape over the join, ensuring it’s centered over the seam and long enough to cover the joined area..
- Follow the manufacturer’s instructions for your specific tape—most require a dry iron set to a moderate temperature (no steam).
- Press the tape into place along the seam, being careful not to stretch or distort the batting.
- Let it be: Allow the joined batting to cool and set.
- For extra security, you may flip the batting and apply tape to the reverse side as well, especially for larger joins.
[6] Test the Seam:
- Gently tug at the join. A properly fused seam should feel smooth and secure, with no shifting or separation.
- If the seam feels weak, reapply the iron following the tape’s instructions.
[7] Trim the Final Batting Sheet:
- Once all your pieces are joined and the seams are cool, measure and trim your franken batting to the desired size for your quilt top.
Tips for Successful Franken Batting
- Stick with Like Materials: Always join batting scraps of the same fiber content (e.g., all cotton, all polyester, all wool) and the same loft. Mixing fibers or thicknesses can lead to odd puckering, inconsistent warmth, or even visible lines in your finished quilt.
- Keep Seams Out of High-Stress Areas: Try to position joins so they don’t fall in spots of your quilt that will receive a lot of wear, such as the center or along fold lines. If possible, stagger the seams so they don’t stack up in one area.
- Wave or Zigzag Joins for Strength: Cutting the edges of your batting in a wavy or zigzag line instead of straight lines can help the join blend better and create more surface area for the adhesive to bond securely.
- Press, Don’t Iron: When fusing batting tape, press the iron down in sections rather than sliding it back and forth. This helps prevent stretching, shifting, or distorting the batting.
- Let It Cool: Allow the joined seam to cool completely before moving the batting. This helps the adhesive set for a stronger bond.
- Test Your Batting Sandwich: After joining and before using in a quilt, layer your franken batting between two pieces of fabric and run a test stitch. This allows you to see how your machine handles the seam and ensures that everything will quilt smoothly.
- Store with Care: Roll your finished franken batting instead of folding, to avoid creasing the seams. Store it in a dry, clean place until you’re ready to use it.
FAQs About Franken Batting
- Will the seams show in my finished quilt? If you butt your edges closely and use batting tape correctly, the seams should be virtually invisible once your quilt is quilted.
- Can I sew the batting together instead of using tape? Yes! Some quilters zigzag stitch the edges together on their machines. However, batting tape is often easier, faster, and results in a smoother seam.
- Is franken batting okay for all types of quilts? Absolutely! Franken batting is great for everything from utility quilts to charity projects to practice pieces. For heirloom or show quilts, use your best judgment and test how the joins look and feel.
- What about washing? Most modern batting tapes are designed to withstand laundering but always double-check your tape’s packaging to be sure. If you’re concerned, prewash your batting scraps before joining.
Turning batting scraps into franken batting is a thrifty, eco-friendly solution that lets you make the most of every bit of your quilting materials. With a little care in matching materials, trimming edges, and joining pieces with batting tape, you’ll have a new sheet of batting ready for your next project—no waste, no guilt, just pure quilting satisfaction.
Happy Stitching!