I’ve been experimenting with printing photographs on fabric and using them in quilts for a couple of years. Using printed photographs in quilts is an interesting process that’s easy to do and it opens up so many creative possibilities.
Think about it for a minute – if you wanted to create a memory quilt in honor of someone – the first thing that usually comes to mind is a T-shirt quilt. While I’ve made my share of T-shirt quilts – that doesn’t work in every situation. Another type of quilt that’s often created to thank or honor someone is a signature quilt. I love these types of quilts and have contributed signed blocks to quite a few over the years.
Here’s another option for a memory quilt
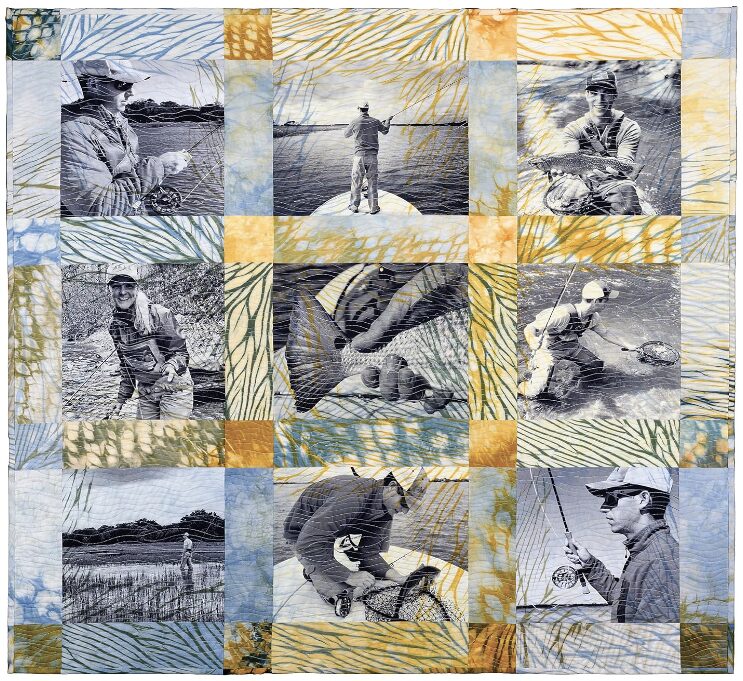
Select a group of pictures that showcase the person, event, etc. that you want to celebrate. Print out the pictures on fabric. I’ll tell you more about how to do that in a minute.
Trim out the image and use it in your quilt as you would any other fabric. Here’s an example by Lesley Riley from her book Photo Memory Quilts. Notice how she manipulated the photographs so that they all had the same color tones?
Using Printed Photographs to Express a Thought
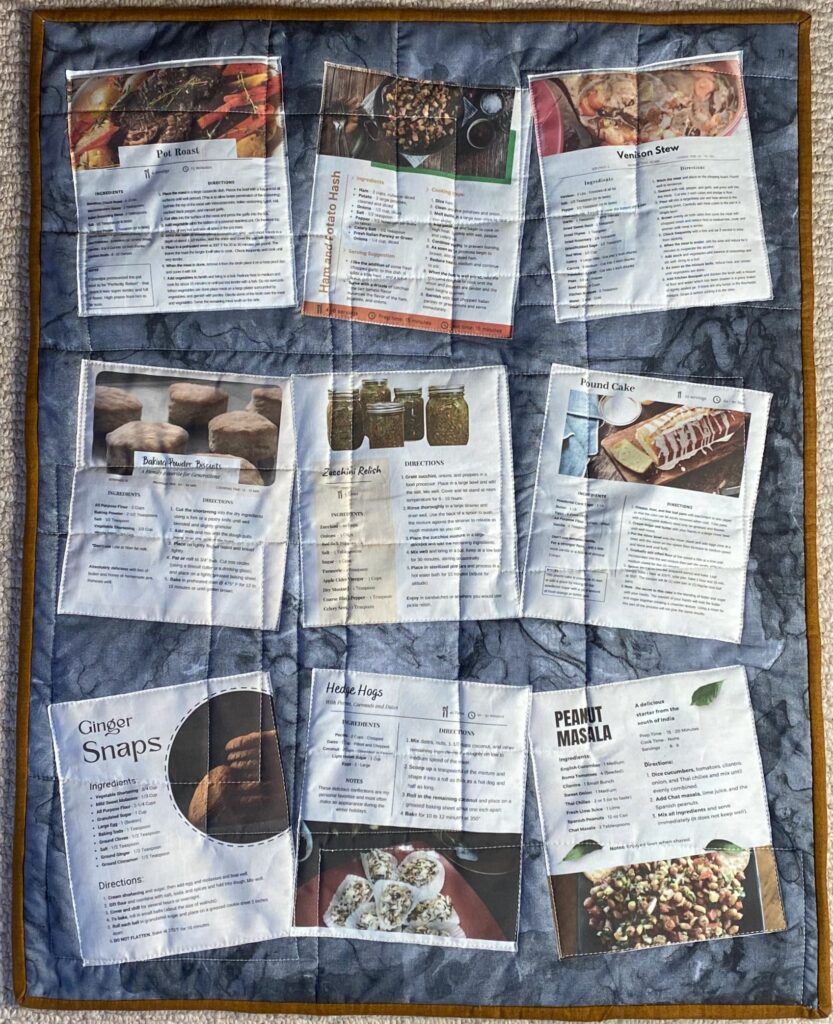
I’ve been having some fun with design challenges over the past couple of years. Design challenges are a great way to stretch the brain cells. Here’s an example of the Metropolitan Patchwork Society 2023 challenge – and how I chose to address the challenge using photographs in the quilt. The challenge was called Heritage on a Small Scale. I chose to represent my heritage – based on the concept of the passing down of recipes from one generation to the next – and from one culture to another.
I created the recipes in a design program and exported them as images. I printed those images onto fabric (using Freezer Paper Sheets) and my HP Inkjet printer. Next, I appliqued the recipes to my background. Here’s what a recipe image looked like as the photograph – and how it looked when I printed all of them on fabric and used them in the quilt.

You can read more about this challenge quilt here: Heritage on a Dinner Plate
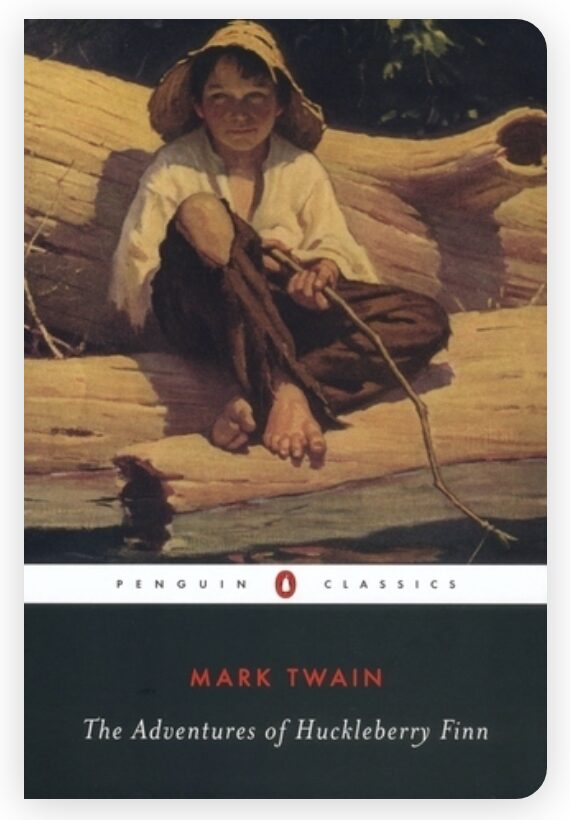
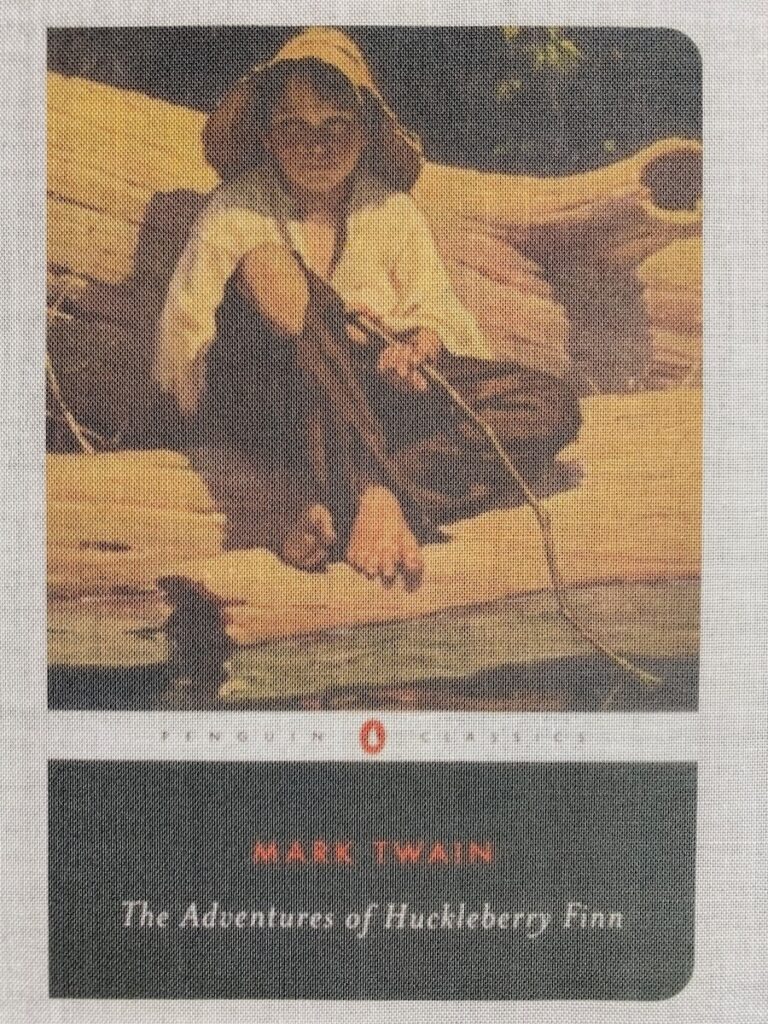
This year’s challenge is to use 25 of something in a small quilt – to celebrate our Quilt Guild’s (Metropolitan Patchwork Society) 25th anniversary. While I can’t show you the project, here is one of the images I’m using – and what it looks like on fabric.
I’ll share all the details about this project when the reveal happens in November.
Using Printed Photographs as a Base
I have been intrigued by the look of thread painting for a long time. Thread painting is the process of free-motion quilting over a design or image to accentuate the features of the image. I’m using a two resources to guide me on this process – It’s All About the Face and The Intentional Thread.
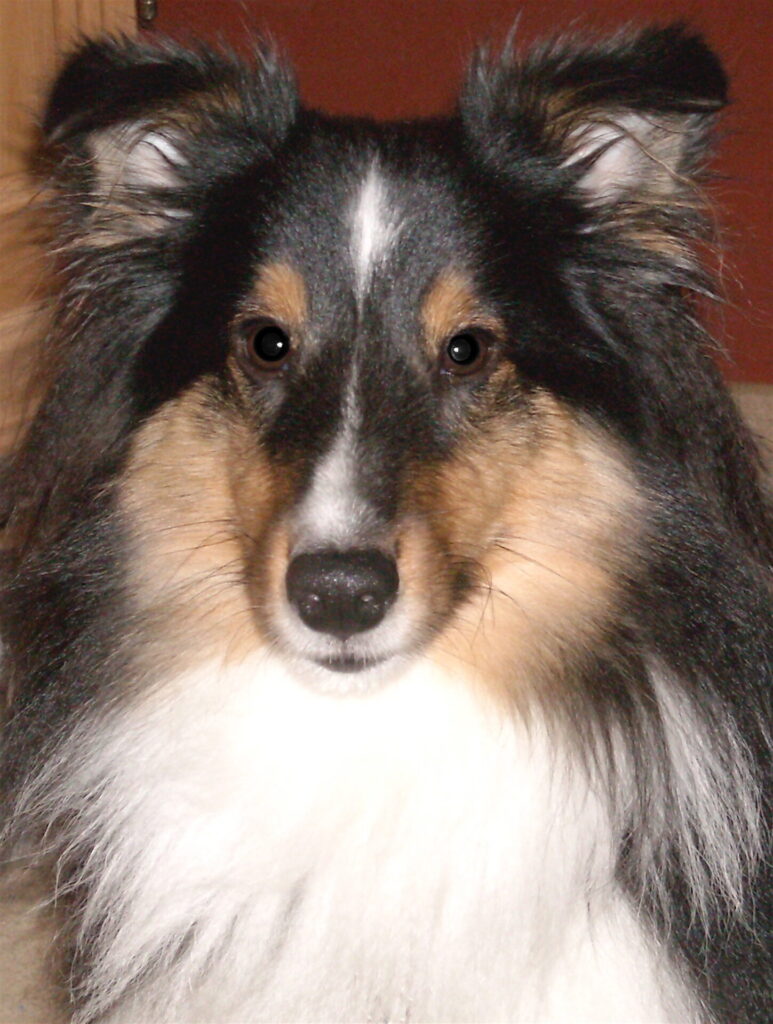
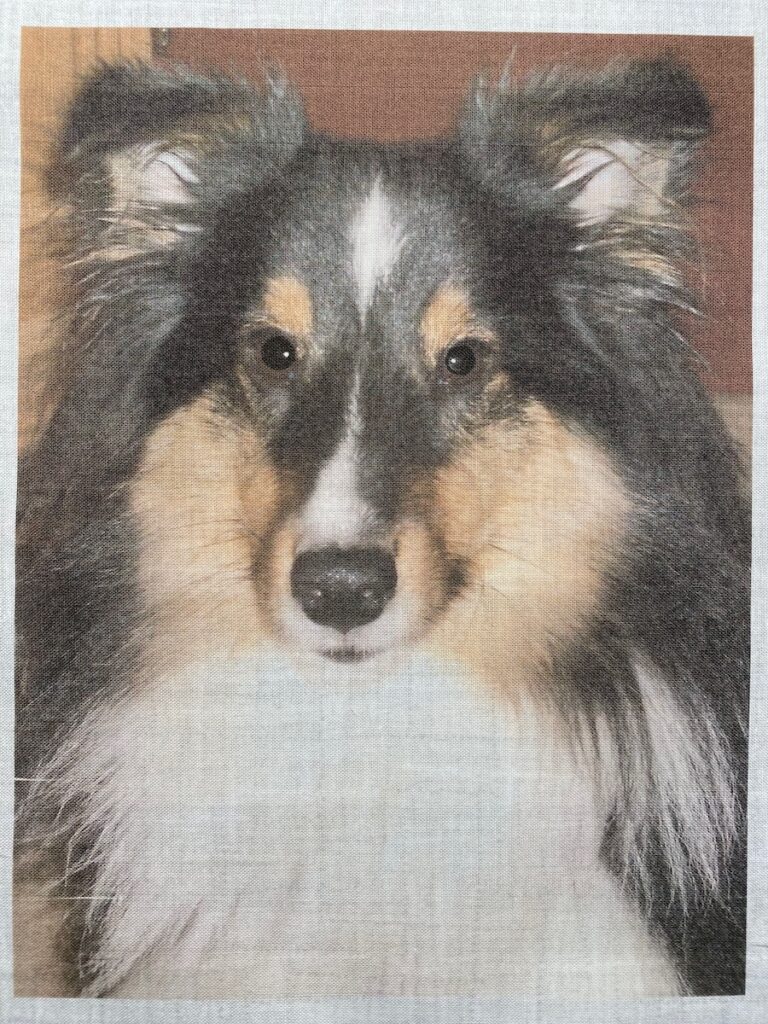
This picture of our Louie was a stroke of luck. He HATED having his picture taken. I got lucky with this one and thought it would be perfect for this technique. While I haven’t done the thread painting yet – I can show you the original image and what it looks like on the fabric. I really miss this little guy and thought creating a thread-painted image of him would be fun.
Using Printed Photographs on Quilt Labels
Quilt labels are so important. They add a bit of history and context to the finished project. They have even helped fill in the blanks in family stories and have been used to help lost quilts find their way home. I wrote an article about Labeling Your Quilts.
Adding a picture to my quilt labels is my new favorite thing! Here’s an example of a quilt label image – and what it looks like on fabric.
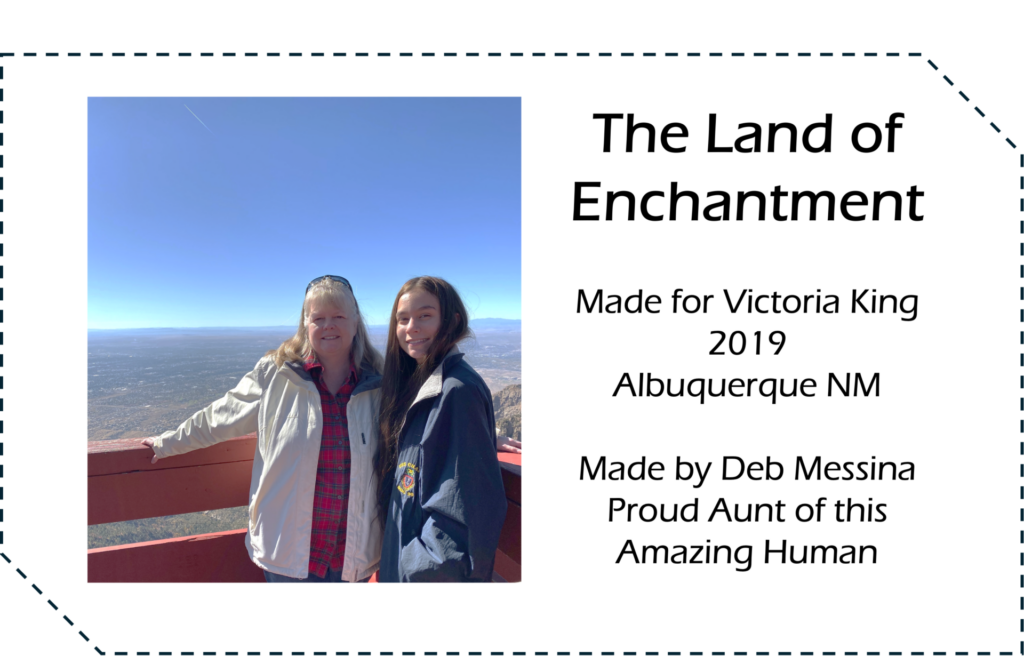
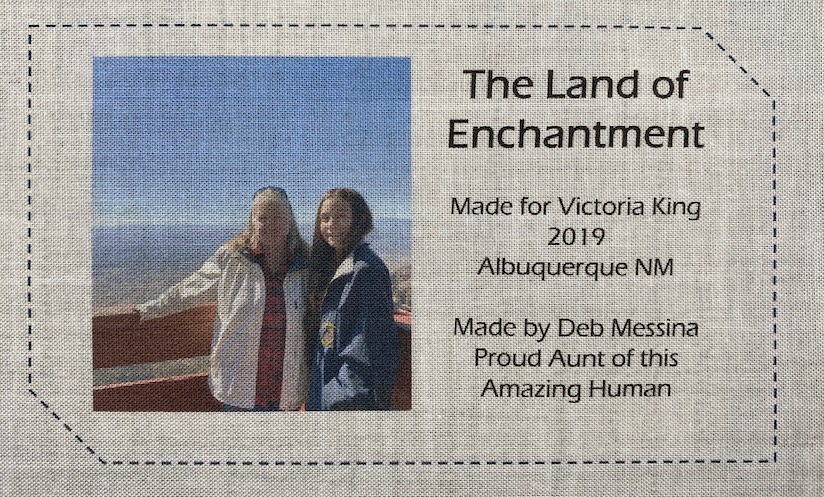
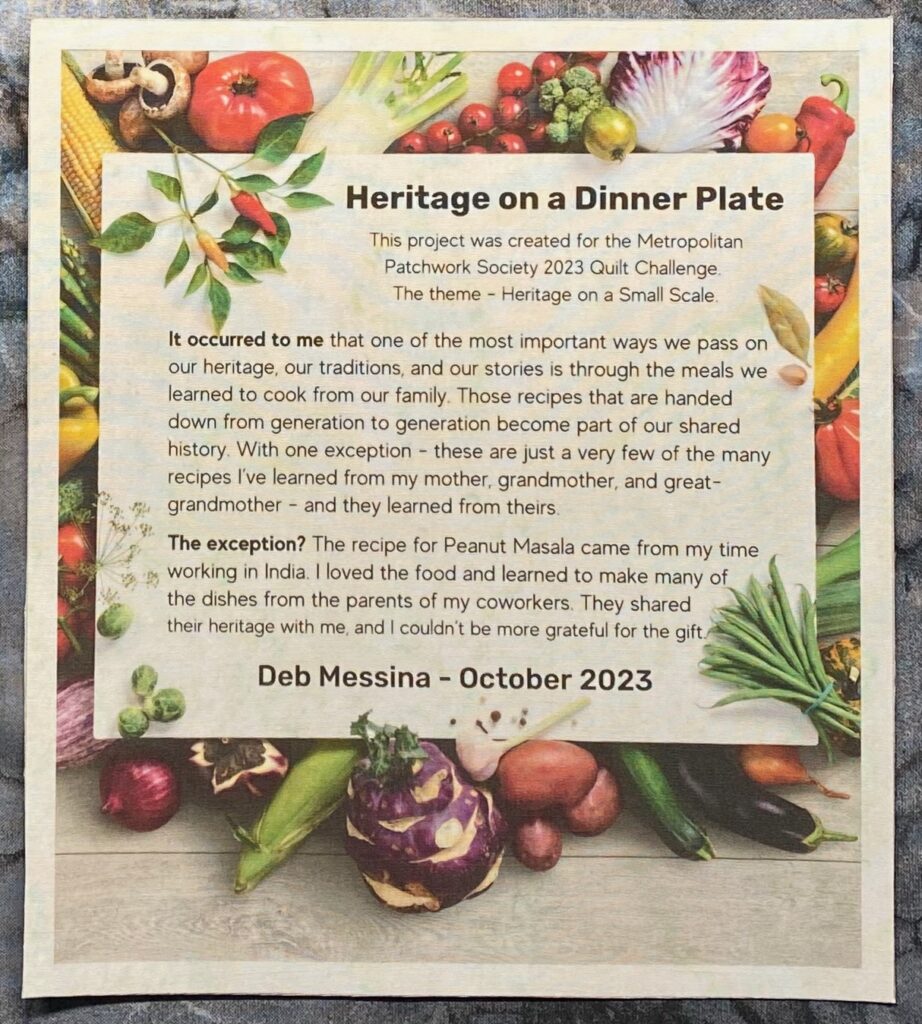
This image is a quilt label I created in Canva – for the Heritage on a Dinner Plate Challenge Quilt. The image on the left is the original image and the image on the right – is the same image printed on fabric. It looks a bit yellowed – because of the warm Ivory fabric I printed it on. You can see how nice and sharp the type and images are.

Tips For Printing Photographs on Fabric
The book Photo Memory Quilts has been a great resource for me. The author shares all kinds of useful tips, examples, and suggestions.
I’ve also learned a few things I’m happy to share with you.
Fabrics: I have had the best luck using light fabrics.
- I use pre-cut sheets of Freezer Paper. So much easier than trying to cut this myself – and it goes through my printer beautifully.
- I’ve been known to use the back side of light fabrics to diffuse any pattern that might be part of the fabric and make the picture and type stand out.
- The whiter the fabric – the brighter the image. That being said – I rarely use white for my photo images. Sometimes I intentionally choose a light fabric with a light print – so the image on the fabric becomes part of the printed photograph. You’ll see that I did that for all of my examples above.
- When cutting my fabric to fuse to the freezer paper – I like to cut it a little smaller than the freezer paper (8-1/4 inches x 10-3/4 inches).
Printers: I use a regular home inkjet printer (HP Office Jet Pro 820 Series). It uses cartridges rather than the liquid ink many printers use. I’m going to experiment with printing on that type of printer too.
- Set the paper type to Plain Paper – Thick.
- Insert one (and only one) freezer paper/fabric sheet in the paper tray at a time.
- Make sure your ink cartridges have plenty of ink.
- Print one sheet at a time.
Preparing the Printed Photograph: Once you have printed the photograph, I recommend the following steps to prepare it for use in your quilt project.
- Peel the fabric off of the freezer paper – taking care not to stretch or distort the fabric.
- Press the fabric using a hot iron. I use an applique pressing sheet between my fabric image and the iron.
- Gently soak the fabric image in cold water. I’ve never had an image bleed – but better safe than sorry.
- Let the fabric image dry on a paper towel and press again.
- Your fabric image should be completely set and bleed-free.
The finished printed photograph won’t be quite as vibrant as it appears on your computer screen but will look like a softer version of the original image. I love the look and have found that these images work beautifully in my quilted projects.
I hope these examples have inspired you to give it a try!
