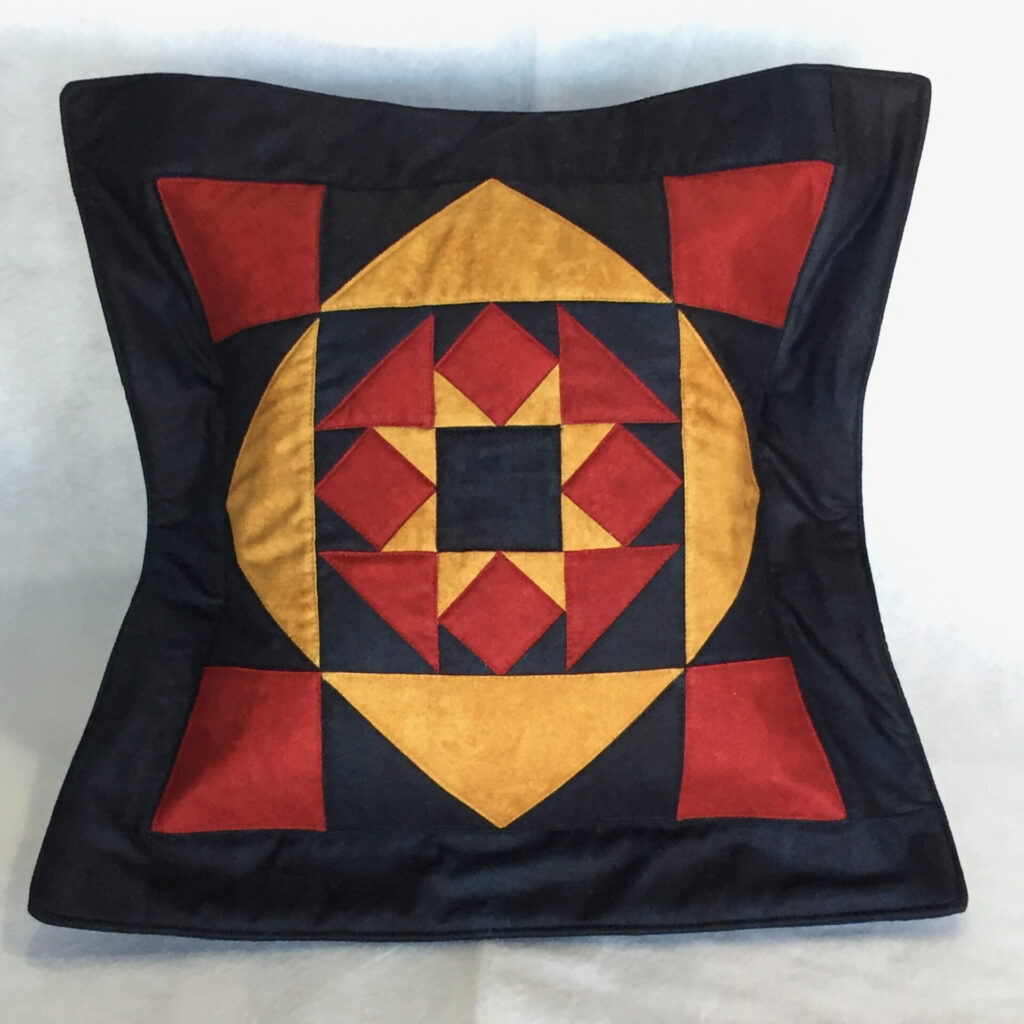
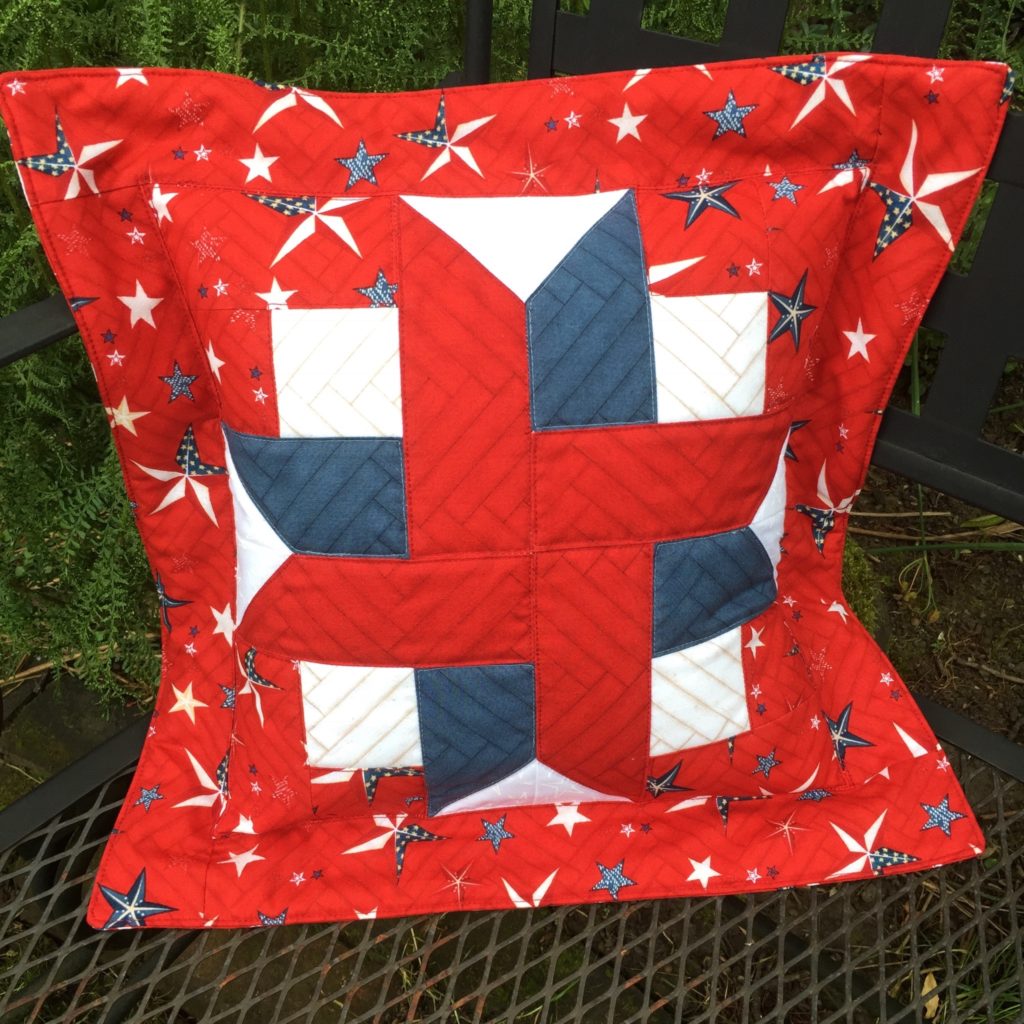
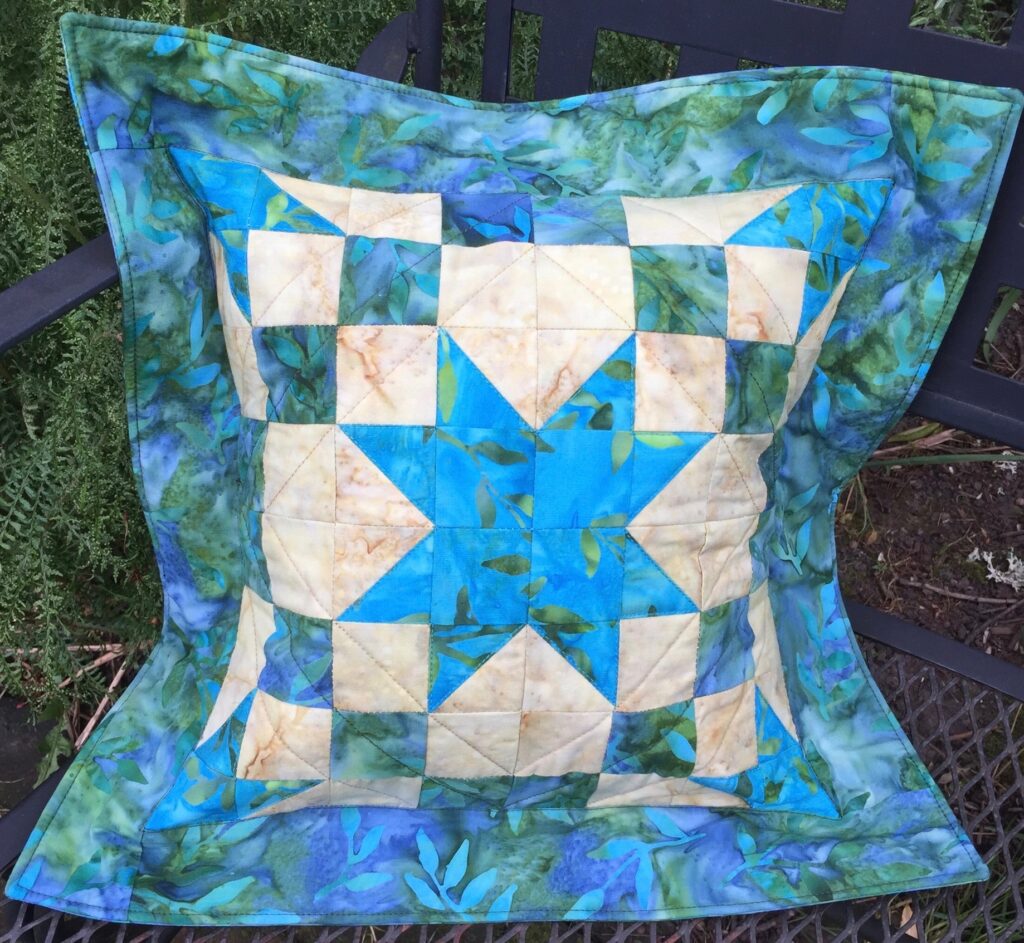
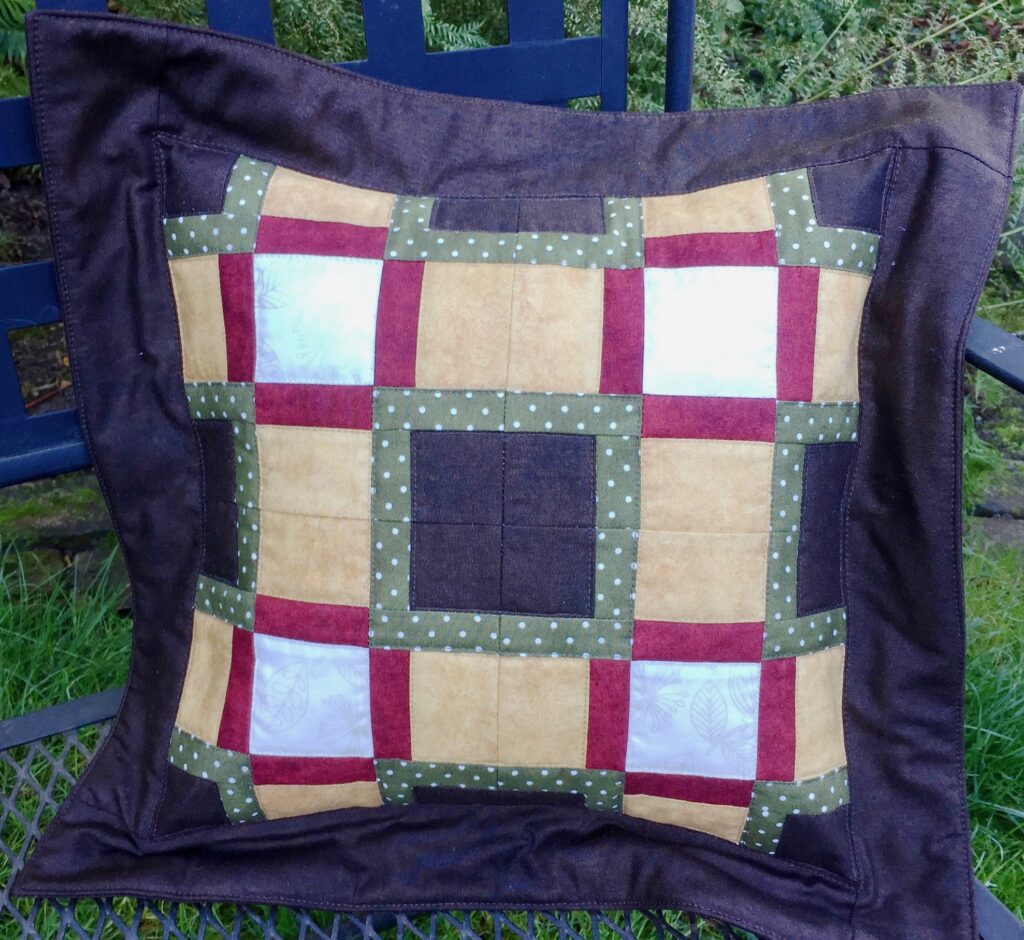
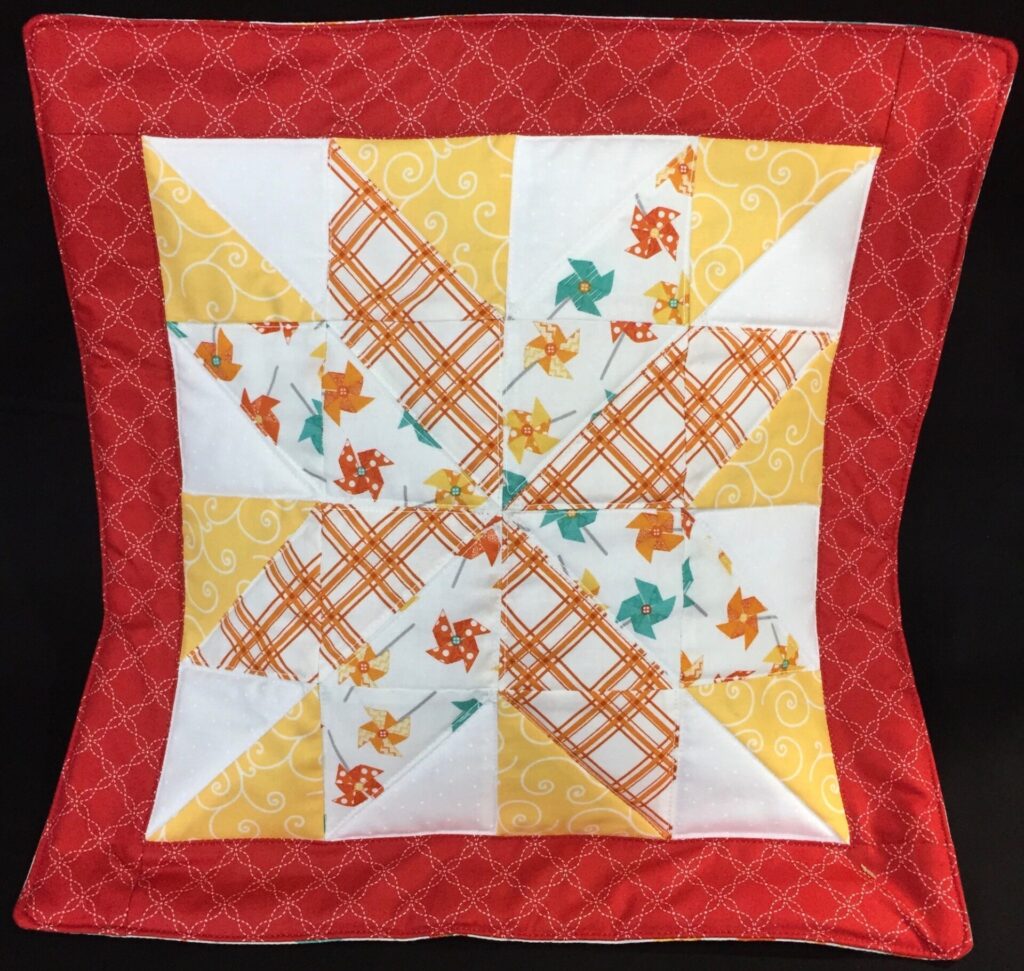
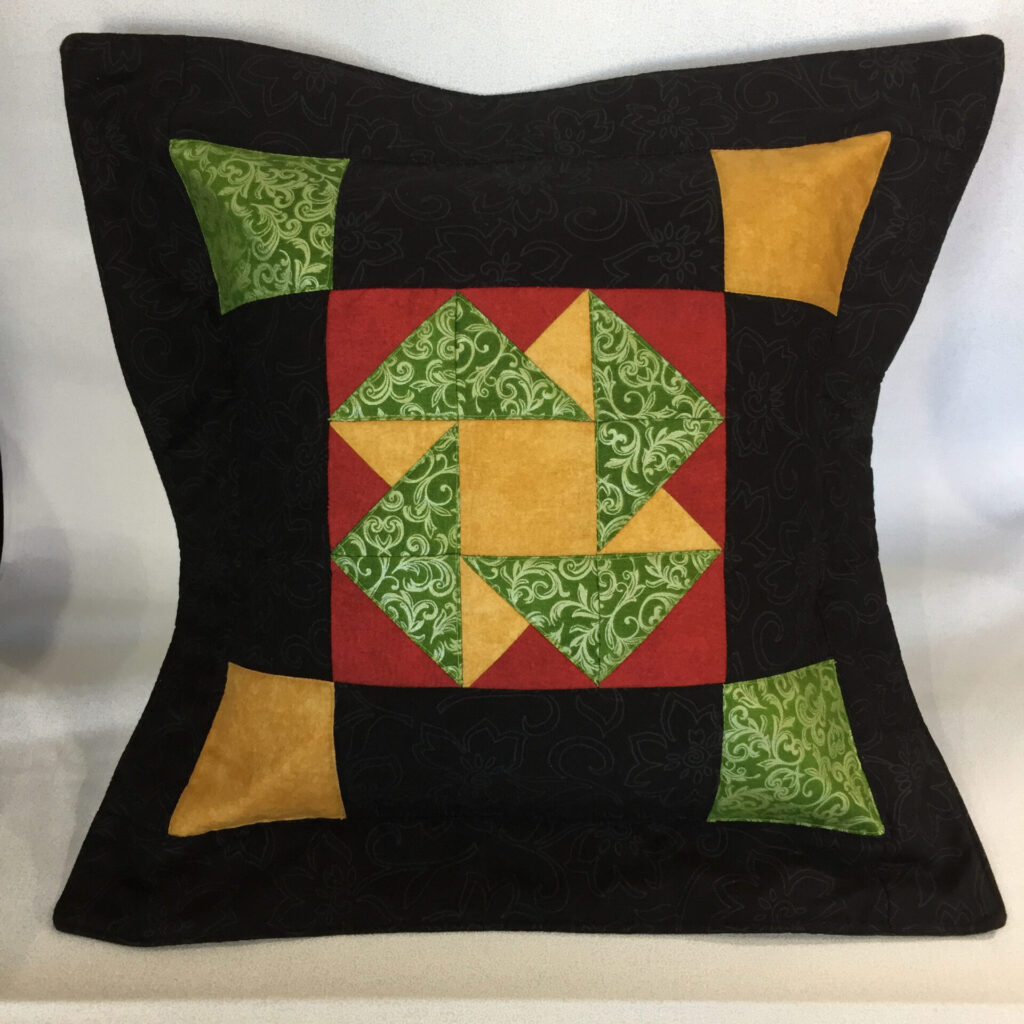
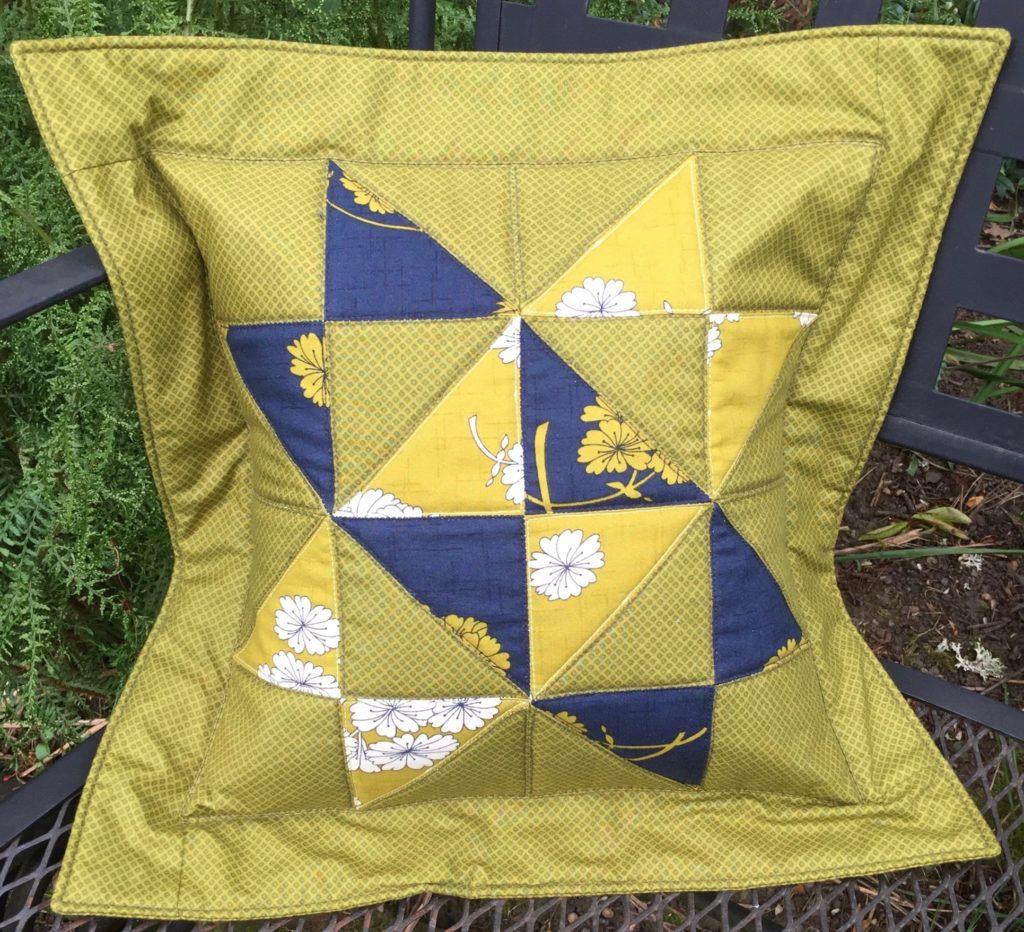
You may have noticed – that I really like pillows. Many of my patterns include a pillow as part of the instructions. I’ve found that these 12-inch blocks can be easily mastered by anyone with a few basic sewing skills, and they make up into a pretty pillow cover. Here are a few examples – they each started out life as sample blocks:
Whether you’re a seasoned quilter or just beginning your quilting journey there’s one step in the process that offers immense value (and that many of us skip): making sample blocks before diving into the entire quilt. This seemingly small task can make a world of difference in the outcome of your project, and here’s why.
[1] Testing Fabric Combinations: Choosing the right fabric combination is crucial for a successful quilt. Making a sample block allows you to test different fabrics together to see how they interact with each other. Making changes at this stage is a lot easier than than after you’ve cut all your fabric.
[2] Testing Block Design: Designing a quilt block can be a complex process, involving details such as block size, layout, and the secondary design created when blocks are placed next to each other. Making a sample block allows you to test different block designs to see how they look in reality (not just on paper).
[3] Avoiding Color Placement Errors: Color placement can significantly impact the overall look of a quilt. Making a sample block allows you to test different color placements and arrangements to see which one works best. You may find that the secondary pattern created when blocks are placed next to each other will influence how you want to place each fabric in the block.
[4] Practicing Techniques: Trying out a new to you technique? Making a sample block allows you to practice these techniques on a smaller scale before applying them to the entire quilt. This practice helps refine your skills and ensures that you’re comfortable with the techniques before committing to the larger project.
[5] Checking Measurements: Accuracy is key in quilting, especially when it comes to cutting fabric and piecing blocks together. Making a sample block allows you to check the accuracy of your measurements and adjust as needed before cutting into larger pieces of fabric. This helps prevent costly mistakes and ensures that your quilt blocks fit together as you expect them to.
[6] Testing Thread and Stitch Choices: The thread and stitching pattern you choose can enhance the beauty and durability of your quilt. Making a sample block allows you to test different thread types and stitch patterns to see how they look and hold up on your fabric choices. This experimentation ensures that you select the best thread and stitch options for your quilt.
[7] Troubleshooting Potential Issues: Quilting often comes with unforeseen challenges, such as fabric stretching, puckering, or misalignment. Making a sample block allows you to identify and troubleshoot these issues on a smaller scale before they become larger problems in the full quilt. This proactive approach saves time and frustration and reduces the chance that your project will become a “Work in Progress Forever”.
[8] Creating a Reference Point: Once you’ve completed a sample block, you have a tangible reference point to guide you through the rest of the quilting process. You can refer back to the sample block for color choices, fabric placement, and stitching techniques, ensuring consistency and cohesiveness across the entire quilt. I find this t be extremely helpful – especially when I’m creating a block with lots of pieces.
Making a sample block before cutting the fabrics for the entire quilt is a valuable step that could save a lot of frustration. From testing fabric combinations to refining design choices, the insights gained from making a sample block can greatly enhance the quality and success of your quilting projects. So … before you embark on your next quilting adventure, take the time to create a sample block – it’s a small investment in time that pays off in a big way.

