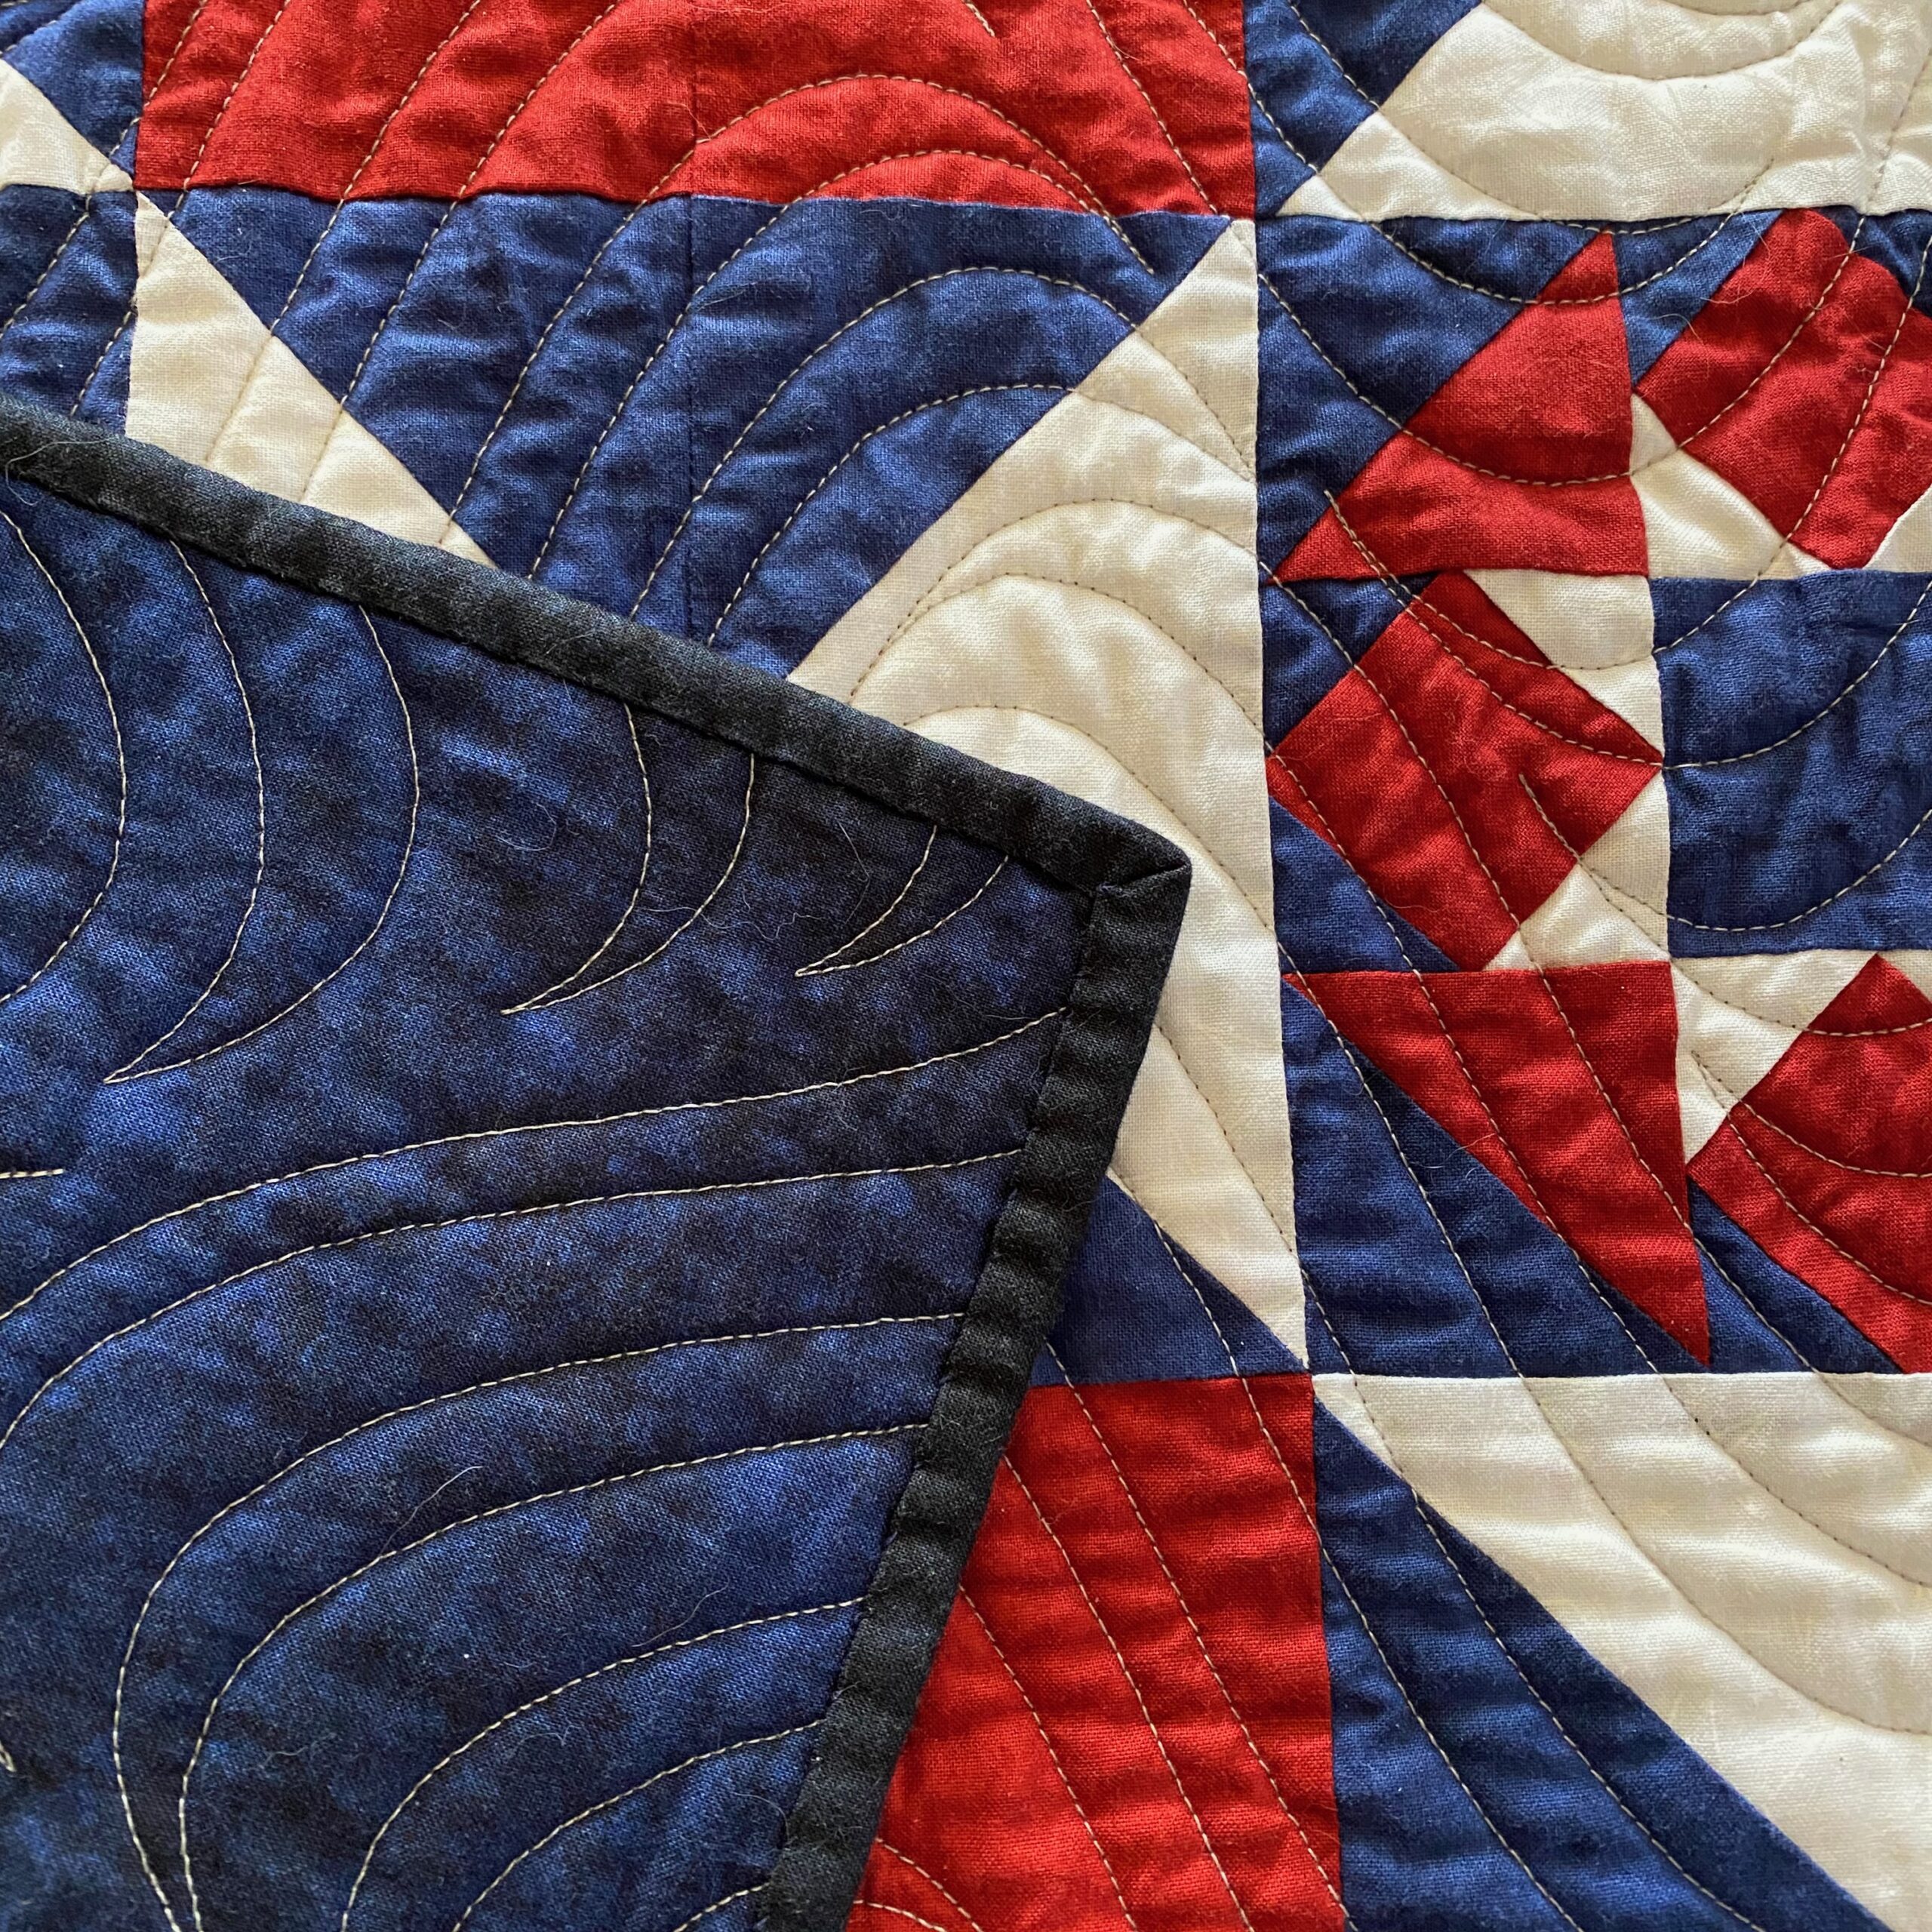
I like to think of finishing the raw edges of a quilt – to be a little like adding the ribbon to a package wrapped with pretty paper – or the frame on a painting. The project is still pretty – but finishing the raw edges make it complete. Finishing the edges of my quilt is an important part of the quilting process – and I have to confess – it may be my favorite part.
There’s more than one way to finish the edges of our quilt. So … how do we choose? It depends on the project, how the quilt will be used, and to some extent – the size and shape of the quilt.
There are 4 methods (with some variations) for finishing the raw edges of any quilt we create.
- Applied Binding: A great choice for most quilts. The double layer of fabrics on the edge will hold up better to normal use. If your project includes curved or irregular edges – an applied binding is the best way to go.
- Fold Over Binding: This is a quick way to finish a quilt by using the backing fabric to create a finished edge.
- Facing (mitered or square corners): This finishing method creates a clean crisp edge to the project. This type of finishing is most often used for projects that will not be subject to lots of use – like art quilts and wall hangings.
- “Birthing” Method – made popular years ago by renowned quilter – Eleanor Burns. This is a quick and easy finishing method that is perfect for small projects like baby quilts. It’s also a great choice for finishing charity quilts as it is quick and creates a nicely finished edge to your quilt.
Choosing how we are going to finish the raw edges of our quilts is something that we should consider at the same time we are choosing our pattern, fabrics, and methods of quilting.
Let’s take them one at a time – starting with my personal favorite – Applied Binding.
APPLIED BINDING
An Applied Binding is a fabric strip that is sewn onto the edge of a quilt to finish it off and give it a polished look. This method involves sewing the binding onto the front of the quilt first, then folding it over, and sewing it to the back by hand. Here’s a step-by-step guide for how to do an applied binding on a quilt.
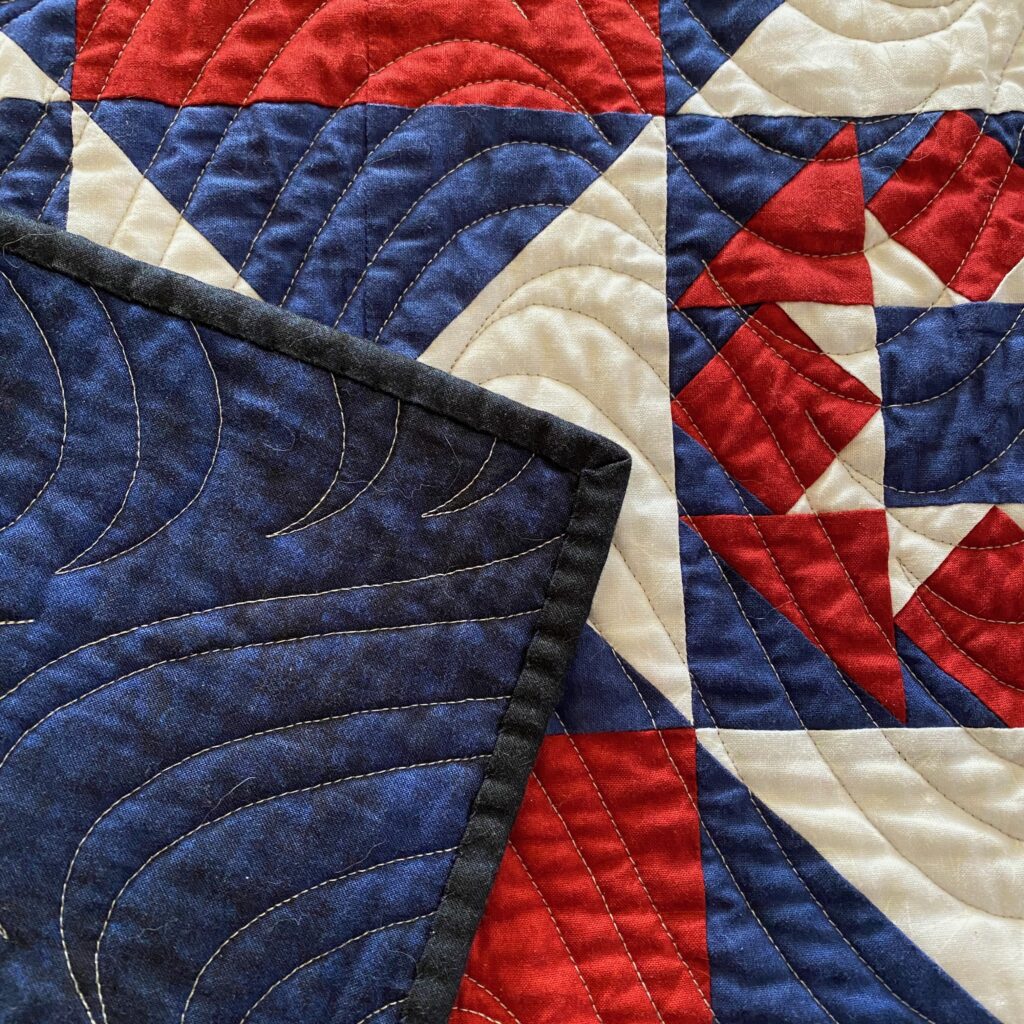
Step 1: Prepare Your Binding
- To determine how much quilt binding you will need for your finished quilt – measure the perimeter of your quilt (the distance around the edges) and add 12 inches to this measurement. This will give you the length of finished binding that you need.
- Cut your fabric into strips that are 2.5 inches wide – you can either cut them on the “straight of grain” or on the bias – at a 45-degree angle. For small projects, I generally cut the strips on the “straight of grain” but for large quilts – I normally choose to cut my strips at a 45-degree angle.
- Please note: there are times when you may want to cut your binding strips a little narrower (or wider) than the standard 2.5 inches wide. This is a design decision based on your project.
- Personally – I like to cut my binding strips at 2.25 (2-1/4) inches wide because I like the look of a slightly narrower binding for most of my projects.
- Sew the cut strips together – using a 45-degree angle seam and trim away the excess fabric. This will help to reduce bulk at the seams and make the joins less noticeable.
- Press the seams of the binding strip – and then fold the strip in half lengthwise (wrong sides together). This will give you a very long skinny strip with a fold on one edge of the strip and both raw edges of the fabric on the opposing side of the strip. Press your binding strip.
- Pro tip: I like to wrap my binding strip around something (an empty paper towel tube on a paper towel holder could work) to keep it under control while I am working with it. Another option is to use Ribbon Storage Cards – these are really handy for creating your binding ahead of time and storing it neatly until you are ready to use it. I also like them for organizing and storing extra binding that I can use on future projects.
Step 2: Sew the Binding to the Front of the Quilt
Once you have prepared your binding strip, it’s time to sew it onto the quilt.
- Start by placing the raw edge of the binding strip along the edge of the quilt top, with the right sides facing each other.
- I like to start about 12 – 15 inches away from a corner so I’m not trying to join the binding tails – right at a corner.
- Pin the binding in place, leaving a tail of about 6 inches of binding – unsewn – at the beginning of your stitching line. This “tail’ will be joined with the other end of the binding – once you have stitched around the quilt.
- Next, sew the binding to the quilt top using a quarter-inch seam allowance.
- Stop sewing about 1/4 inch away from the first corner of the quilt and move to Step 3.
Step 3: Miter the Corners
To make a neat corner, you will need to miter the binding at each corner of the quilt.
- With your needle in the down position, lift your presser foot and pivot the quilt to turn the corner. Fold the binding up and away from the quilt top, making a 45-degree angle at the corner.
- Then, fold the binding back down, aligning it with the next side of the quilt Make sure that the extra flap of binding that this will create at the corner – is out of the way of the needle before you start stitching the next side of the quilt.
- Repeat this process for all four corners of the quilt.
Step 4: Finish Sewing the Binding to the Quilt
Once you have mitered all four corners of the quilt,
- Continue sewing the remaining binding to the quilt top.
- Stop sewing about 6 inches away from where you started, and backstitch to secure your seam and remove your quilt from the machine.
- Measure, match up and join the ends of your binding – sewing at a 45-degree angle and trimming away the excess fabric. This video is a great tutorial for how to join the ends of your binding.
- Once your ends are joined – pin the binding in place and finish stitching it down – making sure to backstitch (a stitch or two) before you remove your quilt from the machine.
Step 5: Fold the Binding and Secure it to the Back of the Quilt
After you have finished sewing the binding to the quilt top, it’s time to fold it over to the back of the quilt.
- Quilt Label – If you are adding a quilt label that you want to have bound into the edge or corner of your quilt – pin or baste it in place – before you finish stitching the binding down to the back of the quilt. As you are hand stitching the binding – be sure to catch all layers of the label and the backing fabric so that your label will be secure. Hand-stitch any edges of the label that weren’t stitched down with the binding.
- Use binding clips to hold the binding in place as you begin hand stitching the folded edge of the binding strip – to the back of the quilt. I normally use 5 or 6 binding clips and space them out a few inches apart (about the width of my hand). When I sew up to a clip – I remove it and add it to the edge I’m working on – a few inches past the last clip in the line (in essence – leap-frogging the clips as I sew up to them and move them further down the line).
- Use a blind stitch – to secure the edge of the binding to the backing of the quilt.
- Pro tip: I also like to fold each corner into a miter and secure them with a binding clip before I start hand-stitching the binding. The binding clips hold the mitered fold into place so that when I get to a corner – the stitching is much easier.
- Continue stitching the binding – around the back of the quilt. Your quilt is now complete.
Applied Binding: Advantages and Disadvantages
- Advantage – Strength: An applied binding is two fabric layers thick at the edge of the quilt – where most quilts experience the most wear. An applied binding can be replaced should the need arise.
- Advantage – Design: An applied binding is another opportunity to add to the design of the quilt. I love to use stripes or create a binding strip from scraps of the fabrics used in the quilt top. The binding can also serve as a final tiny border or frame to the quilt by using a contrasting fabric. On the other hand – a binding that matches the out border can make the border appear to float off the edge of the quilt.
- Advantage – Irregular edges: An applied binding allows you to ease the binding strip around curves and irregular edges – providing a beautiful finish to the edge of your quilt.
- Disadvantage – Time: Adding an applied binding is an extra step – particularly if you decide to hand-stitch it to the back of the quilt. My advice – grab a cup of tea and a great movie. Sit under a light that illuminates your work – but doesn’t get in your eyes (here’s the one I use) and stitch away.
FOLDED OVER BINDING
A Folder Over Binding is a binding that is created by folding the backing fabric of the quilt over the edge of the quilt top, instead of attaching a separate binding strip. Here’s the step-by-step process for creating a folded-over binding for your quilt.
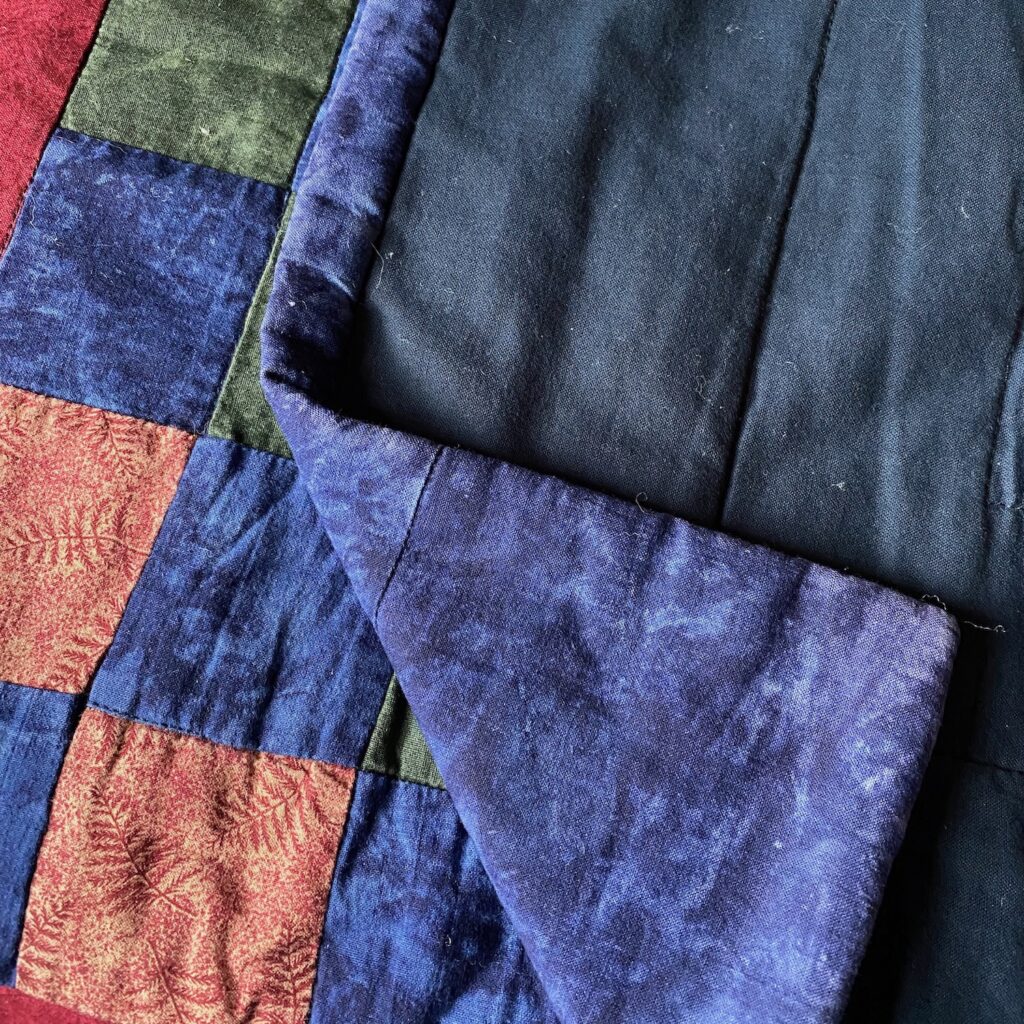
- Cut the backing fabric so that it extends beyond the edge of the quilt top by at least 1 inch on all sides.
- Trim the backing to 1 inch all the way around the quilt top.
- Fold the backing fabric toward the edge of the quilt top so that the raw edge of the backing fabric meets the raw edge of the quilt top.
- Pro Tip: I find it helps to press this newly created folded edge – before I fold it over the edge of the quilt top.
- Fold the backing again – over the edge of the quilt top so that you have a neat edge.
- Use binding clips to hold the binding in place.
- Carefully fold the mitered corner and secure it with a binding clip. Repeat for all four corners.
- Stitch the binding all around the edge of the quilt – securing the binding in place. Your quilt is now complete.
Folded over Binding: Advantages and Disadvantages
- Advantage – Time: One advantage of a folded-over binding is that it creates a very clean finished edge to the quilt – quickly. Binding of this type is normally stitched down by machine.
- Disadvantage – Durability: A folded-over binding may not be as durable as an applied binding due to the single layer of fabric.
- Disadvantage – Curves and Irregular edges: Folded-over bindings may also be more difficult to create on quilts with curved or irregular edges, since the backing fabric may not fold neatly around these shapes.
FACING
A Mitered Facing is a finishing method that adds a fabric “frame” around the edges of the top of the quilt and is then folded to the back.
This “Facing” method can also be created without the mitered corners – by joining the facing strips at right angles to each other.
The facing does not show from the front of the quilt. Here is the step-by-step process for creating a mitered facing for your quilt.
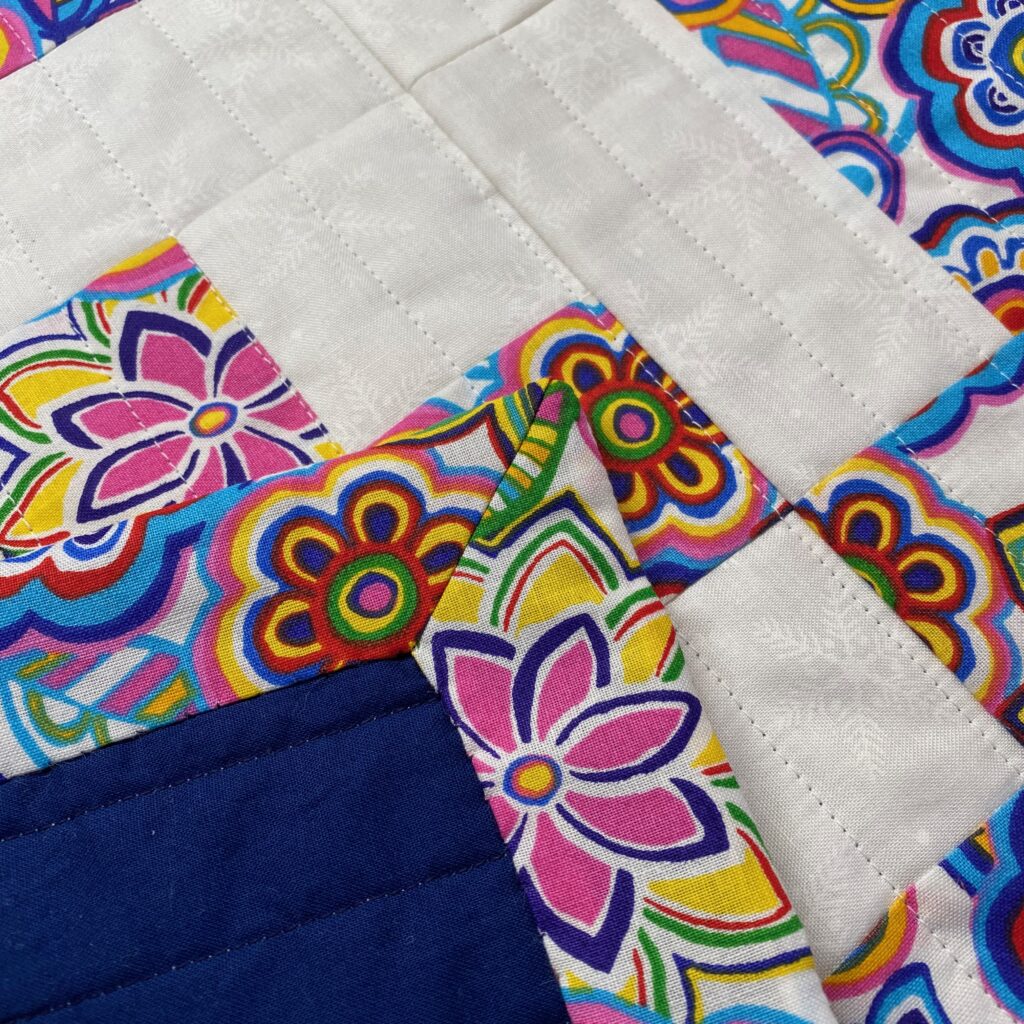
- Cut the facing strips in whatever width you like – depending on how far into the back of the quilt you would like the facing to extend. I generally cut strips that are 2 – 3 inches wide and 8 – 9 inches longer that each side of the quilt.
- Do not join them at this point. You will apply each facing strip to the quilt separately and then join the corners.
- Press one long side of each strip under 1/4 Inch.
- Center a strip on one side of the quilt top (right sides together) with the raw edges of the facing strip matching up with the raw edge of the quilt. The pressed edge will be towards the center of your quilt.
- Stitch each facing strip in place – leaving about 5 or 6 inches at each end of each strip – unsewn. This will allow you the ability to miter the corners. You will complete the stitching after the corners are mitered.
- Measure and sew the corner together with a 45-degree seam trimming away the excess fabric. Repeat for all four corners and press the seam in each corner. I prefer to press these corner seams open to reduce bulk
- Finish stitching the facing down in all four corners.
- Trim some of the fabric away from each corner to reduce the bulk in the corner. Be particularly careful to stay far enough away from the stitching line so that you don’t end up with a hole in the corner.
- Roll the completed facing over the edge of the quilt to the back. Use your fingers to manipulate the facing into place so that you don’t see it from the front and that you have a nice crisp edge to your quilt.
- Stitch (by hand using a blind stitch) the facing in place along the edge you pressed in step 2. Your quilt is now complete.
Mitered Facing: Advantages and Disadvantages
- Advantage – A clean look: One advantage of a “faced” finish is that it creates a very clean and modern look, with no visible binding or stitching on the edge of the quilt. This can be particularly useful if you want to create a minimalist or contemporary design.
- Disadvantage – Durability: A facing may not be as durable as an applied binding due to the way the facing is fully brought to the back of the quilt. You don’t get the same double layer of fabric at the edge of the quilt as you do with an applied binding.
- Disadvantage – Curves and Irregular edges: Mitered facings may also be more difficult to create on quilts with curved or irregular edges.
THE BIRTHING METHOD
Made popular by Eleanor Burns (Quilt in a Day) many years ago – The “Birthing” method of finishing a quilt is a very easy process. The actual quilting is completed after the edges of the quilt have been enclosed. Here is the step-by-step process for using the “Birthing” method for finishing the raw edges of your quilt.
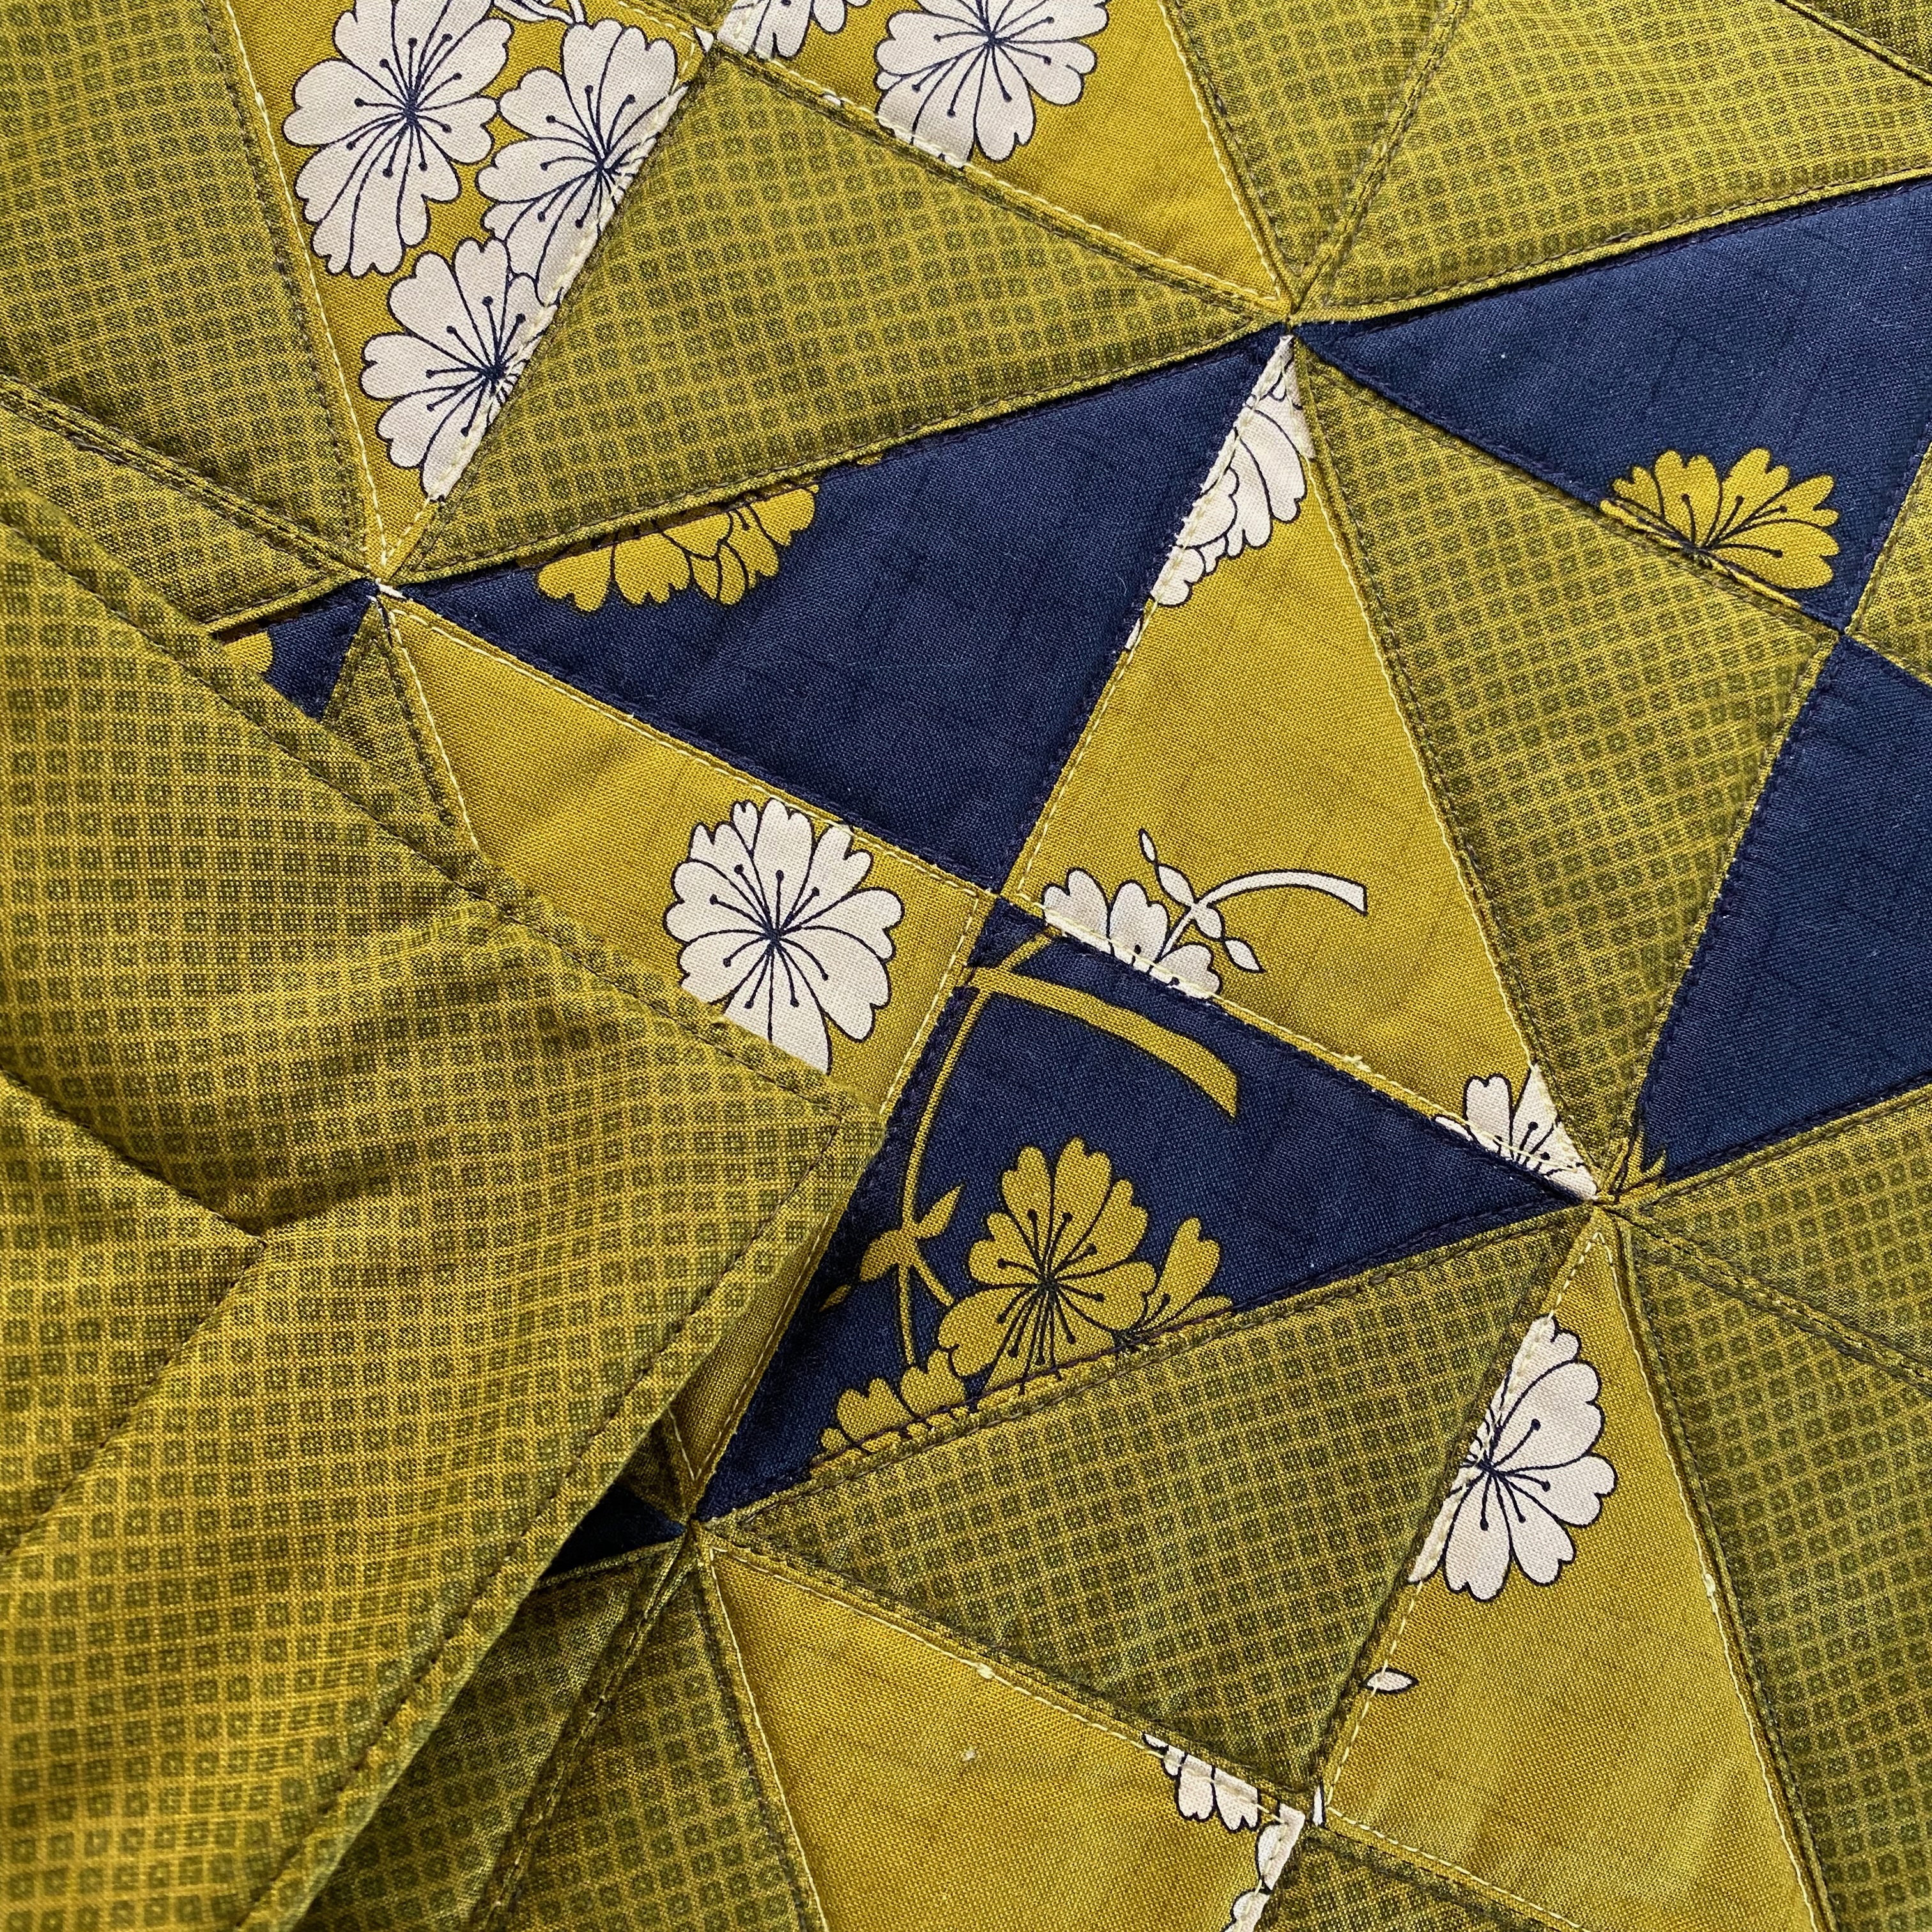
- Place your batting on your table – making sure that it is very smooth.
- Place the backing fabric face up on top of the batting.
- Place your completed quilt top face down on top of the backing fabric.
- Pin this “quilt sandwich” securely all around the edges of the quilt top. I also like to pin evenly across the surface of the quilt to make sure everything stays in place.
- Stitch all the way around the quilt top – leaving an opening of about 6 inches. This opening will be closed up once the quilt is “birthed”.
- Trim the 4 corners slightly to reduce bulk – being careful not to trim too close to the stitching line. Remove any pins.
- Remove any pins and turn the “quilt sandwich” right side out – making sure to get the corners nice and square.
- Pin the opening – and stitch closed about 1/8 inch away from the edge. Continue this stitching line around the quilt for a crisp finished edge.
- Pin or baste the quilt and quilt as desired.
The Birthing Method: Advantages and Disadvantages
- Advantage – Speed: This is a great method for finishing small quilts quickly. Particularly if I will be “tying” the quilt rather than machine quilting it.
- Disadvantage – Size matters: I’ve found it more difficult to use this method for larger quilts because the quilting is done after the edges are already finished. If I’ve not been careful enough about making sure that all three layers stay in alignment with each other – I’ve gotten less than desirable results when I quilt it.
Four different methods (with some variations) for finishing the raw edges of your quilt – one or another of them will be perfect for your next project.

