If you’re anything like me, you don’t just have scraps — you have a growing collection of scraps. Little pieces from past quilts. Favorite fabrics you couldn’t quite part with. Odd shapes that feel too pretty to toss… but too small to use.
And every now and then, you look at that pile and think: There has to be something I can do with all of this.
There is. And it’s one of those techniques that feels a little bit magical the first time you try it.
I was reminded of this technique to use up scraps during a presentation at our Metropolitan Patchwork Society Guild meeting a couple of months ago. Tina Craig (owner of Seaside-Stitches.com) was talking to us about working in group projects (such a great presentation!).
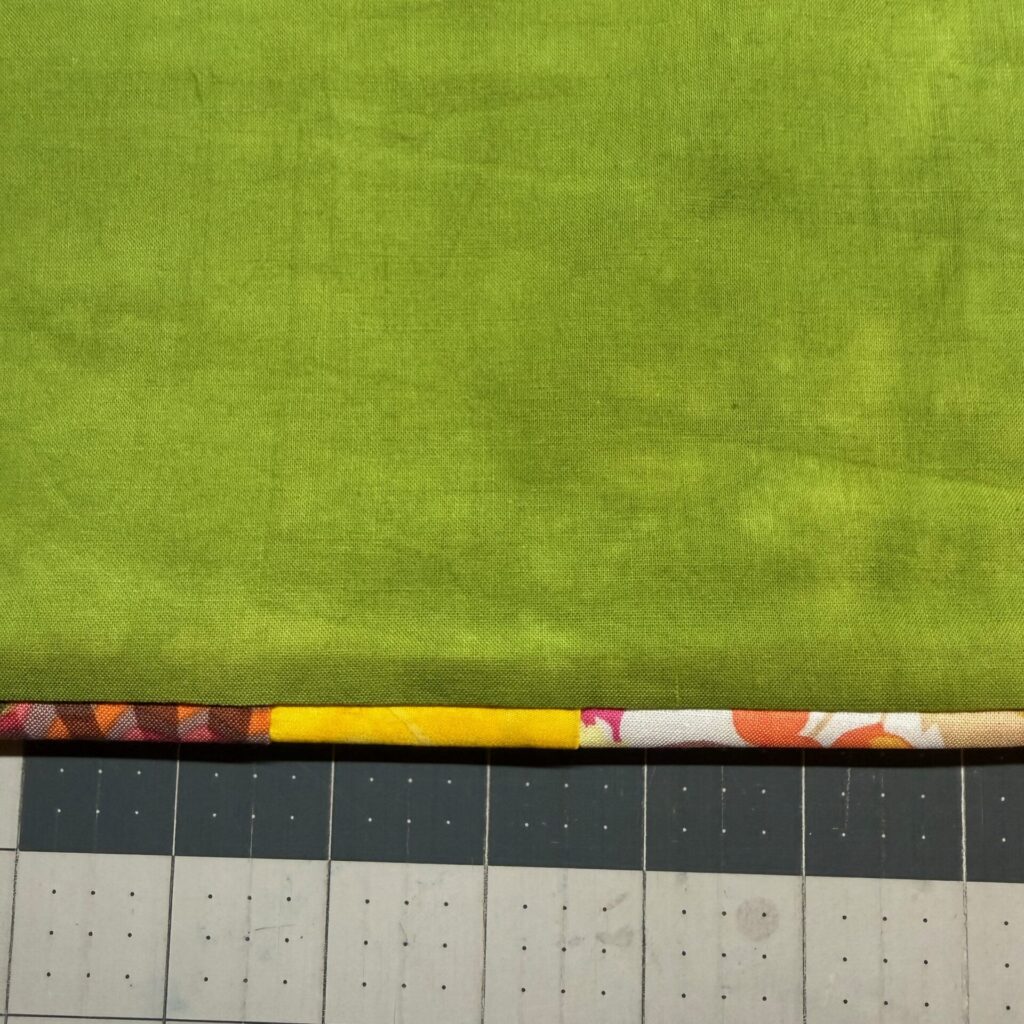
One of the quilt examples she shared with us got my brain buzzing with possibilities. Her quilt (below) features a scrappy strip for the border, and if you’ll take a closer look, you’ll see that the three large blocks have also incorporated the scrappy strips. My mind was racing with all the possibilities for my scrap bin.
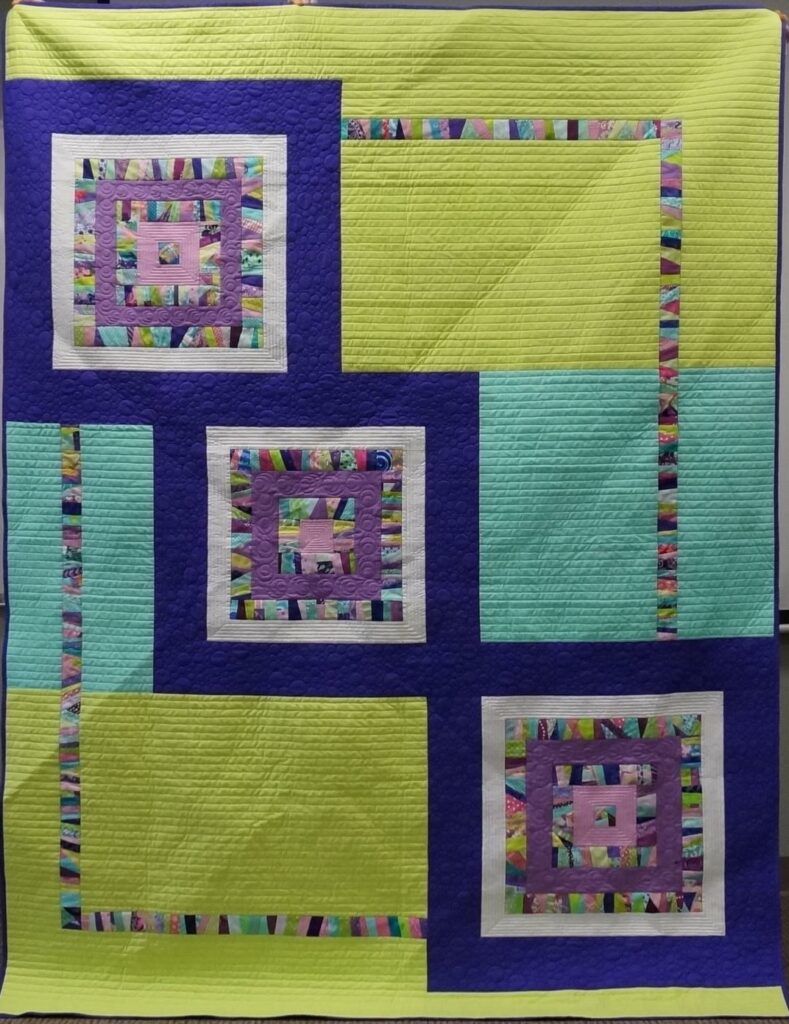
This quilt was made in 2018 for the MQG charity challenge. Designed and assembled by Tina Craig and quilted by an anonymous member. Members brought scraps in the designated colors and piled them on the center table to share. The scrappy strips were pieced by members during a guild sew day.
Let’s Get Started
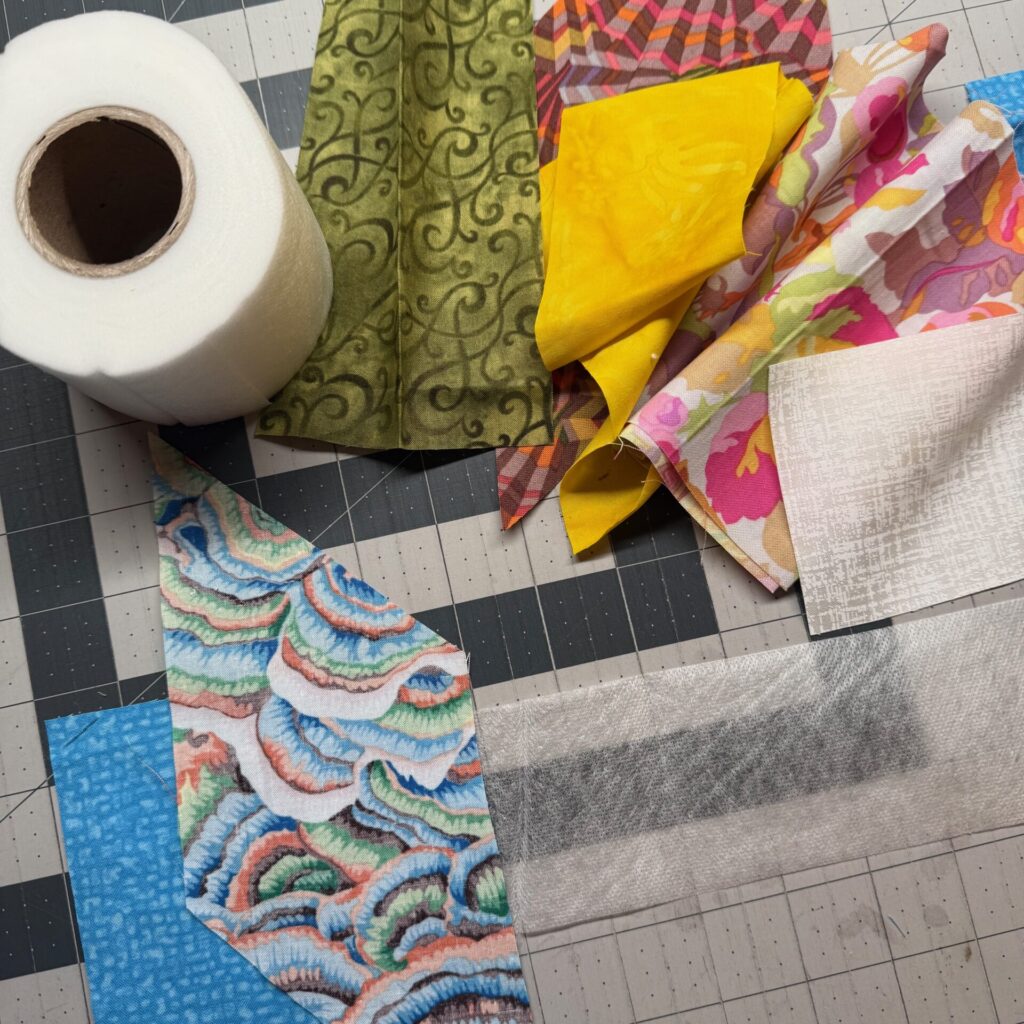
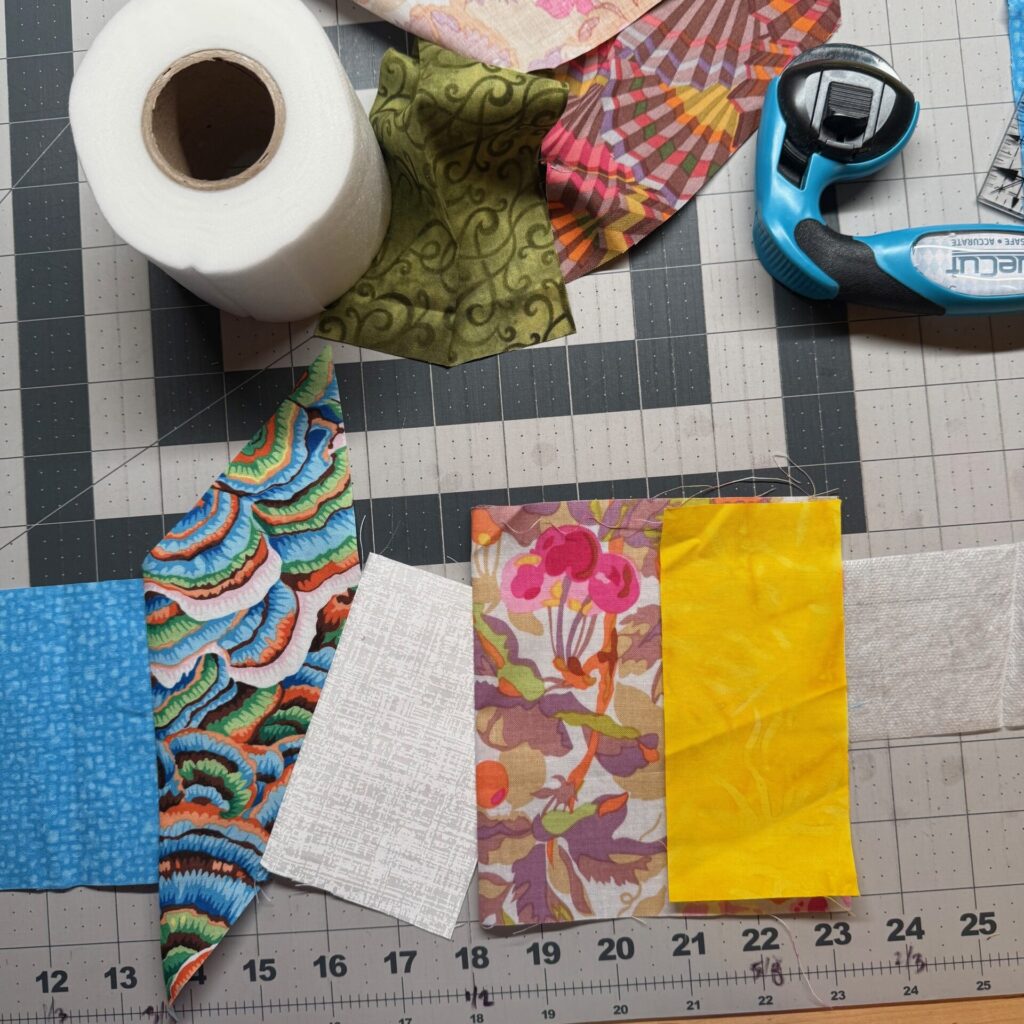
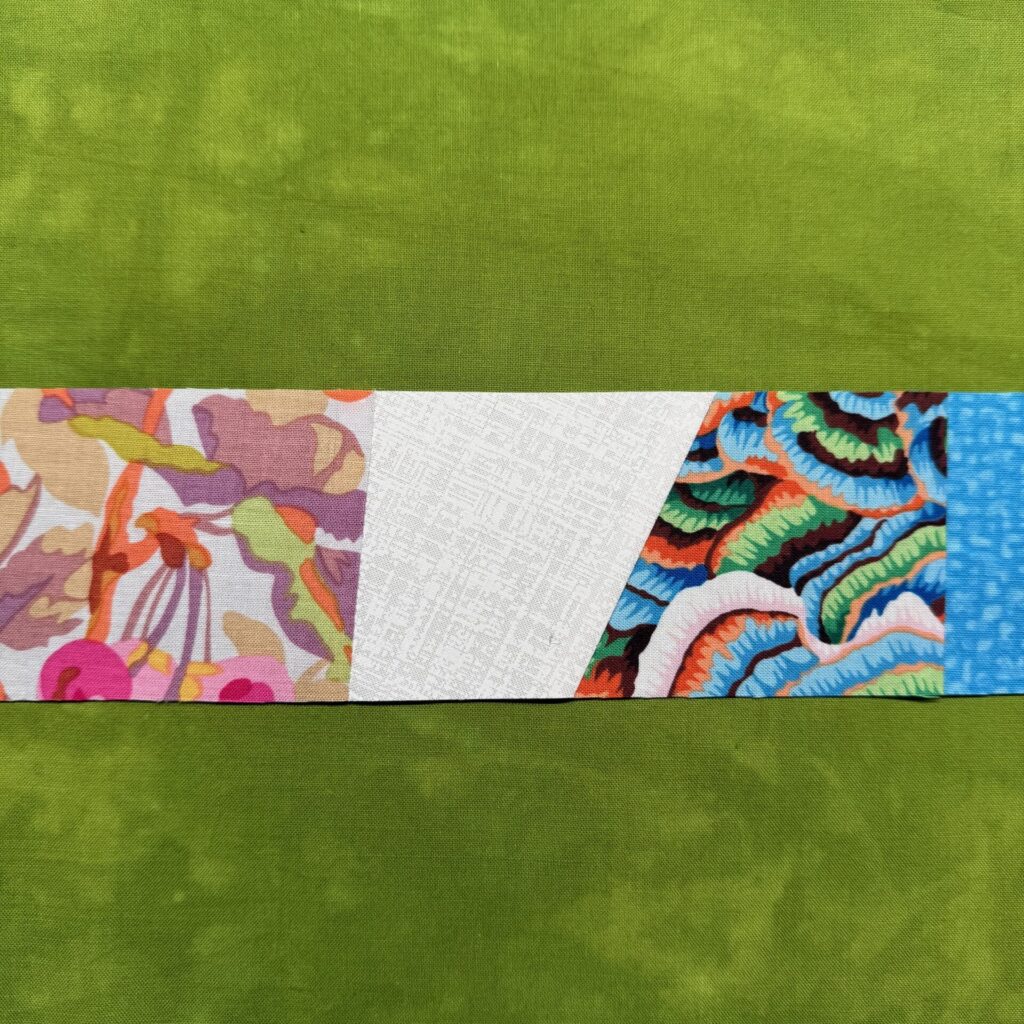
Today, we’re turning our scraps into scrappy fabric strips using 2-1/2″ Scrap Tape and a simple flip-and-stitch method — and then putting those strips to work in our quilts. I pulled a handful of scraps from my scrap bin for this exercise.
What Is Scrap Tape — and Why Use It?
First, though, let’s talk about the Scrap Tape. 2-1/2″ Scrap Tape is a water-soluble stabilizer that gives your scraps just enough structure to sew them together into a cohesive strip.
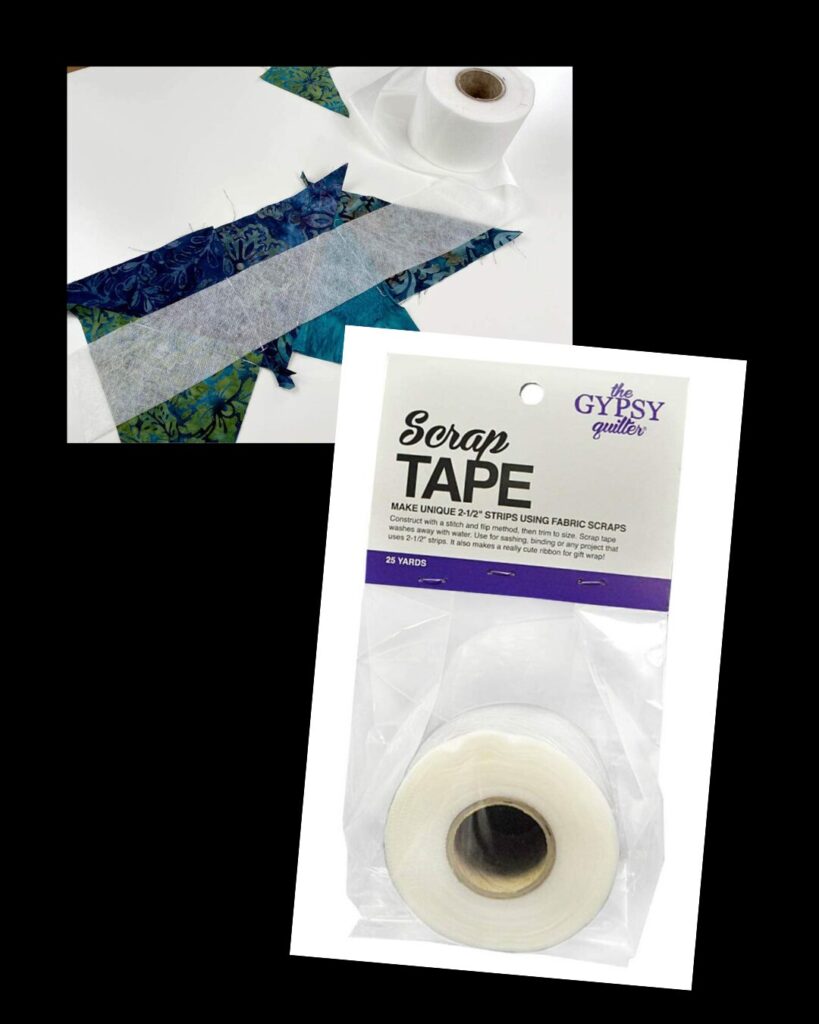
Think of it as a temporary foundation. It holds everything in place while you build your strip, then disappears when you’re done.
What I love most about this method:
- No precise cutting required
- No worrying about perfect seams
- It’s forgiving, flexible, and scrap-friendly
And the end result? A completely unique strip of fabric that tells the story of your quilt.
Back in the day, many of us used adding machine tape and a stitch and flip method for creating these scrappy strips. It’s basically foundation paper piecing on a strip of paper.
I prefer to use the Scrap Tape by Gypsy Quilter, specifically because I can leave it in. It washes away in the finished quilt – no need to remove it. With the paper tape – there is a lot of paper picking – not my favorite thing to do.
The Flip-and-Stitch Method (Step-by-Step)
Step 1: Start with a Base Scrap
Place your first fabric scrap at one end of the tape, right side up. This becomes your anchor.
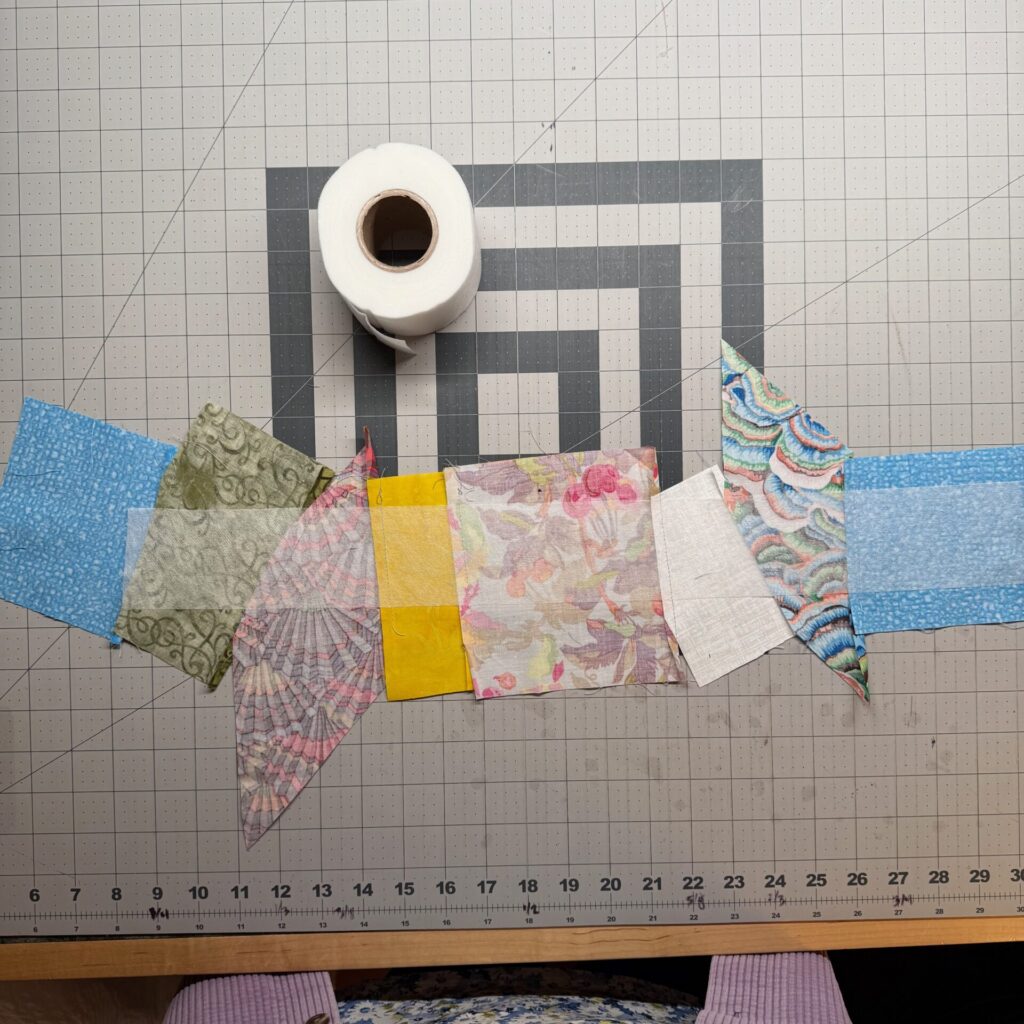
Step 2: Add the Next Scrap (Right Sides Together)
Take your second scrap and place it right sides together with the first piece, aligning one edge. See the image in Step 1.
Step 3: Stitch and Flip
Sew along the edge, then flip the second piece open so the right side is facing up.
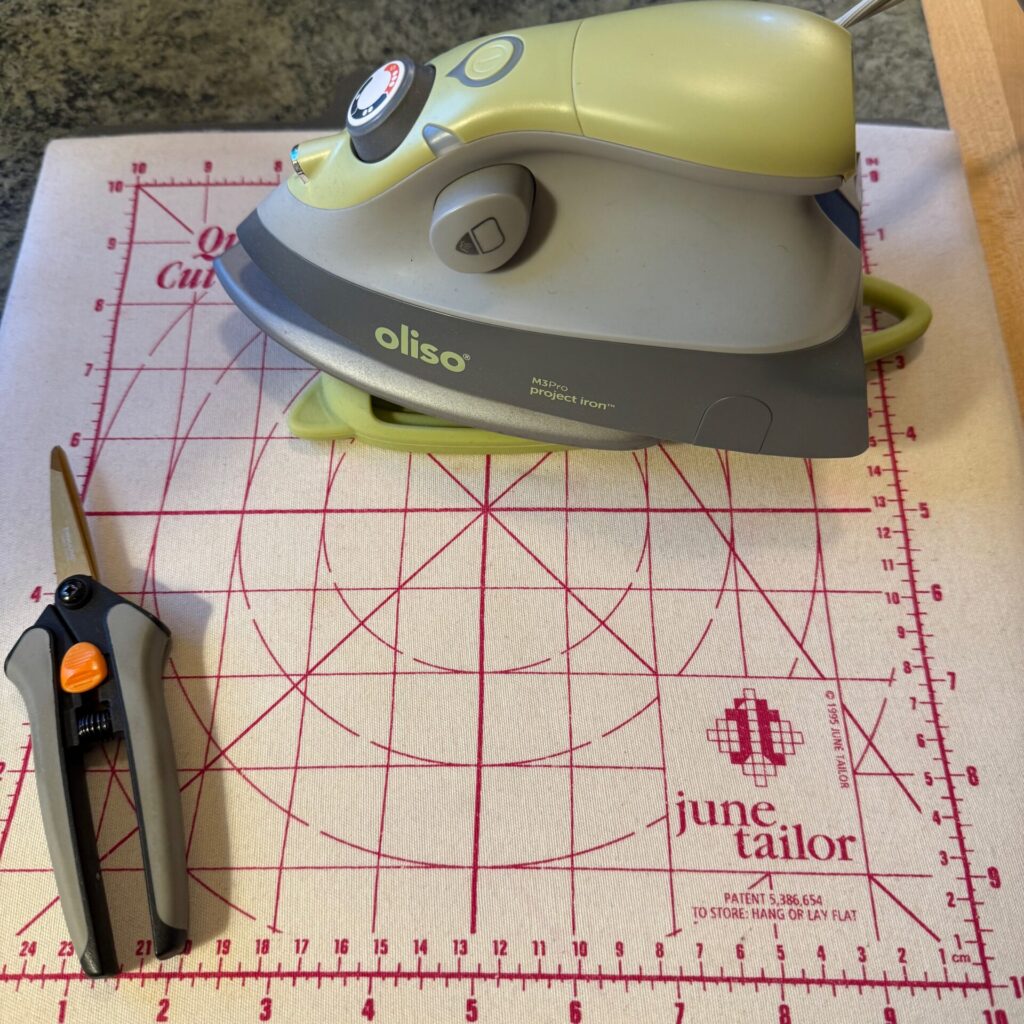
Give it a quick press. I find it helpful to set up a small pressing station right next to my machine, and I use the Oliso project iron to press each seam before I add the next scrap to the strip.
Step 4: Keep Going
Continue adding scraps one at a time, working your way down the length of the tape.
- Place right sides together
- Stitch
- Flip
- Repeat
Step 5: Fill the Strip
Your scraps will hang over the edges. Don’t worry about that, it’s part of the process.
Once your strip is complete, trim it down to a clean 2-1/2″ width.
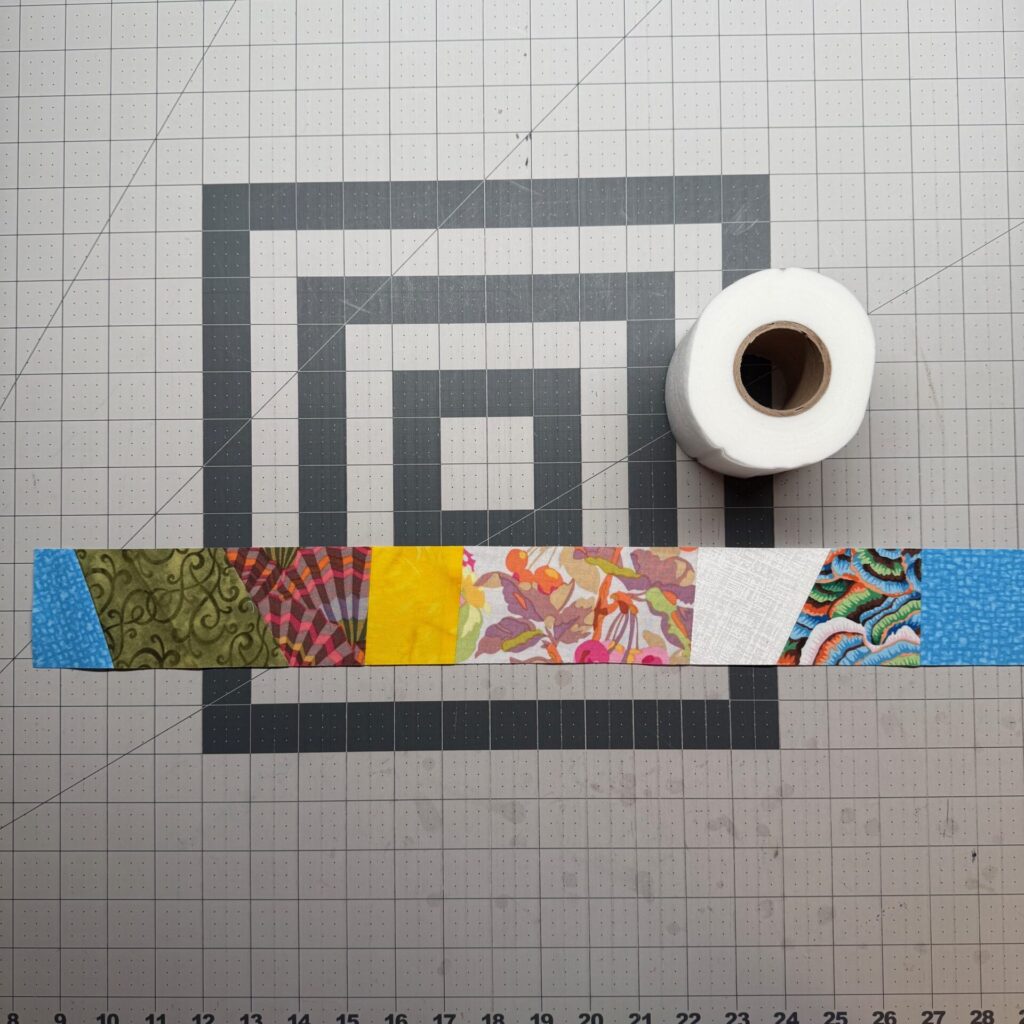
Don’t worry about removing the Scrap Tape – keeping it in place will help stabilize the strip while you are working with it. Once your quilt is finished – wash the quilt, and the Scrap Tape will dissolve away.
A Few Tips to Make It Even Easier
This technique is very forgiving, but a few small tips can make a big difference:
- Vary your scrap sizes for a more dynamic look
- Mix light, medium, and dark fabrics to create contrast and sparkle
- Press occasionally to keep things flat and manageable
- Use a neutral thread so it blends across different fabrics
And most importantly — don’t overthink it. This is one of those times where “imperfect” is actually perfect.
How to Use Your Scrappy Strips
Now comes the best part — putting your strips to work. These “self-made” fabric strips will add personality and a bit of pop to your quilted projects. Here are a few ideas to get you started:
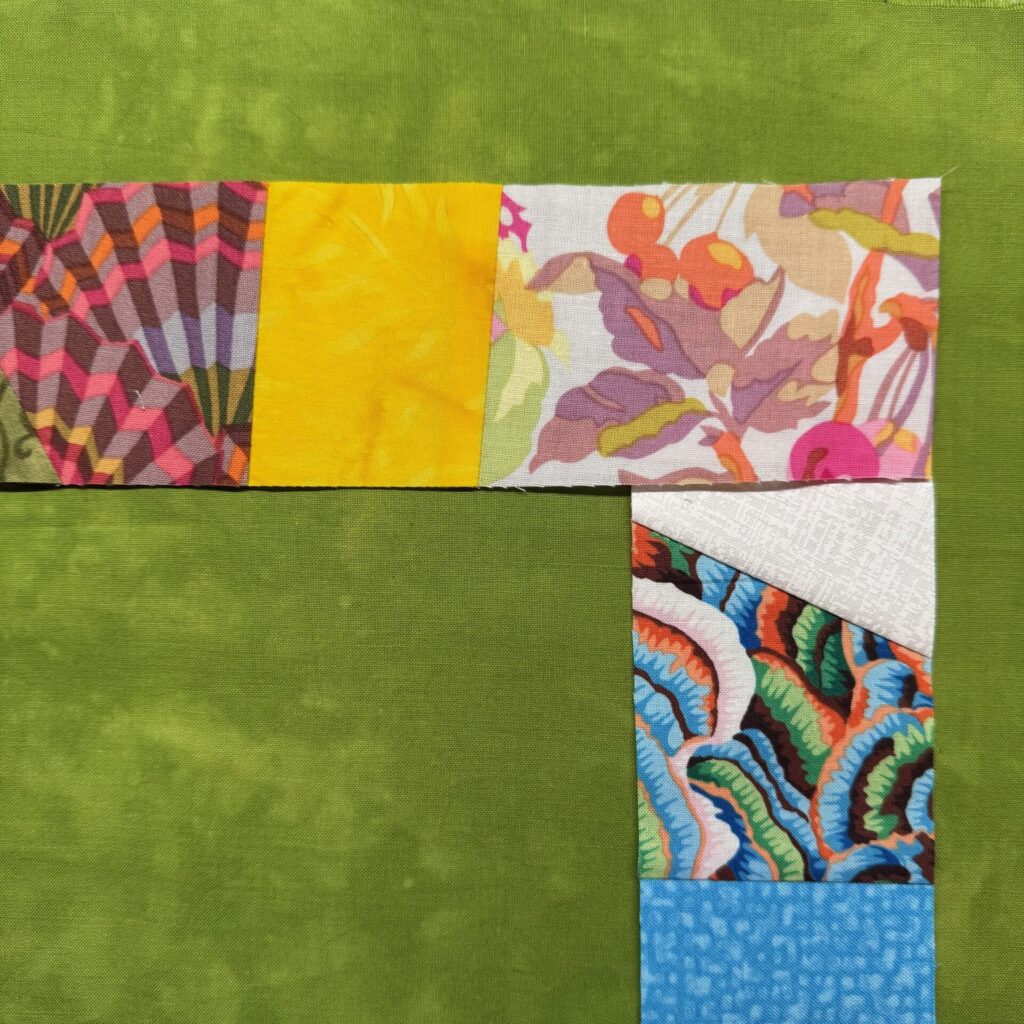
Add a Border with Personality
Use your scrappy strip as a border to frame your quilt. It adds movement, color, and just a little bit of surprise.
Create a Scrappy One-of-a-Kind Binding
This is one of my favorite uses for scrappy strips. Instead of a single fabric binding, your scrappy strip becomes a pieced binding that ties the entire quilt together—literally and visually.
Bring the Back to Life
If your quilt back feels a little… plain, this is your solution. Add one (or more) scrappy strips to the backing:
- As a horizontal or vertical accent
- As a divider between backing fabrics
- Or just as a pop of color
It’s a beautiful way to echo the fabrics from the front and make the back feel just as special.
Why This Scrap Tape Technique Matters
There’s something meaningful about using your scraps this way. Each piece came from somewhere — a project you loved, a fabric you chose carefully, a quilt you made for someone important.
When you stitch them together into a single strip, you’re not just using leftovers — you’re layering stories. And instead of sitting in a bin, those scraps become part of something new.
Next time you finish a quilt, don’t put those scraps away. Pull out a roll of scrap tape and start stitching.
No plan. No pressure. Just see where it takes you. You might be surprised at what comes together — one little piece at a time.
Happy Stitching!