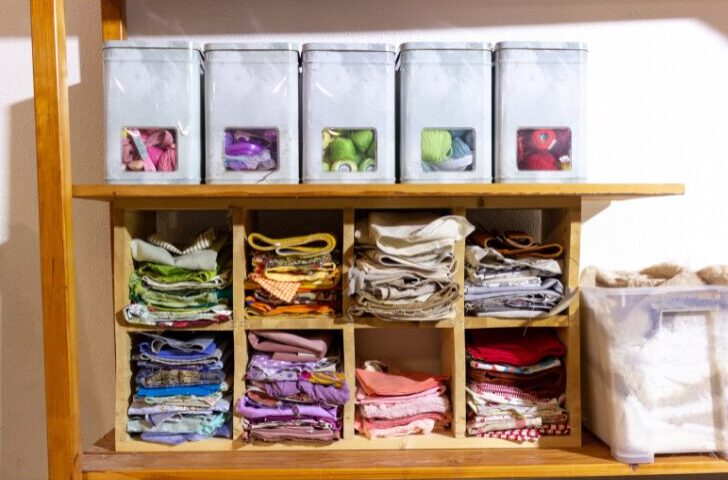
Organizing Your Quilting Fabric: Tips and Tricks for a Tidy Stash
Ask any quilter, and we’ll tell you that one of the biggest challenges we face is organizing our fabric stash. With the wide array of colors, patterns, and textures available, keeping everything in order can seem like a daunting task. Fear not, fellow quilters! Whether you’re a seasoned pro or just starting on your quilting journey, here are some helpful tips and tricks to keep your fabric stash organized and accessible.
Let’s start by breaking the task down into a series of decisions. The choices you make aren’t going to be set in stone – but they will lead to an organizing solution that works for you – in the space you have.
I’ve broken the project into two chunks – Yardage and Scraps. For this discussion, I’m considering anything over 1/4 yard to be yardage and 1/4 yard or less (including fat quarters) – to be scraps. You get to decide where you draw that line for yourself.
Yardage (anything over 1/4 yard)
Decision 1 – Do you want to sort by color or by type of fabric?
Sort by Color: One of the most popular methods of organizing fabric is by color. This makes it easy to find the perfect shade when you’re working on a new project. You can even take it a step further and arrange each color by shade, from light to dark, for added convenience.
Sort by Type: The other option for sorting fabric is to organize it based on the type of fabric it is. Depending on your personal quilting style – you may have lots of Halloween or Christmas fabrics, some solids, florals, children’s prints, etc.
Start by pulling out ALL of your fabric and sorting it into some general categories that make sense to you. You may find (like I did) that one or more of these sorted piles of fabric – need to be further separated into new/additional categories. There are no wrong answers here – your stash is unique to you just like mine is unique to me.
When I organized my fabrics I used the following categories to sort them.
- Batiks (further sorted by color)
- Asian
- Kaffe
- Christmas
- Patriotic
- Geometric prints
- Dots
- Solids
- Novelty prints
- Floral
- Landscape fabrics (further sorted by color)
- Pre-Cuts (strips, squares, etc.)
Decision 2 – Storage solutions
Start by identifying and measuring the spaces you have designated as storage for your fabric. Your choice of storage system will be based on the space you have, how much fabric you have in each of your color groups or style categories, and your comfort level with open or closed storage.
Many quilters get inspired by seeing all their quilty treasures (particularly quilting fabrics) organized and on display. Others (like me) – get a bit overwhelmed by seeing everything, everywhere – all at once. I prefer to have some quilting-related decorative objects and personal mementos on display and all my fabric contained and organized behind cabinet doors or on rolling carts behind curtains. When I’m working on a project I pull out what I need and can focus on that. Whichever your style – be sure to consider that when deciding on your quilting fabric storage system.
You can get as fancy – or as economical with your storage system as you want. What matters is that you like it and that it works for you.
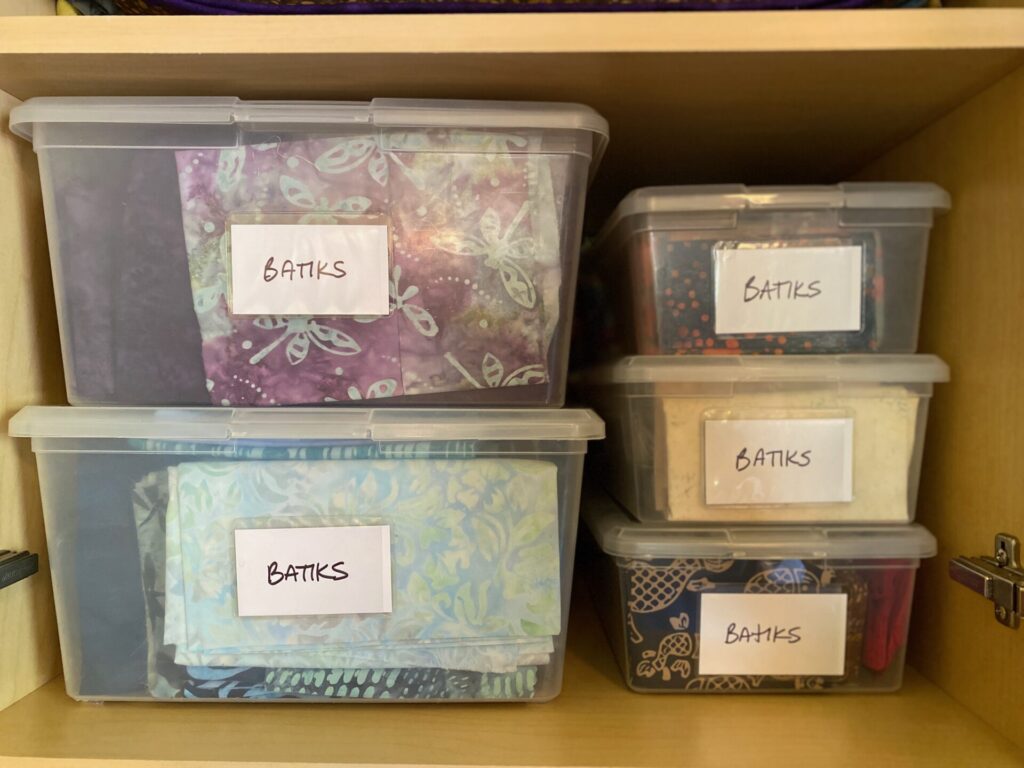
Clear plastic bins or storage boxes: sort your fabric into different containers. This is the method I chose. Each of the clear “totes” I chose has a lid to keep the fabric clean and make stacking them a breeze. I chose two sizes – one for yardage and a shoebox size for anything 1/4 yard or smaller. The sizes I chose fit well on my shelves and stack neatly.
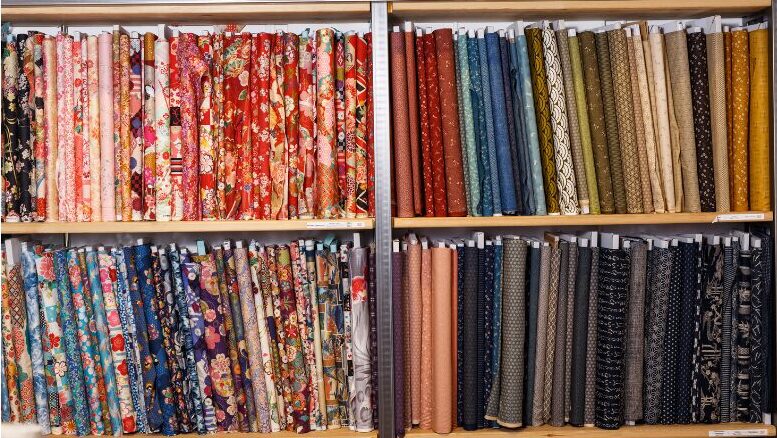
Fabric Bolts or Boards: If you have a large collection of fabric, consider using fabric bolts or boards to keep everything neatly folded and easily accessible. Fabric stored this way can be displayed on shelves. Simply wrap your fabric around the bolt or board and secure it in place with a pin or clip. This method not only keeps your quilting fabric organized but also helps to prevent creases and wrinkles. Here’s a source for the fabric storage boards (also known as comic book boards). If you need fabric bolts – try your local quilt shop – they often have them available (that way they don’t have to recycle them).
Divide and Conquer with Dividers: Keep smaller pieces of fabric from getting lost in the shuffle by using dividers to create separate compartments within your storage containers. You can use cardboard dividers, plastic dividers, or even make your own out of foam board. This way, you can easily locate that one piece of fabric you need without having to dig through a jumbled mess.
Utilize Hanging Storage: Maximize your storage space by utilizing hanging storage solutions such as closet rods or hanging organizers with pockets. Hang your fabric by color or type for easy access and visibility. Hanging organizers (like those used for shoes or jewelry) are especially useful for fat quarters and smaller scraps that tend to get lost in larger storage containers.
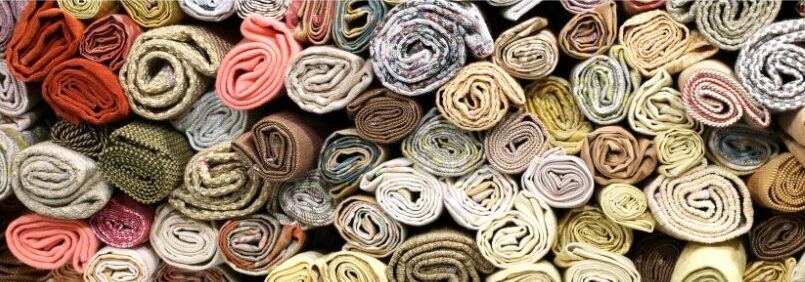
Consider Rolling: If you’re short on space or simply prefer a more compact storage solution, consider rolling your fabric instead of folding it. Not only does this save some space, but it looks cool too. Rolling the fabric allows the use of some interesting containers if you like to have your fabric on display.
Scraps (anything less than 1/4 yard)
Decision 3 – how small is too small to save?
Each of us has a limit as to how small a scrap of fabric we are willing to save. For me – if scraps from a project are too small to be useful for the types of projects I like to make – they go in a recycle bin lined with a plastic trash bag. When the bag is full – I donate it to someone else who enjoys working with random scraps more than I do.
Whatever your tolerance for scrap size: Create a scrap system, and don’t let those scraps go to waste!
Decision 4 – Scrap Storage
You can use clear plastic bins, zipper pouches, or even mason jars to keep your scraps organized and easily accessible for future projects.
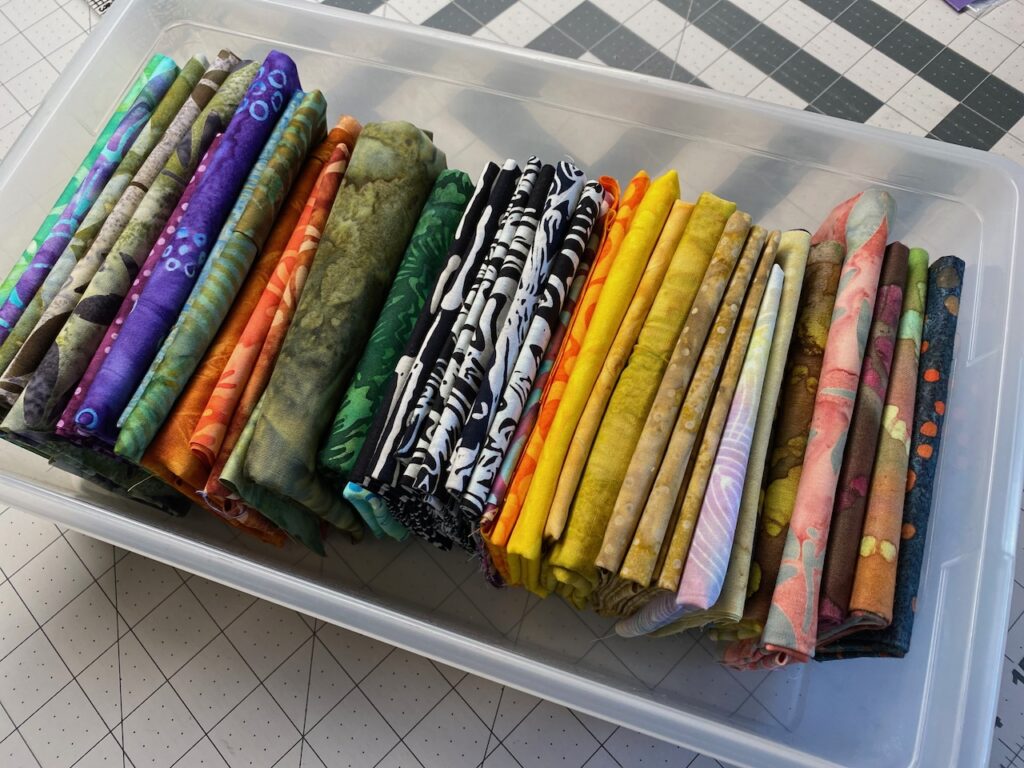
For larger scraps – and I include fat eights and fat quarters in this category, I use clear plastic shoe boxes with lids. My scraps are stored in these shoe boxes (sort of) by color. I fold them so that they fit into the shoebox efficiently and make good use of the space. The exception to this system (for me) is when I still have yardage available of that fabric. If that’s the case, I neatly organize the scraps and tuck them up inside the yardage before I fold it to store in the yardage totes.
You’ll notice in the box below – I have room on both sides of the folded fabric. That’s only because – I have room to add more to this particular shoebox (time to go shopping!)
Some quilters like to cut scraps into specific sizes that they like to work with (2-1/2 in squares or strips, 5-inch squares, etc.) This makes storing them much easier and they are ready to use when inspiration strikes. I do have lots of 2-1/2 inch strips that I’ve cut from leftover fabrics – so much fun to play with!
More Tips
Label Everything: Labels are your best friend when it comes to organizing your quilting fabric. Whether you’re using bins, shelves, or drawers, be sure to label each storage container with the color or type of fabric it contains. This will save you time and frustration when you’re searching for a specific fabric for your next project. My labels aren’t fancy – but they work well.
Rotate Your Stash: Keep your fabric stash fresh and inspiring by regularly rotating your fabric. Every few months, take some time to go through your stash and reorganize it. This gives you a chance to rediscover forgotten gems.
Found something you aren’t in love with anymore? Consider gifting it to a new quilter or trading it with a quilty friend.
For the Truly Obsessed Organizer: Take your organization to the next level by keeping a digital inventory of your fabric stash. Use a spreadsheet or inventory management app to catalog your fabrics by color, type, yardage, and any other relevant details. This makes it easy to keep track of what you have and what you need for your next project, even when you’re on the go.
Don’t Overthink It: At the end of the day, the most important thing is to find an organizing system that works for you. Whether you prefer a color-coded rainbow or a chaotic jumble of prints, the key is to keep your fabric stash manageable and accessible. So don’t stress about achieving perfection—just dive in and start organizing!
Organizing your quilting fabric doesn’t have to be a daunting task. With the right tools and techniques, you can keep your fabric stash neat, tidy, and ready for your next creative masterpiece. So roll up your sleeves, gather your fabrics, and embark on your journey to a more organized quilting space!
