One of my favorite parts of my job is getting a sneak peek at the new books, patterns, tools, and fabrics before they are shared publicly. Such is the case with the new book, Not Your Typical Jelly Roll Quilts by Michelle Lander Cain.
This book was of particular interest to me because I know how many of you love those pretty little rolls of awesome (also known as Jelly Rolls or Strip Bundles). When I was asked to review a new book – with projects using strips that were quite different than what I’d seen before, yes, please!
I was delighted to see such an interesting range of projects. I’ve done the Jelly Roll Race type of project (and the many variations) so many times. While that can be a fun (and quite zen-like) way to make a quilt, it’s not really my thing.
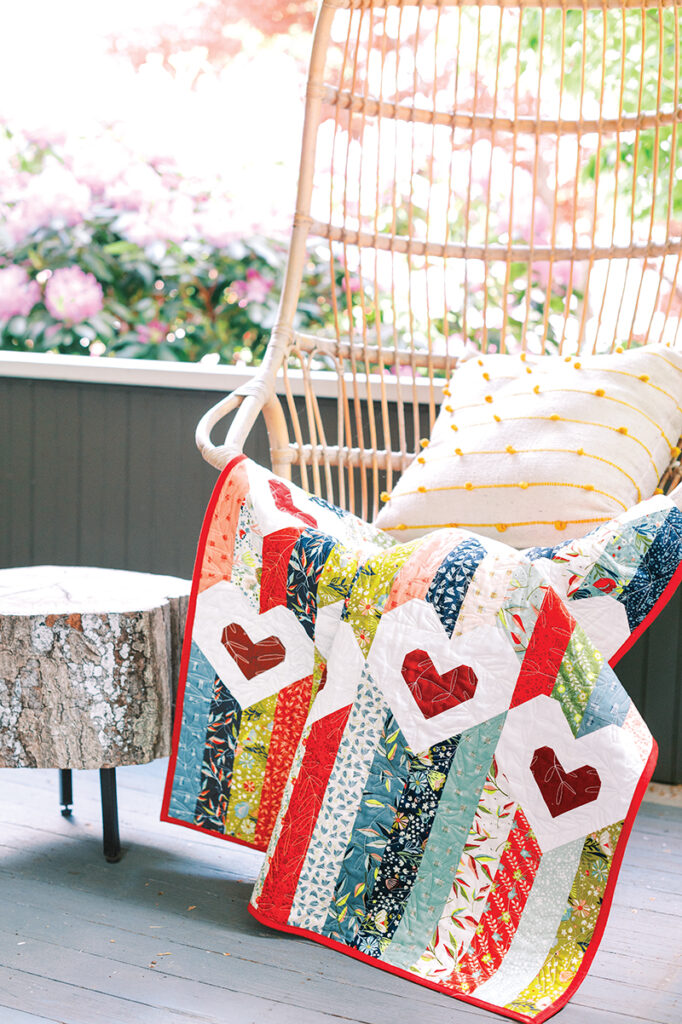
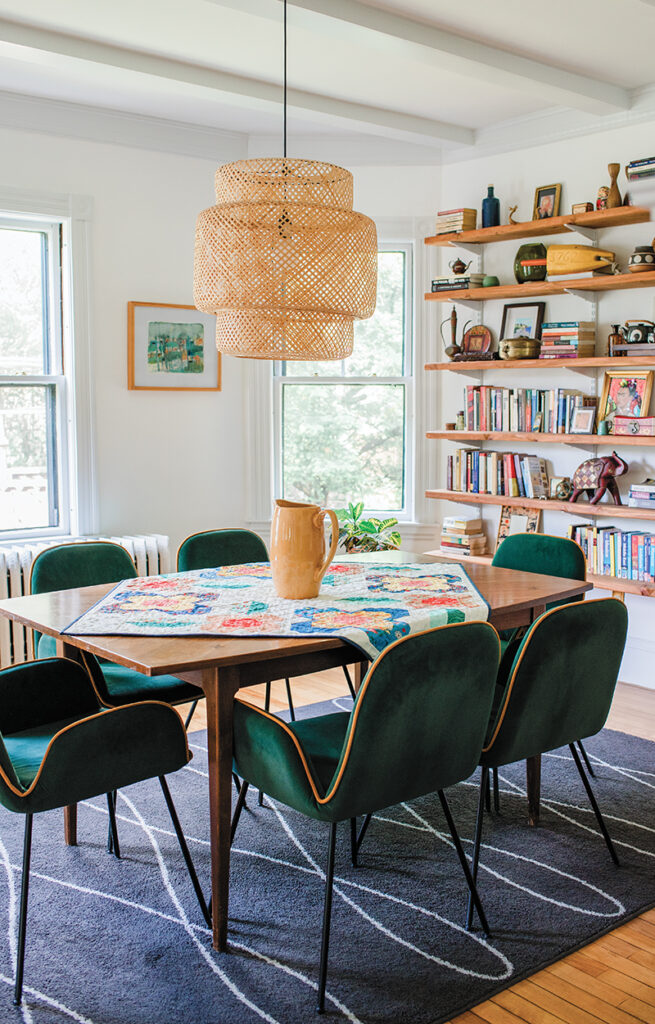
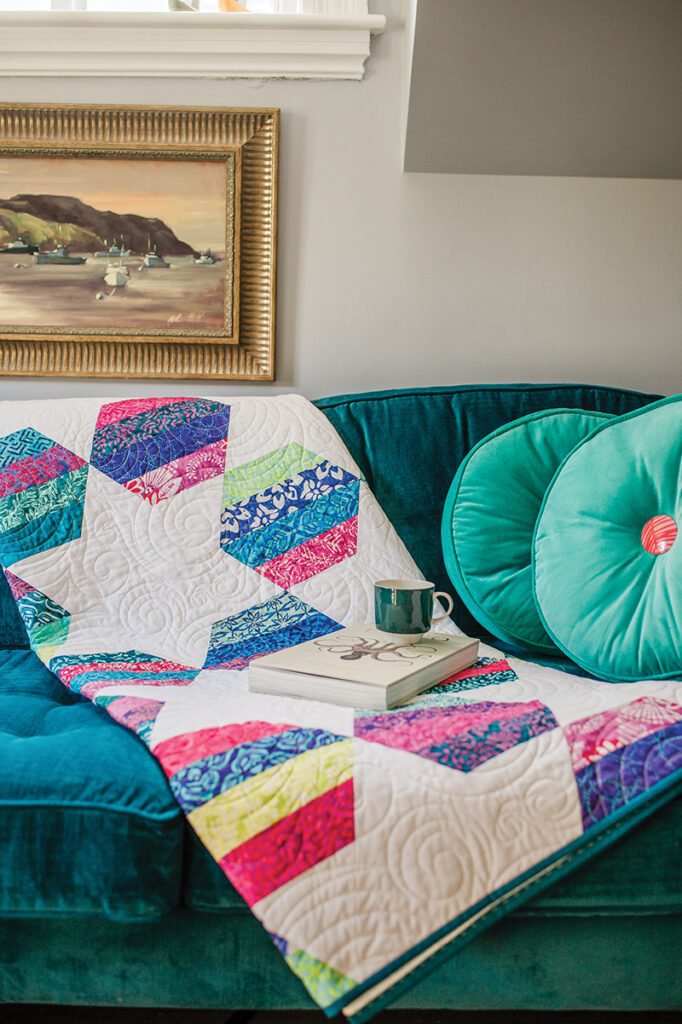
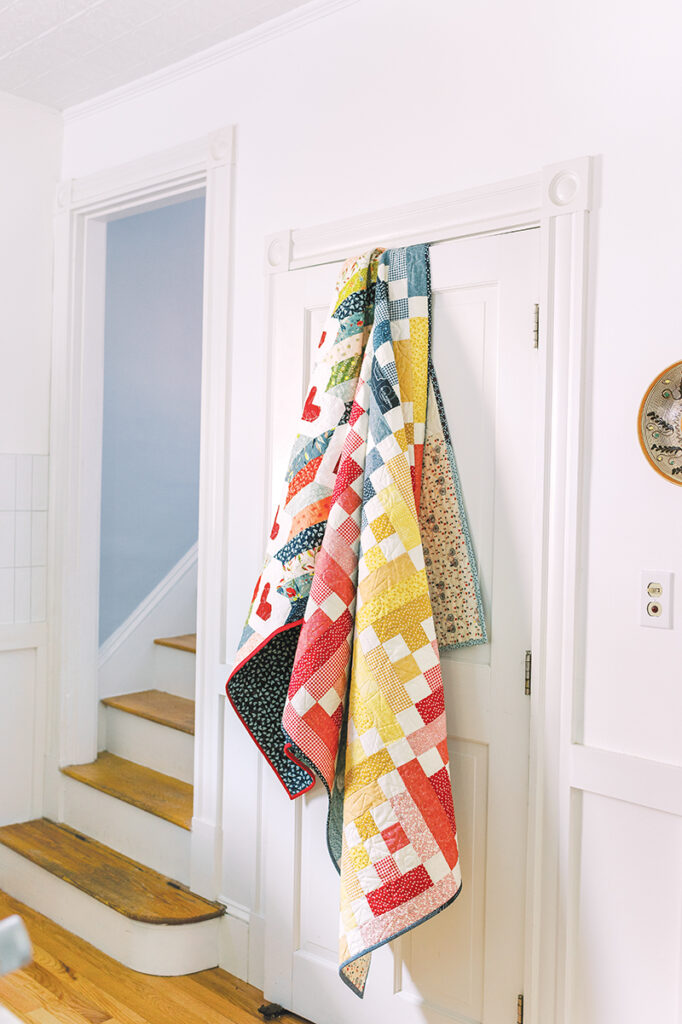
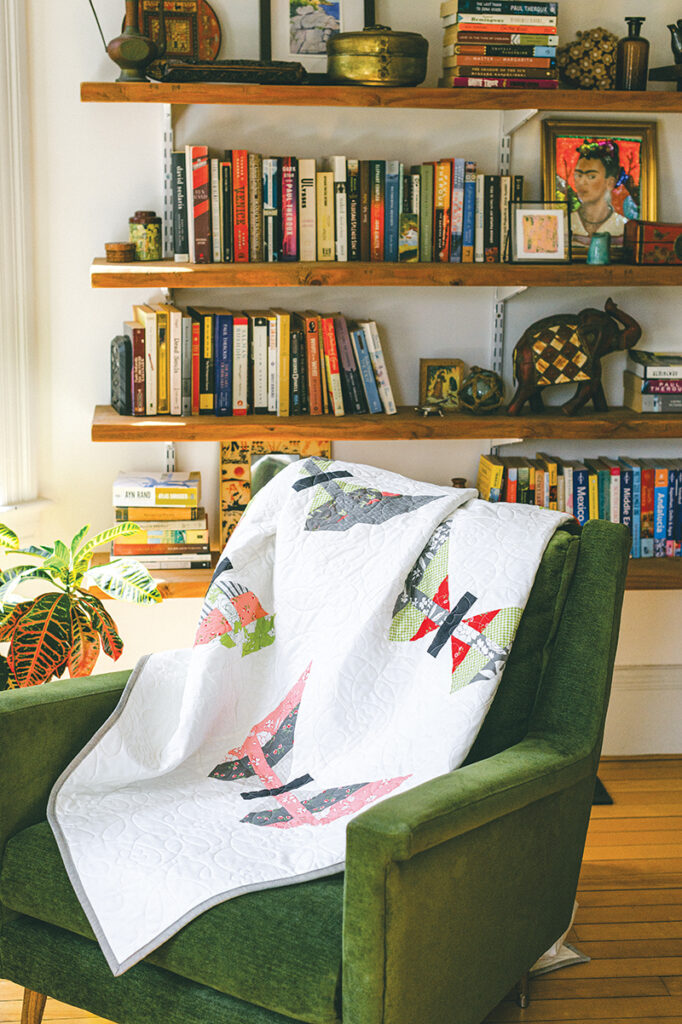
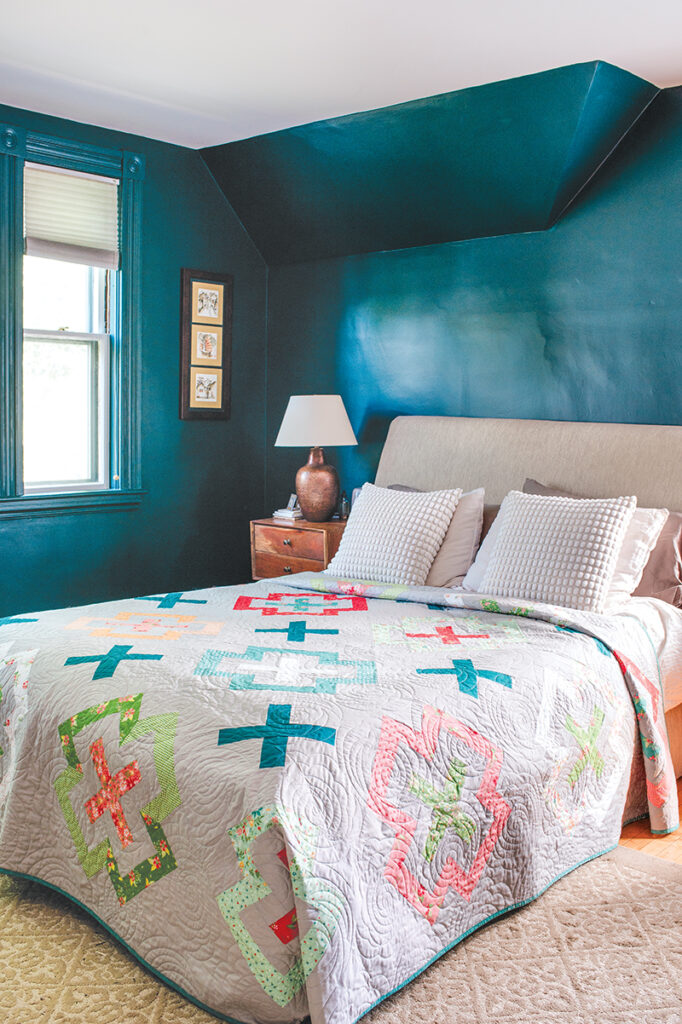
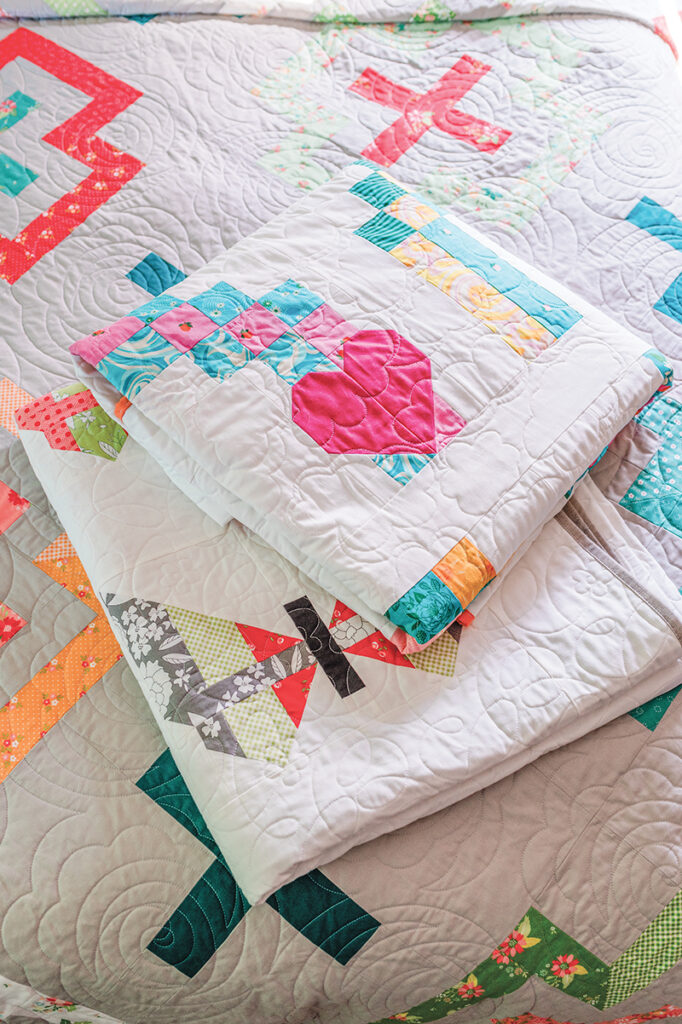
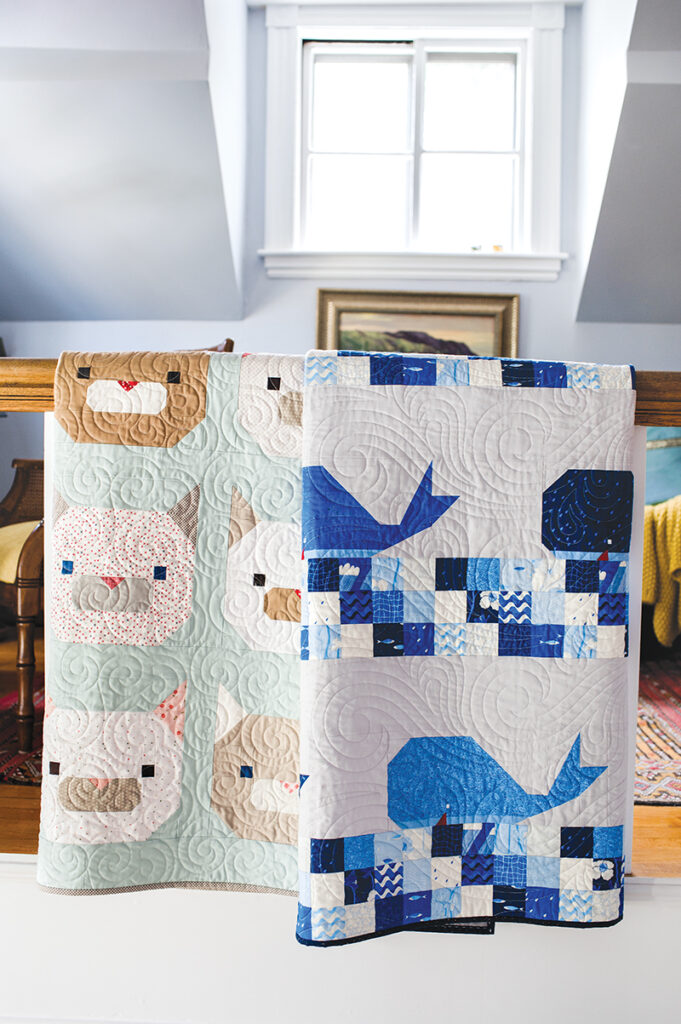
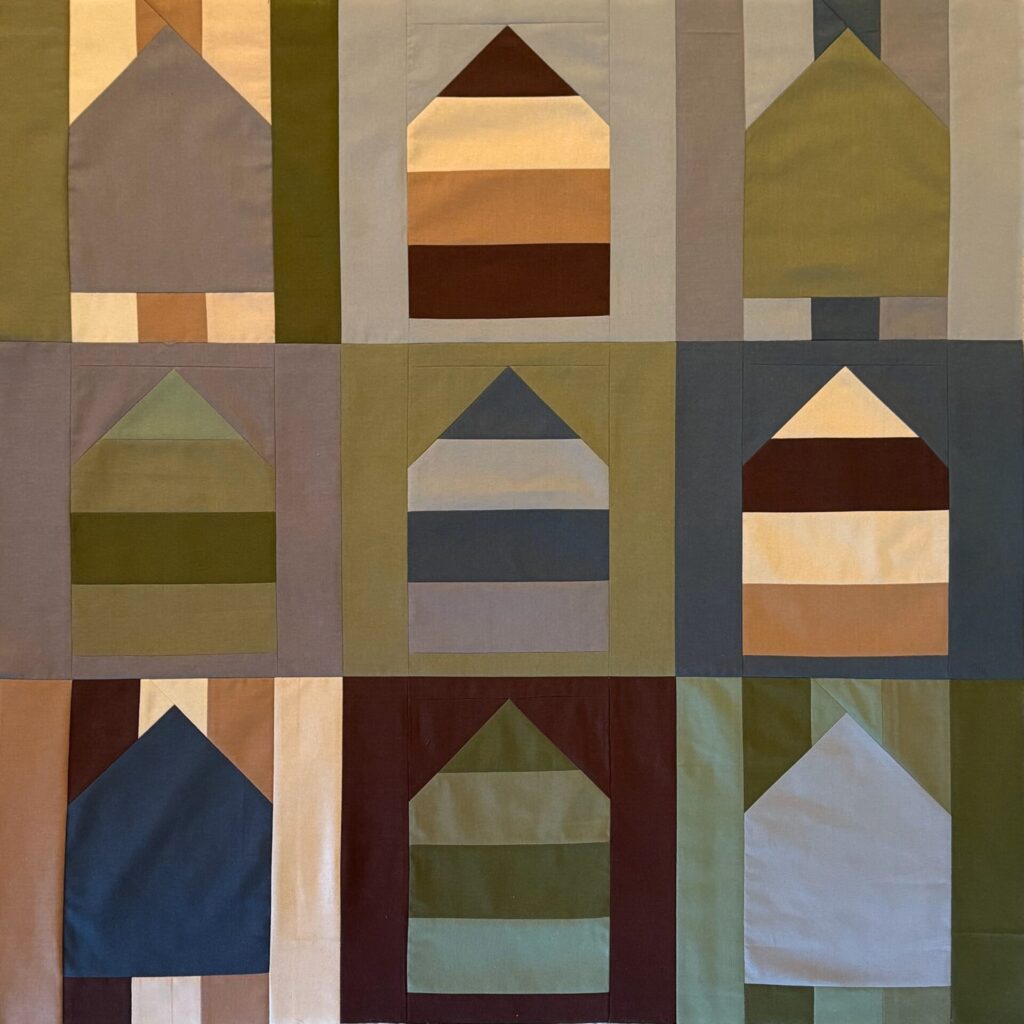
Author Michelle Lander Cain has taken a different approach and used some basic piecing techniques to turn those strips into whales, butterflies, hearts, flowers, houses, and so many other interesting shapes. See what I mean in the pictures – aren’t they adorable?

To properly review a book, I like to try out a project, and one of the projects in the book jumped right out at me. Called “Neighborly”, it’s a small wall quilt (30-1/2 inches square) and features 9 house blocks – each 10 inches square.
I had a FQ bundle and a matching strip bundle of solid fabrics from Benartex that I was saving for the right project. They’ve been sitting on my shelf for at least 18 months. This is the project that got them off that shelf.
An Important learning Moment
Before I dive into my experience with this project, I need to share something important that I learned (or relearned) from Cain’s book.
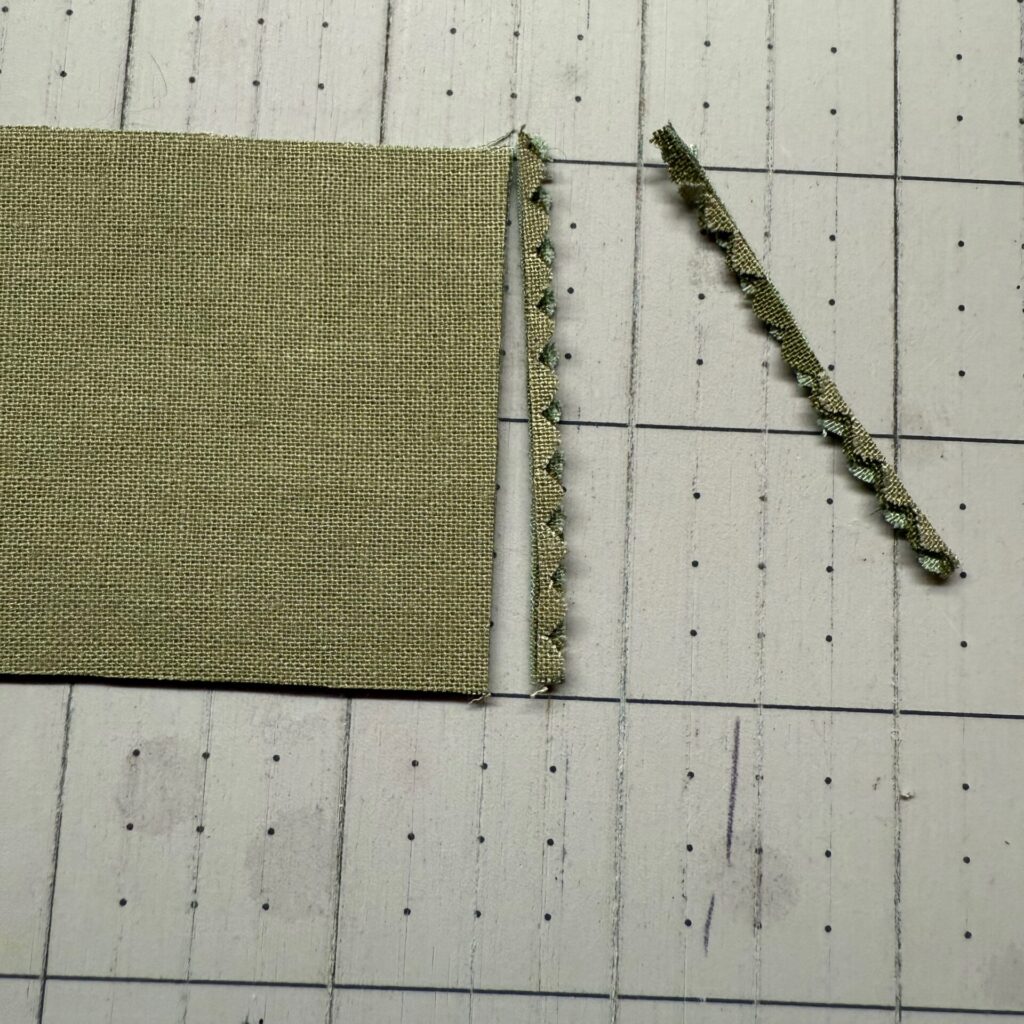
Not all strip bundles are exactly 2-1/2 inches wide! How can that be?
Here’s why: Almost every fabric manufacturer offers some sort of strip bundle. Many of them are “Pinked” on both of the long edges of every strip in the roll or bundle. Some manufacturers measure the 2-1/2 inches from the valley (or narrowest part) of the “pinked” edge. Others measure the 2-1/2 inches from the peak (or widest point) of the “pinked” edge.
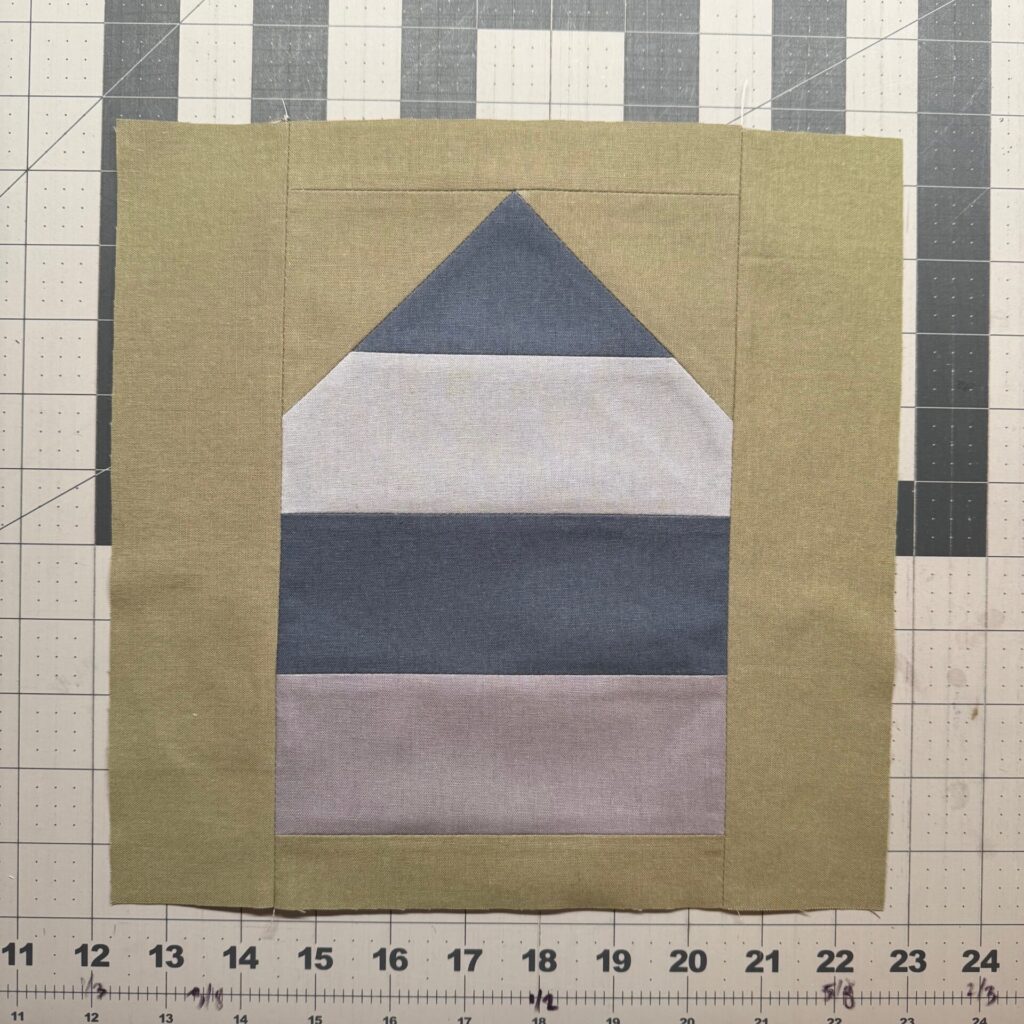
How much of a difference can that make? As much as 1/8th of an inch. While that may not sound like much, it adds up quickly, and the parts of your block may not line up correctly. This picture shows what happens when you don’t pay attention to that important piece of information. (And yes – I fixed it – more about that in a minute). See how those seams at the center top run off at an angle? They should be straight and even. They would have been if I had trimmed the strips to a perfect 2-1/2 inches.

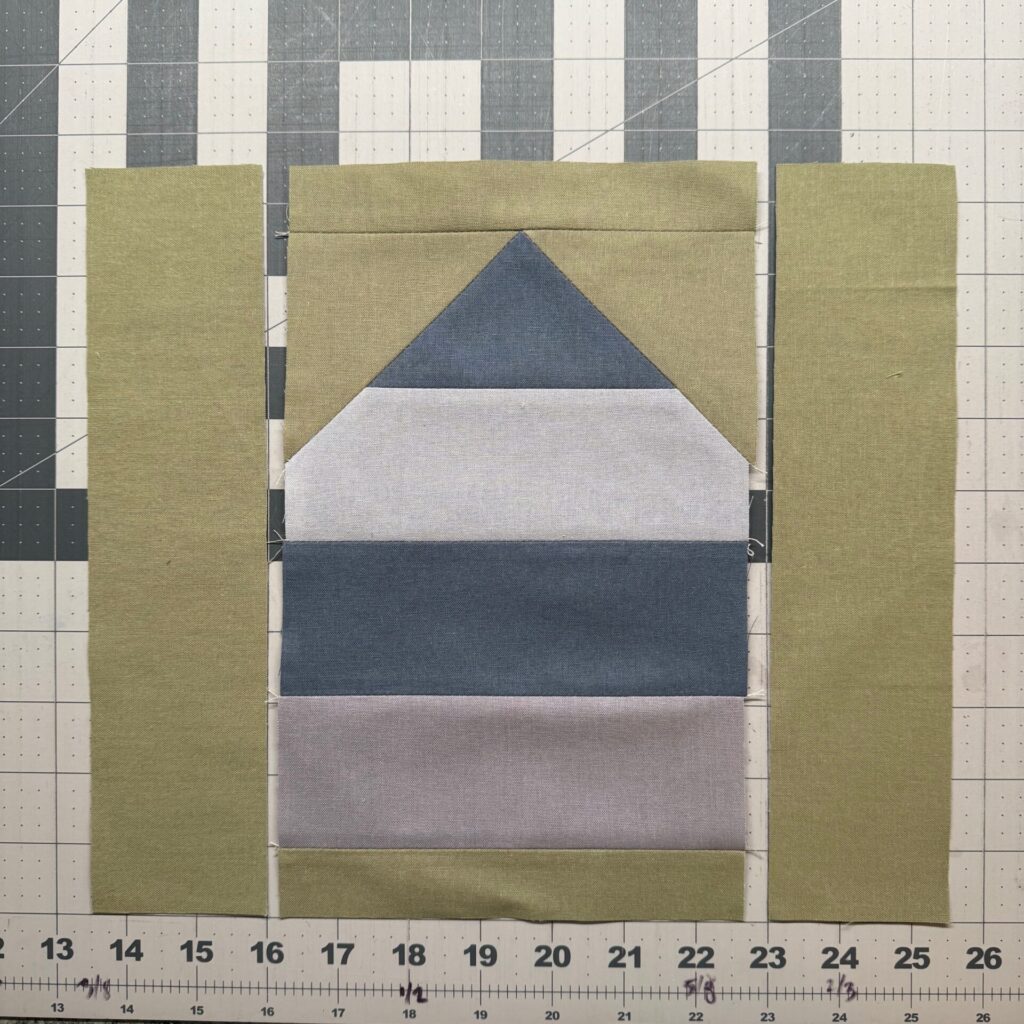
Here’s what those seams should look like (nice and straight).

Not Your Typical Jelly Roll Quilts is filled with tips, techniques, and ideas to consider when working with Jelly Rolls / Strip Bundles. I love working with strips, but to be honest, I normally cut my own strips instead of working with purchased bundles. That all changed when I went to Quilt Market in Houston – and came home with a suitcase full of them.
Now that I have a bunch of pre-made strip bundles waiting for the right projects, I found Cain’s tips to be super helpful. I highly recommend reading through all of them before diving into your project – it will make your piecing much more accurate.
Neighborly
This project calls for 13 strips and a yard of background fabric. While I did not have a yard of the background fabric to coordinate with the strips, I did have a coordinating group of Fat Quarters. Where the instructions called for cutting pieces of the background fabric, I substituted the Fat Quarters for the yardage.
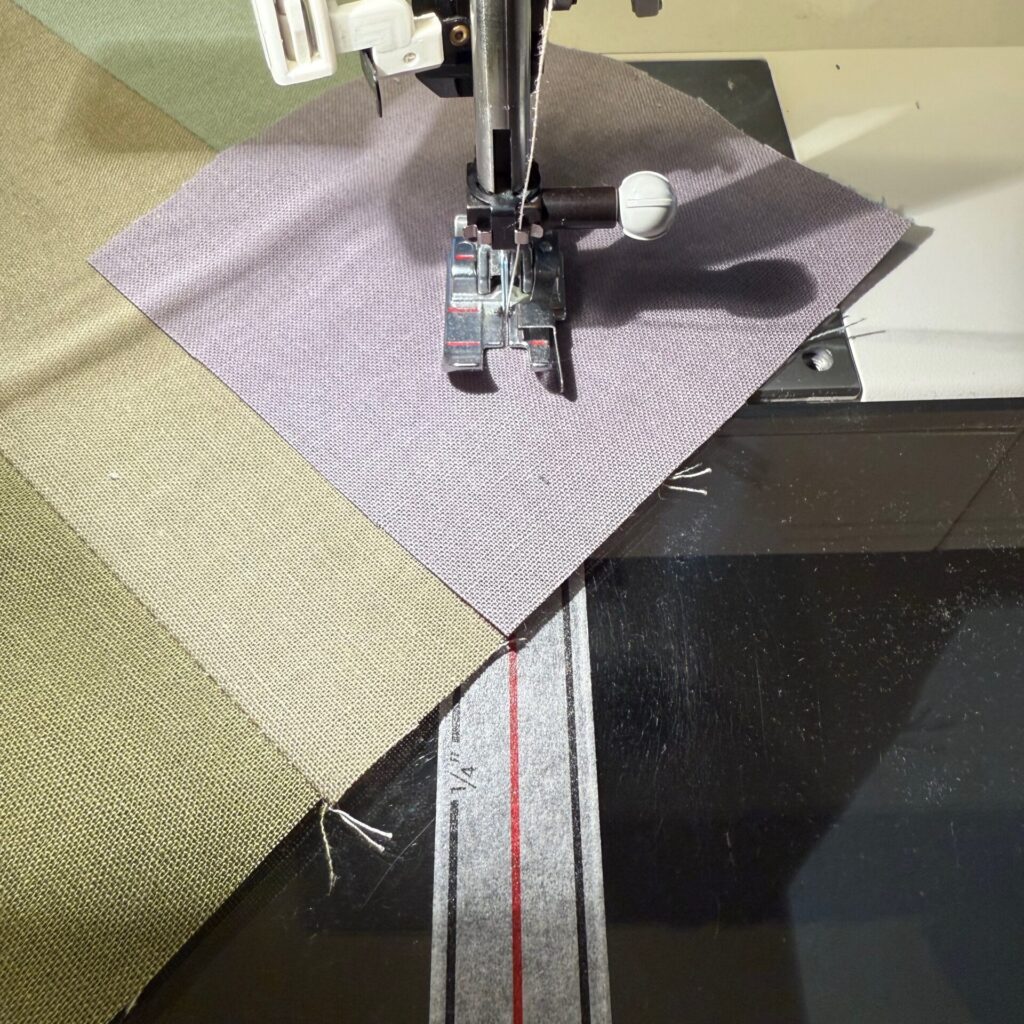
Cain provides a very clear list of exactly what size to cut each strip and background piece (by color) for every project in the book. I started by cutting every single piece on the list, following her directions exactly.
Here are a few in-process pictures of my blocks.
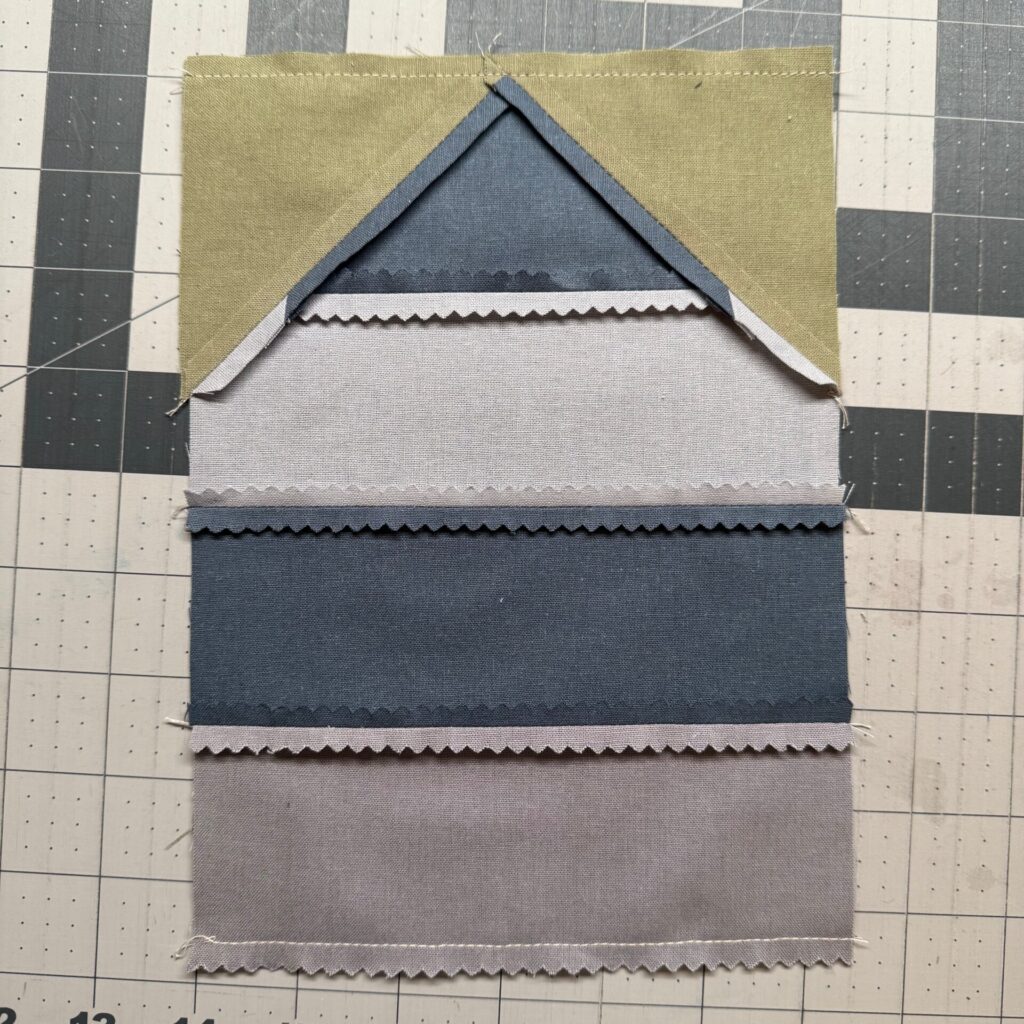
You may notice in the picture of the back of the block (above-right), I did not trim my strips before assembling them. That made the side strips (added in the next step) 1/2 inch too short. Out came Jack the Ripper – and I fixed the problem. In the pictures below, you’ll see that the side strips now fit perfectly (just like Cain intended).
The blocks are done, and the quilt top assembled. Now I have to decide how I want to quilt this project. All in all, I’m delighted with it. I’ve learned a few things (always a huge bonus), and there are a couple of other projects in the book that I have my eye on.
If you enjoy working with strips, or you have a shelf full of those gorgeous strip bundles that are calling out to you, this book will earn its keep in your quilting library. Find out more and get your copy of Not Your Typical Jelly Roll Quilts.