
There’s a particular kind of excitement that comes with new quilting projects.
It might start with a pattern you’ve fallen in love with, a bundle of fabric you couldn’t leave behind, or a kit that practically insisted on coming home with you. You can already see the finished quilt in your mind. You’re energized. Inspired. Ready to begin.
And so … you dive right in. No plan. No system. Just pure creative momentum.
If you’re smiling right now, you already know how this story often goes. A few seams in, something pulls your attention away. Maybe it’s another project. Maybe it’s a deadline. Maybe it’s just life doing what life does. The project gets folded up, tucked into a bag, and set aside “just for now.”
Fast forward a few weeks (or months/years) and when you come back to it, you’re left wondering:
- Where did I leave off?
- Did I already cut all the pieces?
- What size was I making again?
- And wait… where are the instructions?
You’re not alone. Not even a little bit. Most of us (including me) have a collection of “in-progress” quilting projects that started with the very best intentions. The issue isn’t motivation; it’s that we skipped the step that sets us up for success.
The good news? A little planning and organization at the beginning can make all the difference later. Let’s talk about how to do that without taking the fun out of starting something new.
Step One: Pause Before the First Cut
I know … this is the hardest part. When you’re excited about a project, the last thing you want to do is slow down. But taking just a few minutes to get organized before you begin can save you hours of frustration later.
Before you make that first cut:
- Read through the pattern from start to finish – it can be super helpful to read it more than once, highlighting anything you want to pay special attention to.
- Confirm fabric requirements and substitutions (particularly important if you are stash diving or making it scrappy)
- Make note of any steps that feel unfamiliar or tricky – you might want to take a minute to look for a video online that shows how to do whatever technique you have a question about. In our house, we call it checking in to “YouTube University”.
This isn’t about overthinking. It’s about giving your future self a roadmap, and it’s a small investment of time to prevent getting frustrated later.
Step Two: Create a “Project Home”
Every project needs a place to live. Whether it’s a zippered bag, a clear bin, or a simple folder, having a dedicated space keeps everything together and easy to find.
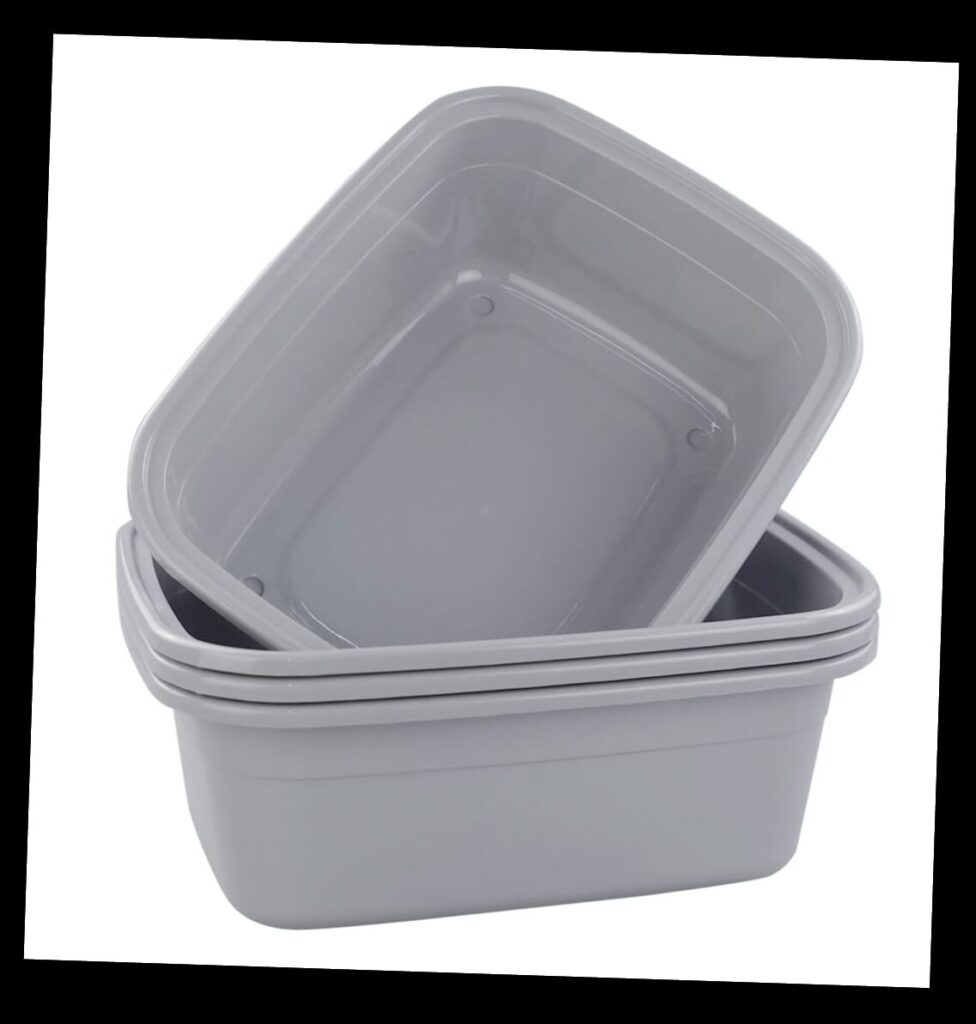
I like two different things to hold my projects. If I’m going to be working on the project exclusively at home, I have a set of plastic dishpans I’ve had for years (maybe decades). One project per dishpan, each holds all the parts of most any project I’m working on. I add a label with the name of the project to the end of the dishpan. They can stack together, so they don’t take up too much counter or shelf space in my small room.
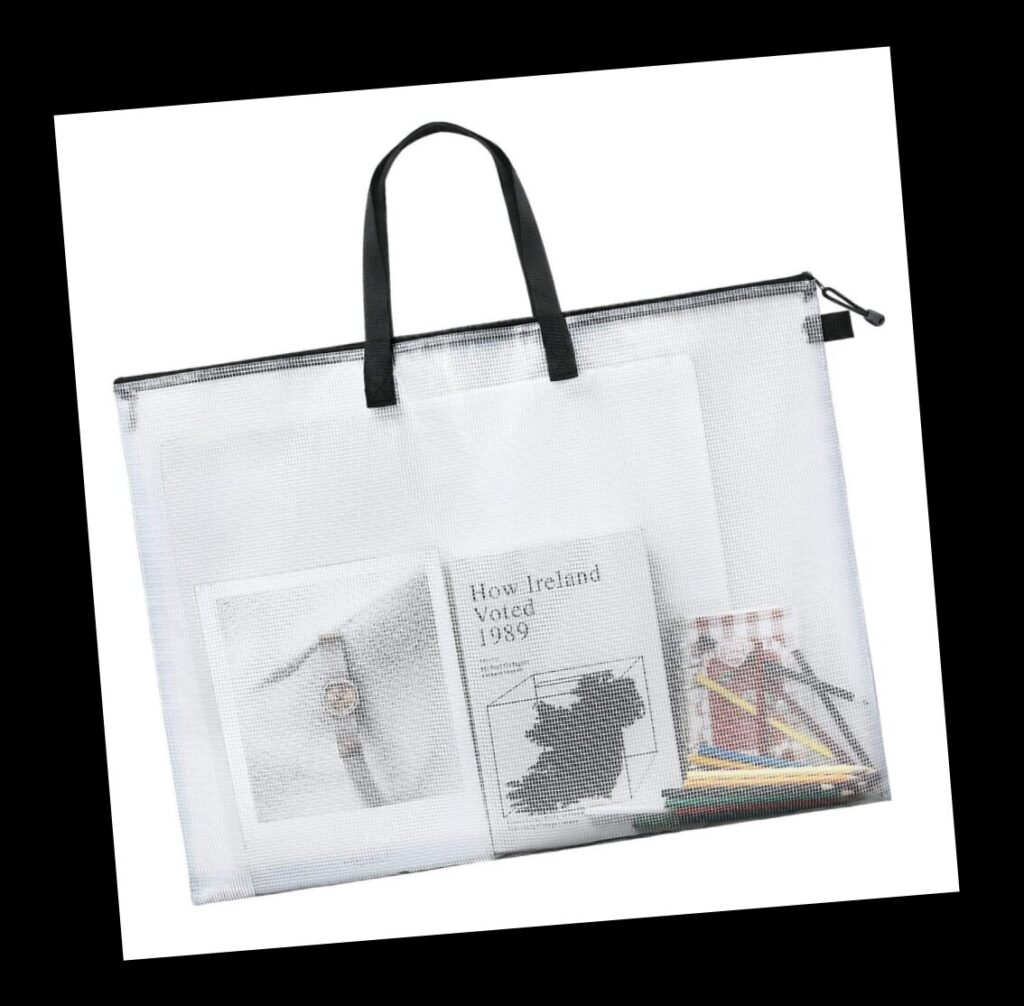
For quilting projects that I am working on somewhere else, I love these Zippered Project Storage Bags. They are large enough to include my cutting / pressing mat, rotary cutter, and rulers in addition to the parts of my project. Here’s what both of these options look like:
Your project home should include:
- The pattern or instructions
- All fabric for the project
- Any specialty tools or notions
- A small notebook or printed notes (and a pen or pencil – I like a fine point sharpie)
If you’ve ever gone hunting for that one missing piece of fabric or the instruction sheet you know you had, you already understand why this matters.
Step Three: Label Quilting Projects Like You Mean It
This step is a game changer, especially for projects with lots of pieces. As you cut fabric, take a moment to label:
- Each fabric and where you plan to use it
- Block components
- Row markers
- Units that need to be paired later
- Directional pieces
You can use sticky notes and small clips (that’s what I do), or group pieces together in small zip bags – labeling the bags. Personally, I’m a huge fan of the 3” x 3” lined sticky notes (I get them from Amazon) and attaching them with quilting clips to each fabric, all the cut pieces, etc. I have found that for groups of fabric, the XL quilting clips work better. They can hold a whole stack of blocks or cut pieces. Super handy!
It might feel unnecessary in the moment, but when you return to the project later (sometimes a lot later), those little labels will feel like a gift from your past self.
Step Four: Keep a Simple Project Log
You don’t need anything fancy here. A few notes go a long way – have a separate small notepad for each project. Jot down:
- Where you stopped
- What step comes next
- Any changes you made to the pattern
- Ideas you want to remember (border options, quilting designs, etc.)
This can live in your project bag or could even be notes on the pattern itself. When you pick the project back up, you won’t have to guess, you’ll know exactly where to begin again.
If you do want to get a little fancy (and a little fancy can be fun), I love this Quilter’s Project Planner from CT Publishing. It has lots of room to document 12 different projects through the dreaming, planning, doing and finishing stages of the project. It then serves as an ongoing journal or record of your projects.

Step Five: Set a Gentle Due Date
Some of us work better to deadlines, but deadlines don’t have to be stressful to be helpful.
Giving your project a target completion date adds just enough structure to keep it moving forward. Think of it as a nudge, not a rule. Your “due date” might be:
- A holiday or special occasion
- A quilt guild meeting or event
- Or simply “by the end of the season”
- Before you start (the next) project
The goal isn’t perfection, it’s progress. Some projects take longer than others just because of the nature of the project. I have a hexie project that I’m 3 years into right now – and I’m great with that. It’s my “in-between other projects” project. Other projects, I can sit down and complete them fairly quickly – because I have a deadline – either one I’ve set myself, or because someone else needs the project completed by a certain time.
Step Six: Work in Small, Finishable Steps
Instead of thinking about the entire quilt, break it down into manageable pieces or units. For example:
- Cut (and label) all the fabrics
- Complete one block
- Finish a full row
- Stitch the borders
- Assemble the quilt top
Each small finish builds momentum and keeps the project from feeling overwhelming. And if you do have to step away? You’ll be leaving at a clear stopping point.
Step Seven: Give Yourself Permission to Pause (and Return)
Here’s the truth: even with the best plan in place, life will still interrupt. Projects will still get set aside. Stuff just keeps happening – I know, you know what I mean. Some seasons of life are just like that.
The difference is that now, when you come back, you won’t feel lost. You’ll feel ready. Your notes will guide you. Your pieces will be organized. Your project will be waiting, staged and ready to continue, it won’t feel like you need to spend time trying to figure out where you are, you’ll already know and can dive right in.
A Little Encouragement for the Journey
If you’ve got a stack of unfinished projects tucked away somewhere, you’re in very good company.
We quilters are creative people. We’re inspired by possibility. And sometimes that means we start more than we finish. There’s no shame in that.
But there is something deeply satisfying about returning to a project and knowing exactly what to do next. About finishing what you started. About seeing an idea through to completion. A little planning doesn’t take away the joy, it protects it.
So the next time a project captures your attention (and it will), take a few extra minutes to set yourself up for success. Your future self – the one picking it back up weeks or months from now – will be so glad you did.
And who knows? You might just find yourself finishing more quilts … and enjoying the process even more along the way.
Happy Stitching!