If you’ve been here a while, you know how much I love EQ8 design software. I’ve been using it for quite some time now. True confessions: I actually bought EQ7 when it first came out, and it sat on the (digital) desktop installed but unexplored. It seemed a little intimidating. Not going to sugarcoat it – it’s a learning process.
That being said, I now use it constantly. I originally started using it to draft my block based patterns and color them with the exact fabrics I wanted to use in the finished quilt. I love how quickly I can make changes until I’m happy with the fabric selections – before I ever cut into my fabric. That’s some powerful magic (I mean – technology ; )!
That alone made it worth the investment and the learning curve. Now, I’m diving a little deeper into the program and exploring parts of it I’ve been ignoring. When the generous folks at Electric Quilt Company invited me to preview a new EQ8 Foundation Paper Piecing course they’ve been developing, I jumped at the opportunity. So … how’d it go?
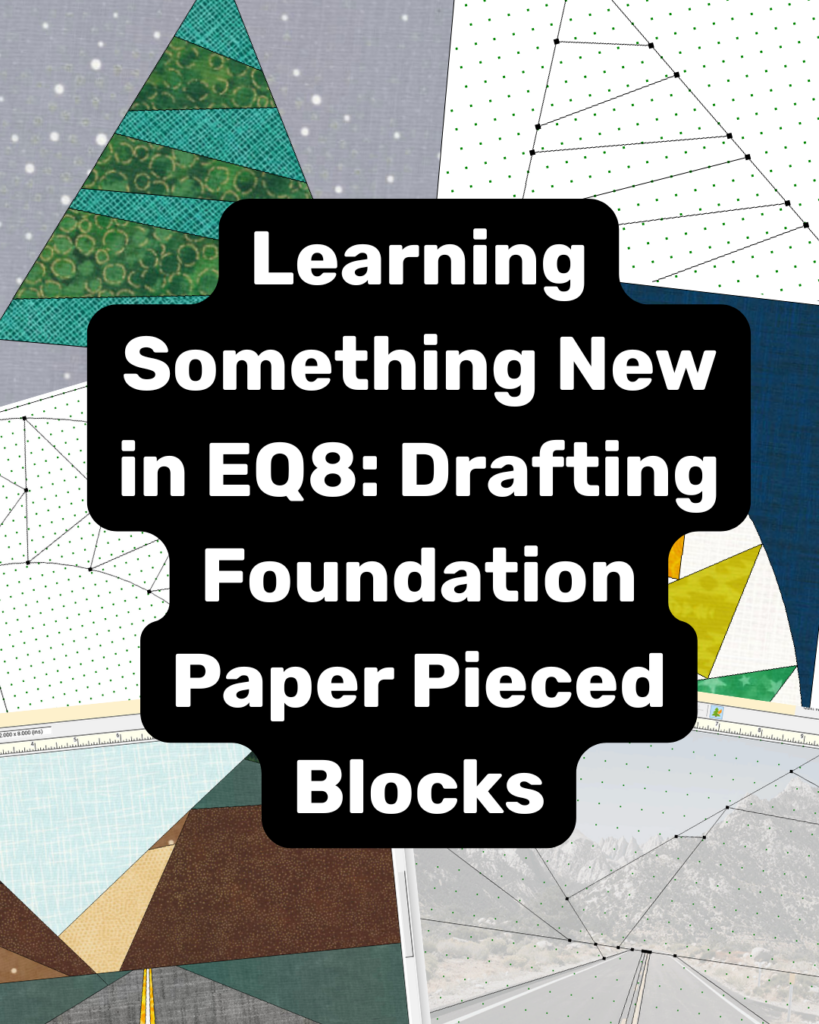
Foundation Paper Pieced Class – Overview
You should know that this is an online, self-paced program. I think that’s perfect! What that means to me is that I can follow along and do all the steps being demonstrated. If I fall a little behind (it happens), I can stop the class, catch up, back up the class a bit, and then re-watch that part and continue on. It can be embarrassing to do that in an in-person live class (can you imagine how frustrating that would be for the instructor?).
EQ8 Instructor Jenny Novinsky has divided the class into a series of logical sections – each is anywhere from a couple of minutes to 15 or 16 minutes. That means I can start and stop at the end of a section and pick it up again at the next section. If necessary, I can even stop mid-lesson, and it remembers where I left off when I come back to finish the section.
The class begins with a review of the software itself, the desktop, and navigation. While that seems pretty obvious – I have to say, I’ve taken several EQ8 classes, and everyone explains the basics differently. I nearly skipped over this opening section, and I’m glad I didn’t.
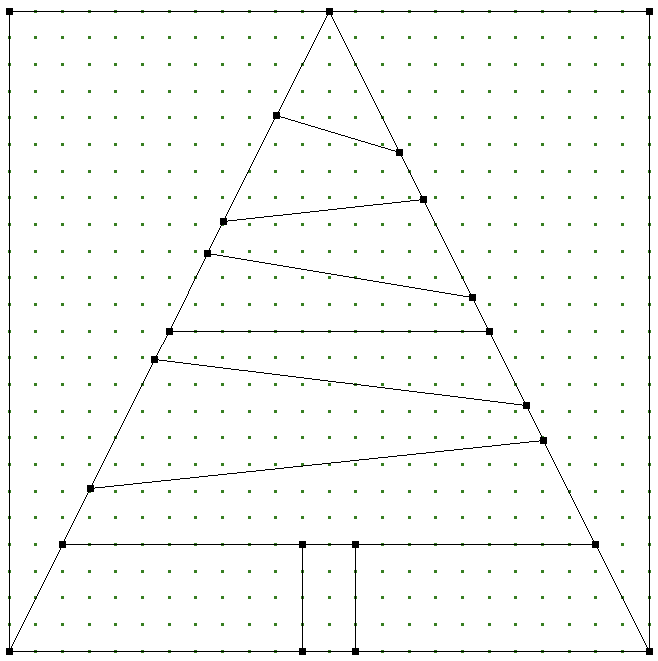
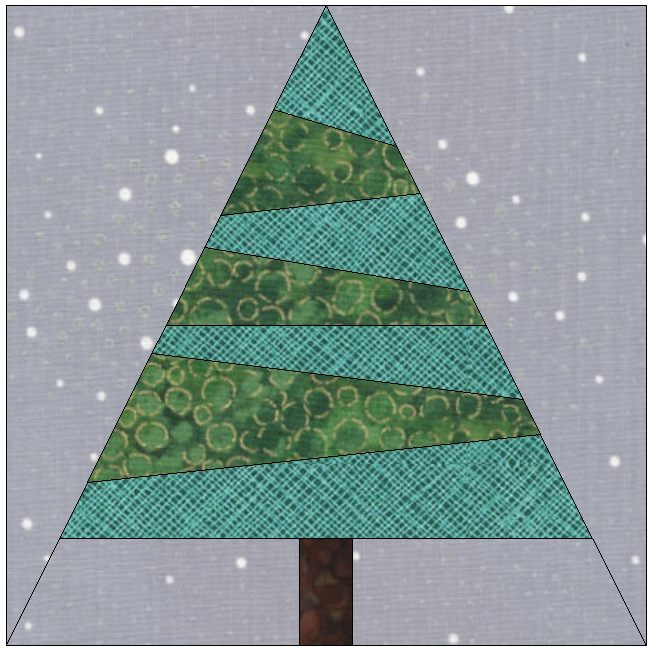
From there, Novinsky led me through a series of drawing exercises with progressively more challenging blocks. Each one building on what I had learned with the previous block. Here’s the block I started with.
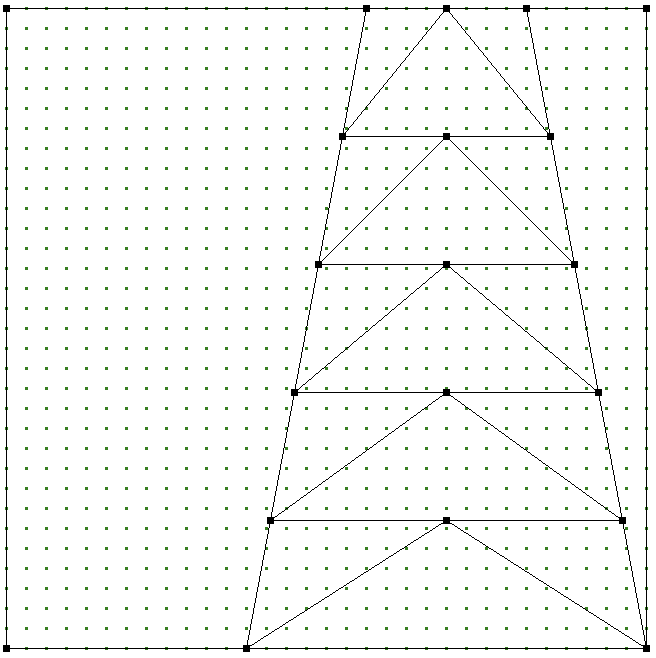
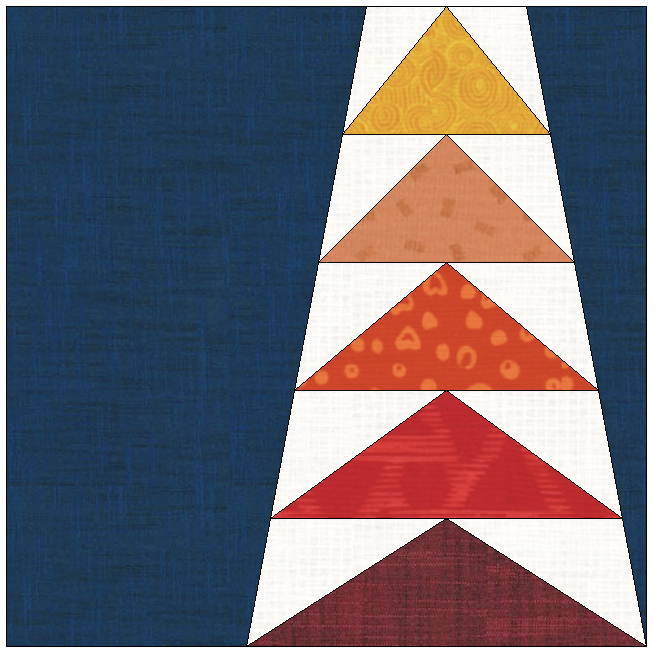
Next, the class moved on to drawing a row of Flying Geese blocks. What makes this row of Flying Geese blocks more interesting is that they appear to be flying away, getting smaller. I love this effect! This would be difficult to figure out how to piece without using Foundation Paper Piecing. Here’s how mine turned out.
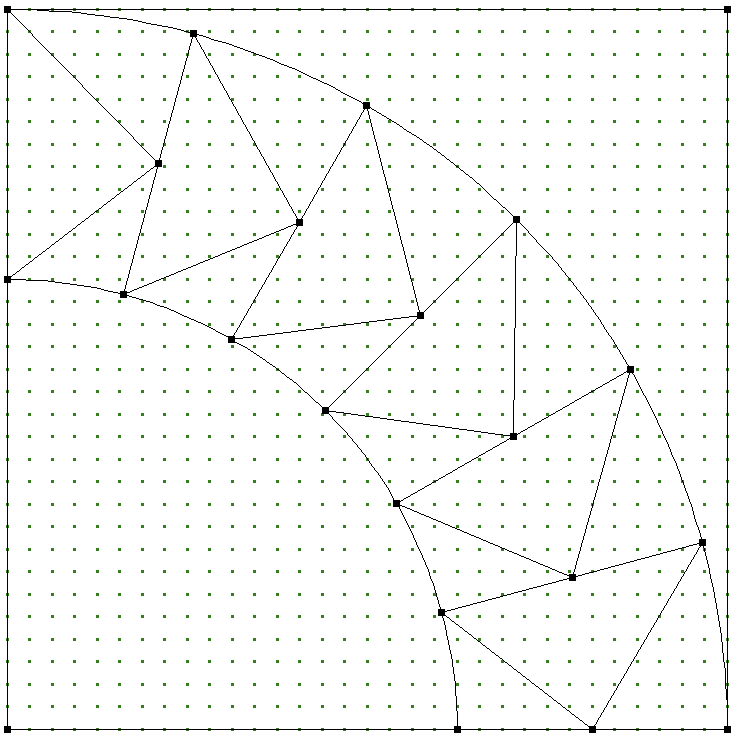
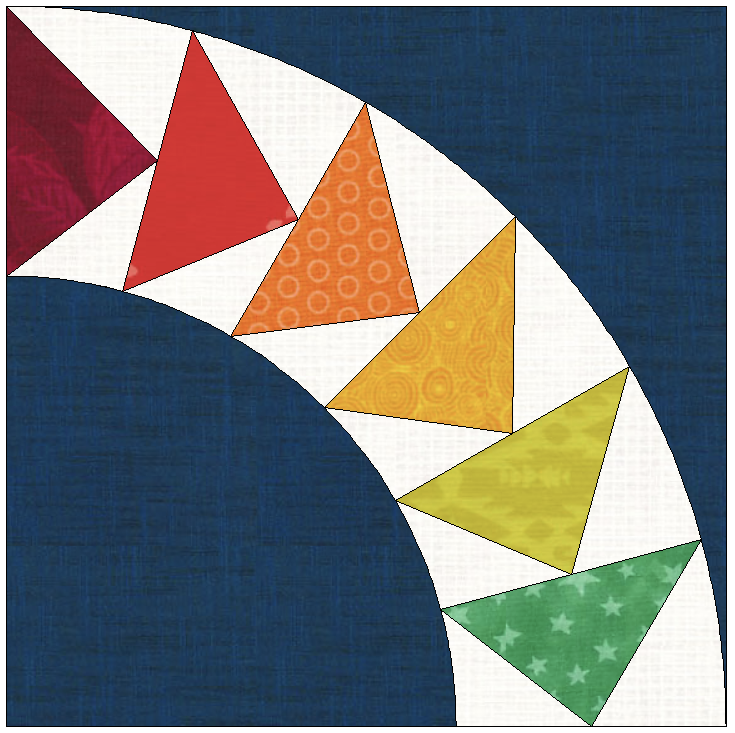
The next lesson had us using arcs and then creating the row on Flying Geese inside the space created by the two arcs. This was shockingly easy to do – and what a fabulous effect! I’m planning on using this block in the corners of an outer border in an upcoming quilt design. Here’s how mine turned out.
The following lesson was one I’ve been waiting for. Novinsky introduced the process of “tracing” the key elements of a photograph and rendering a line drawing into foundation paper pieced block sections that can be created individually and sewn together to form the complete image. The first image we started with was a pencil and notebook. Here’s how mine came out.
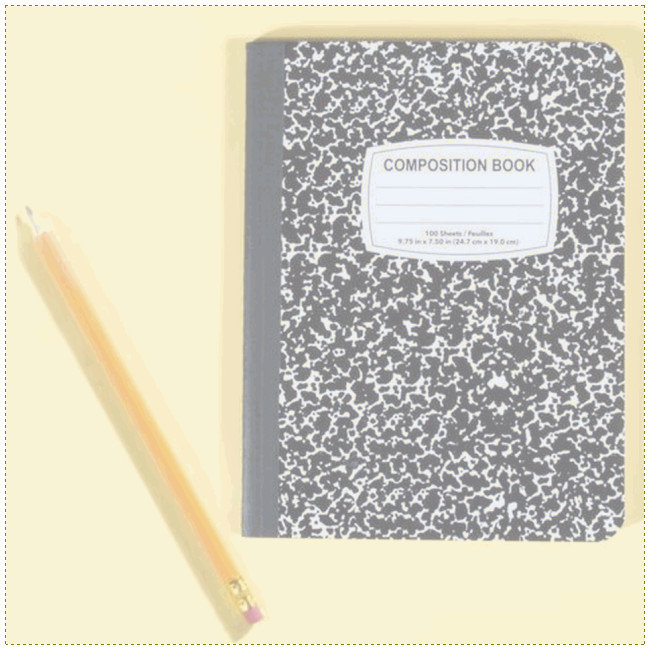
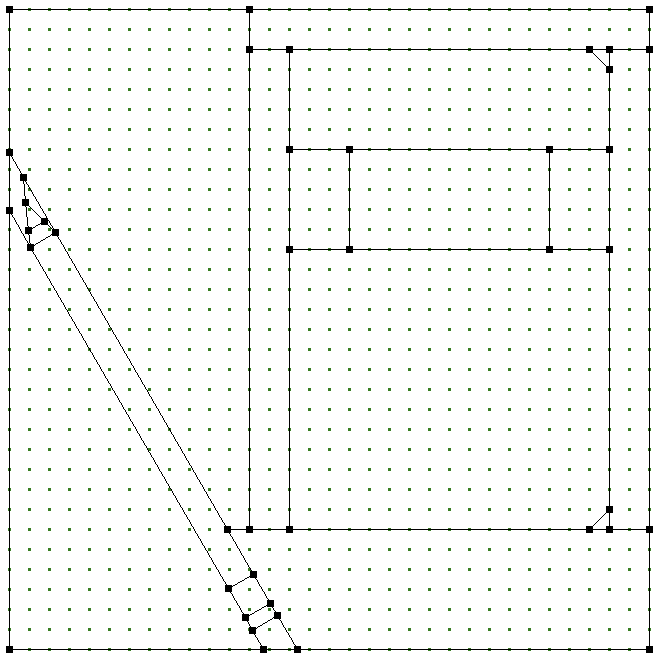
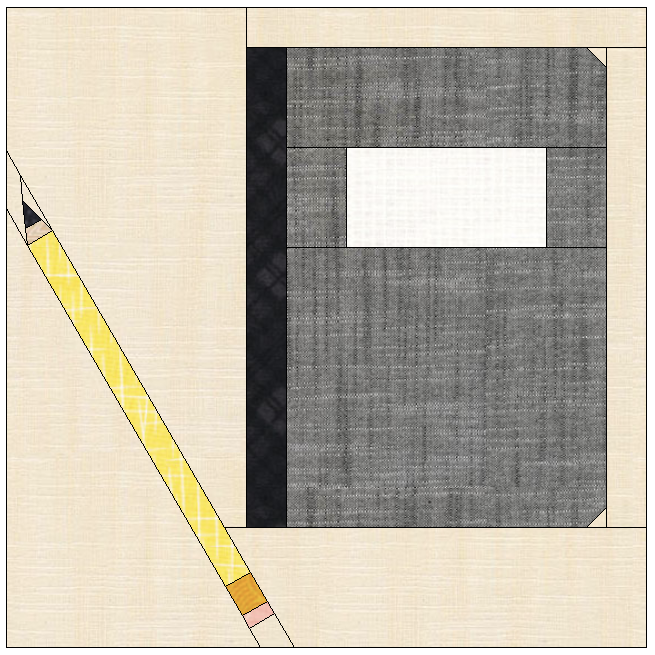
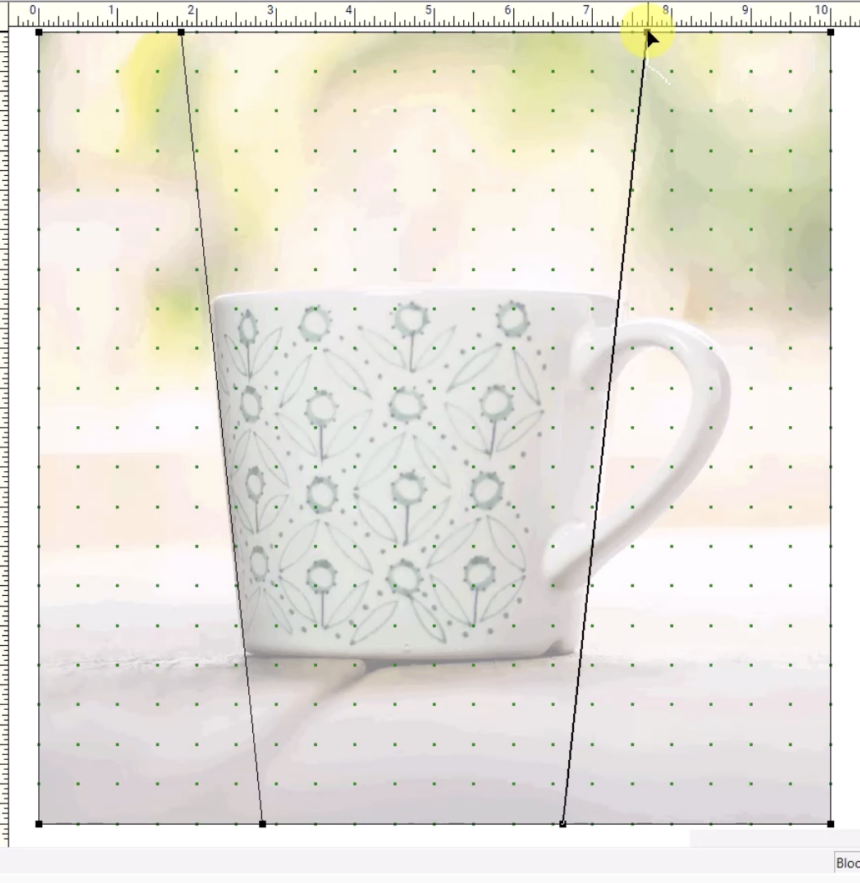
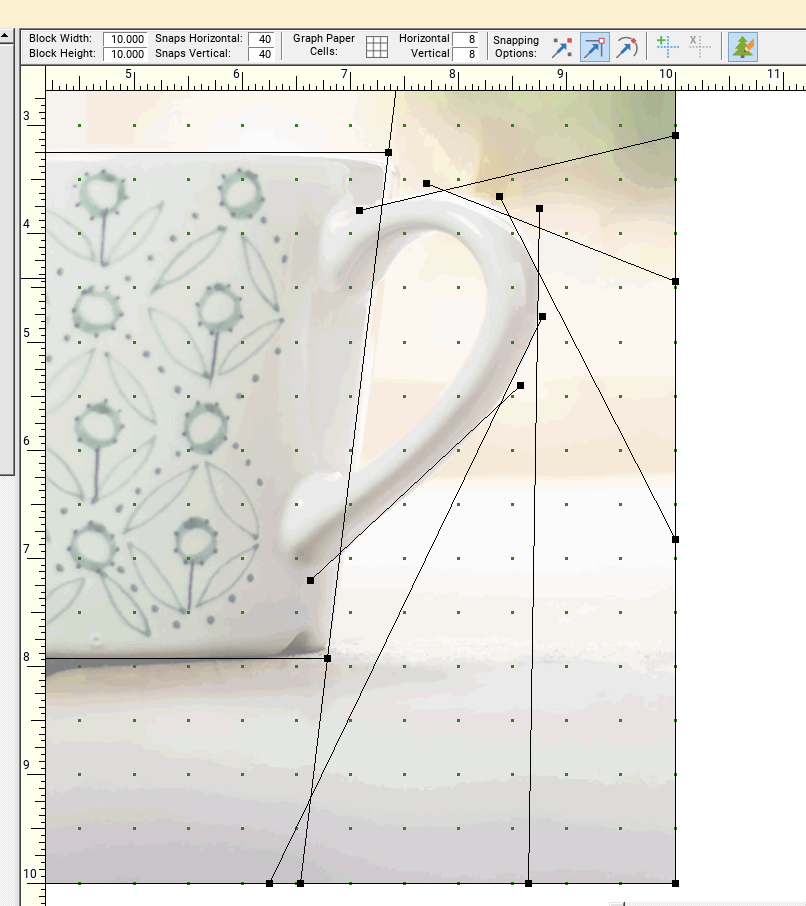
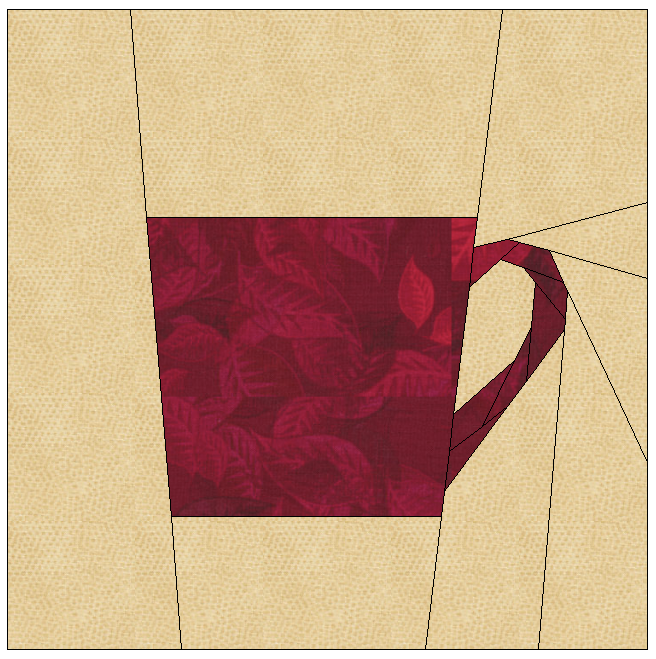
The next lesson had us working on creating curves using straight lines while tracing the image in a photograph. This one was a little challenging for me. It’s a little tricky creating the curves without creating too many unintended extra sections. I’m pretty happy with how it turned out.
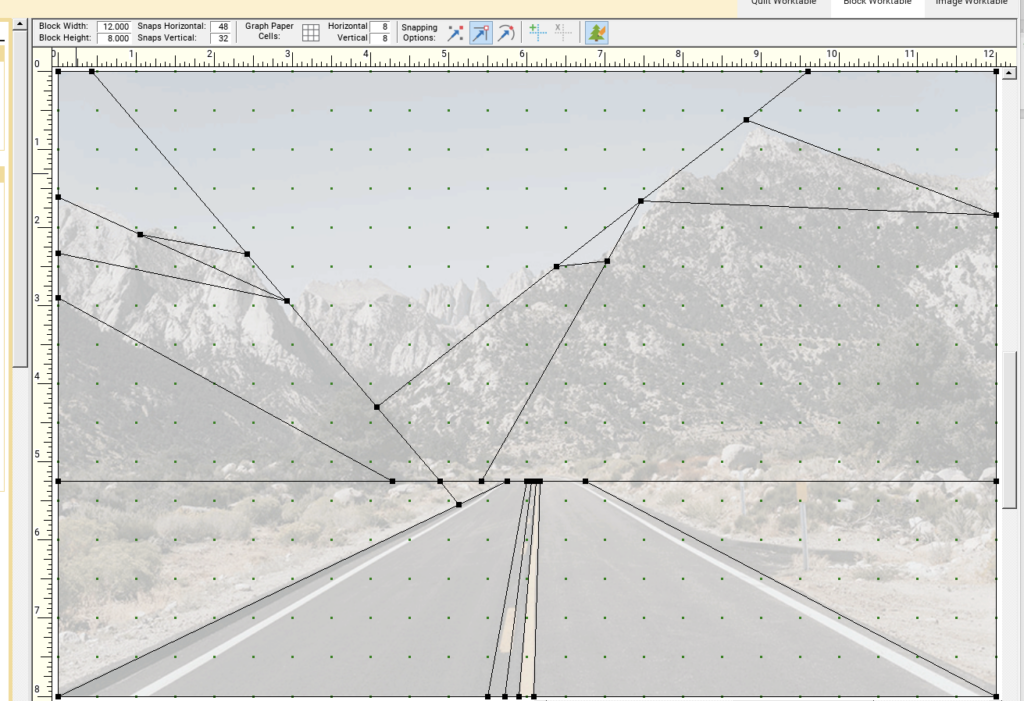
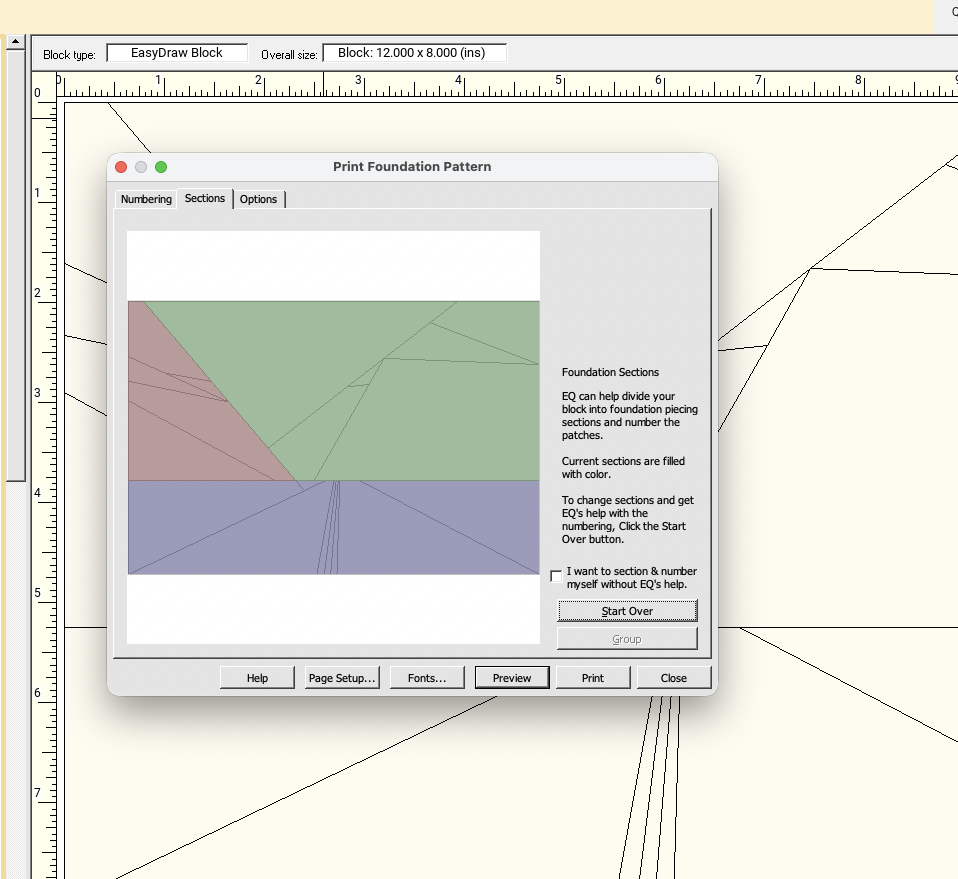
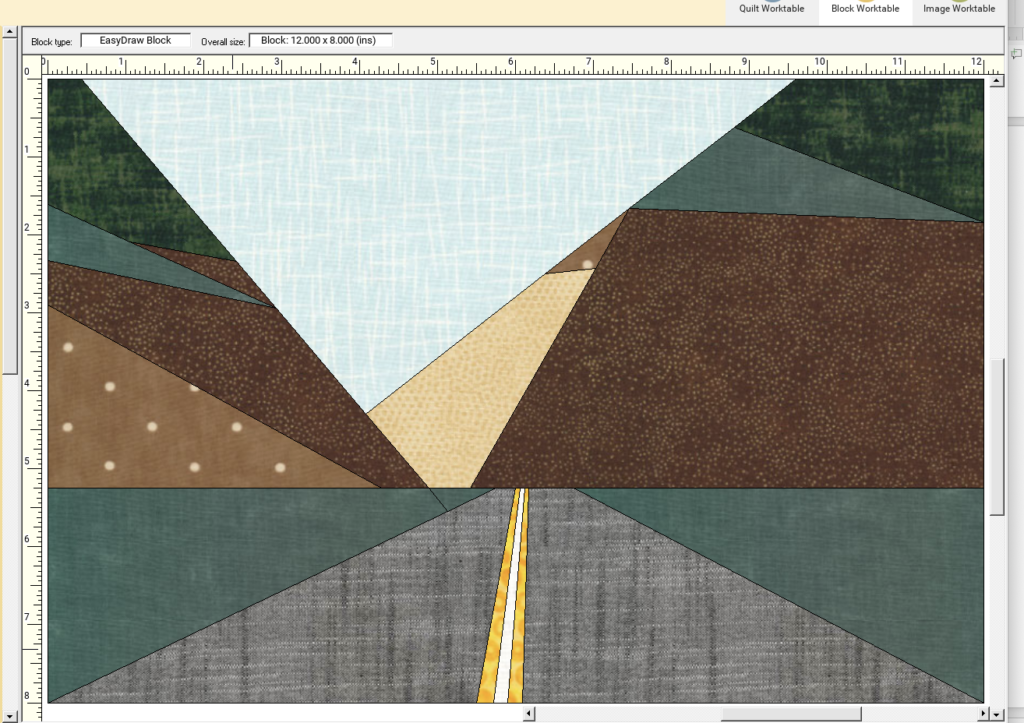
The final lesson had us tracing a photograph of a road and mountains. Novinsky made the point that as the designer, we can take artistic license with what we include and what we choose to leave out when we’re working on a project like this. That’s great advice no matter what type of creative project you might be working on. In this case, I left out the central mountain range in the distance. Here’s how it all turned out.
Takeaways from my EQ8 – Drawing Foundation Paper Pieced Block Class
This was a fun experience, and I’m ready to take another class. There are still parts of this program that need exploring, and this class has whetted my appetite for more.
- The Drawing Foundation Paper Pieced Blocks class is one I would take after you’ve taken the introductory class. You’ll find navigation through the program easier if you are already familiar with the desktop and the terminology.
- Save your work early and often. I found myself needing to start over on a block a couple of times, and it’s a big help to be able to start over with a version saved from a previous step – rather than having to completely start over. The handle of that cup gave me fits. But, in the end, I’m happy with how it turned out, and I could more easily do it again, now that I’ve learned how.
- Creative license is a wonderful thing. Give yourself the freedom to include or exclude parts of the image, based on your own preferences.
- Creating your own, original FPP blocks is a wonderful way to create a unique project.
- Learning how to divide the image into sewable sections is important, and Novinsky does a great job of showing us how to evaluate the image before we start drawing lines.
Want to learn a little more about this class? Here’s the info at Electric Quilt Company: Drawing Foundation Paper Pieced Blocks.
Now that I’ve completed the class, my mind is spinning with all the creative possibilities. The beauty of Foundation Paper Pieced blocks is the precision we get in the final sewn block. To me, that’s worth learning the technique. Even better, learn to create your own FPP designs and take your creative work to a whole new level.
Happy Stitching!