
Have you ever picked up a quilting tool, admired all the things it promises to do, and thought, “I really would love to have that!” Then you look at the price and start wondering if you truly need it, or if there’s another way to get the job done.
I know that feeling well. As a quilt shop owner, I spend plenty of time discovering tools and products that I think you will love. And it’s also true that selling products is how I make my living. However, I’m also a quilter, and I know that my own quilting dollars have to stretch just like yours do. As much as I’d love to have every new gadget and gizmo that catches my eye, I have to make choices about where those dollars will do me the most good.
For me, that means knowing which tools are worth the splurge and which ones I’m happy to buy on a budget, improvise, or do without. Some quilting tools are non-negotiable because they make sewing more comfortable, help me work accurately, or simply make my time at the machine more enjoyable. Within reason, price isn’t the issue for these must-haves. Other purchases? I’m perfectly willing to get creative and find a thrifty alternative that works just as well.
Here’s the thing: those choices are personal. What makes a tool worth every penny to me might not matter nearly as much to you. There’s no right or wrong way to spend your quilting budget. The goal is to make thoughtful choices that help you enjoy your stitching and get the most from the dollars you have.
Here are some of the tools I choose to splurge on, why they’re worth it to me, and a few ways I save so I can invest in the things that matter most.
Ruler Handles
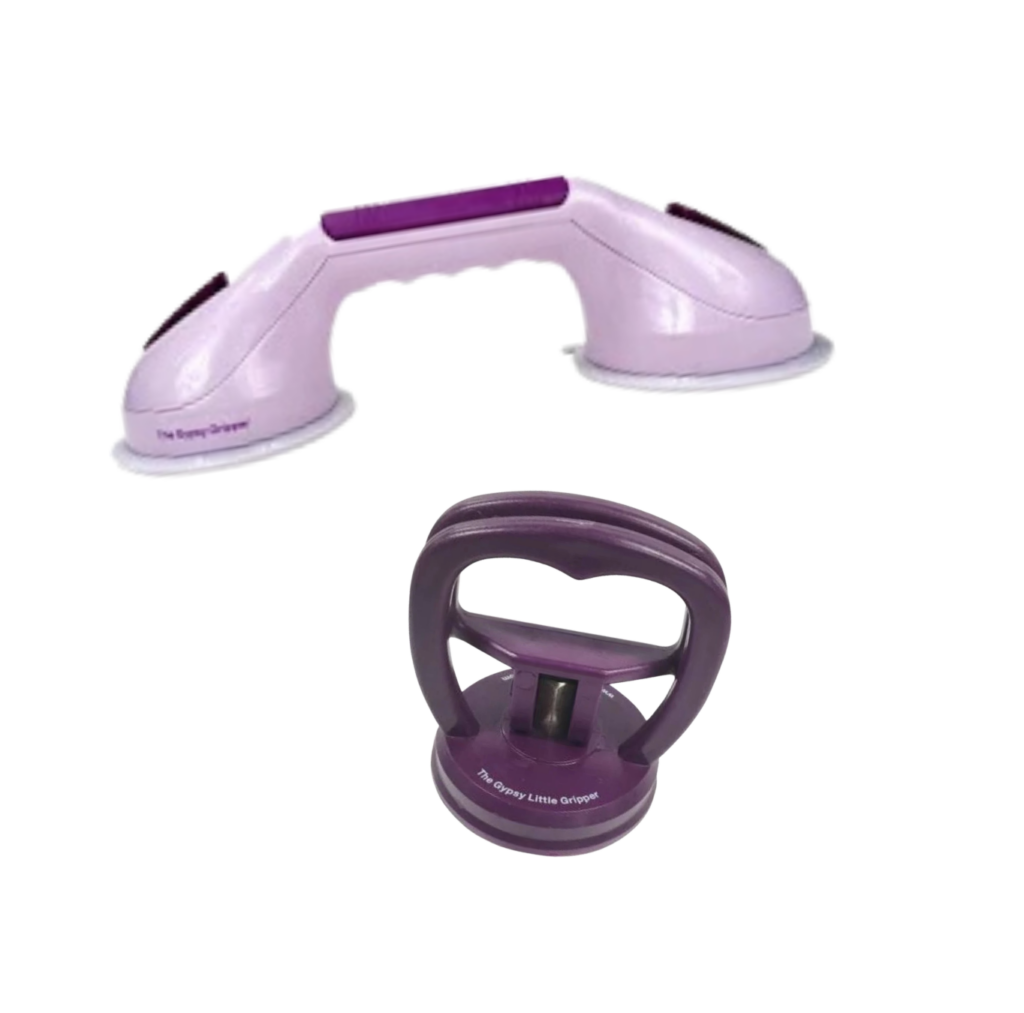
The Gypsy Gripper tools are great and I used them for years in the shop. I particularly like the large version when I’m cutting width of fabric strips. What I don’t like? The suction cups take up a lot of real estate on my rulers and it makes it hard to see the markings for measuring. They also need to come off when I store my rulers.
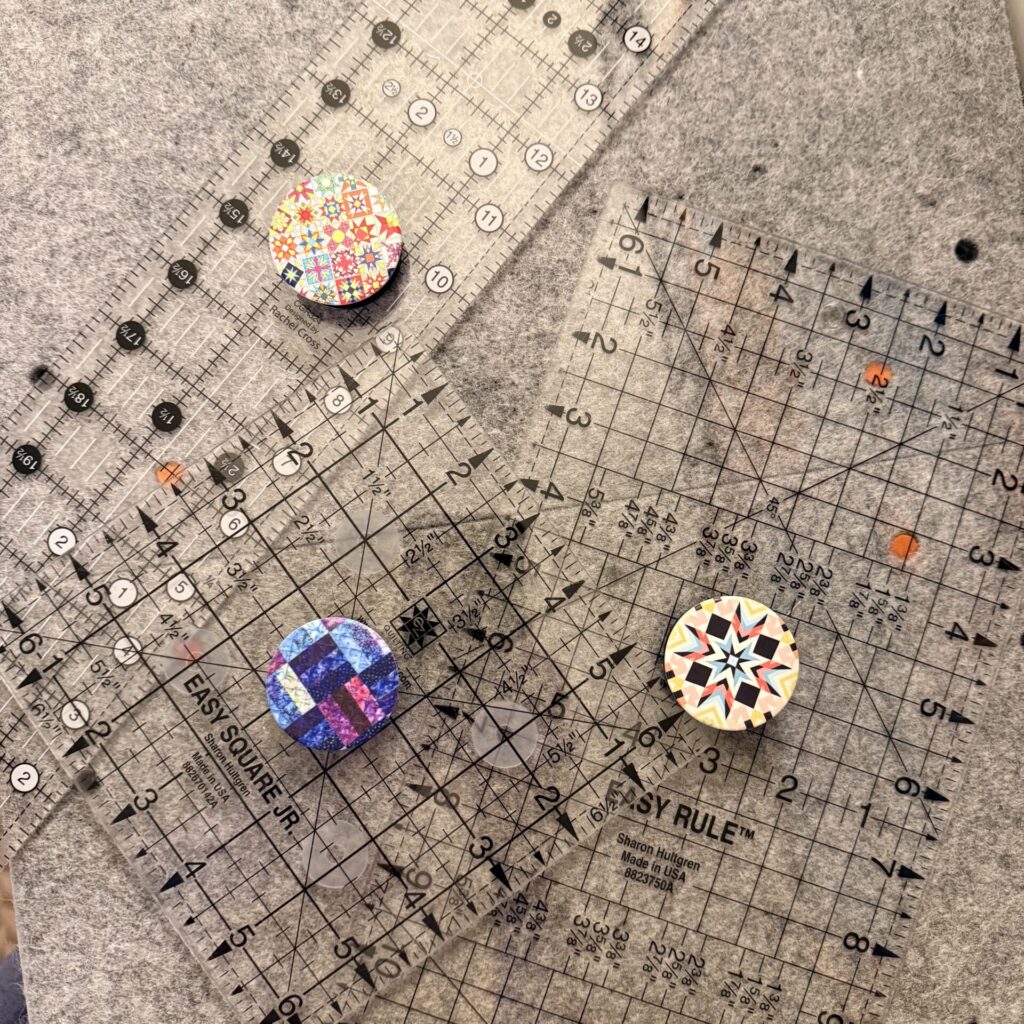
Pop Sockets are my new favorite thing to add to my rulers. I have one on each of my daily-use rulers. They come in lots of fun designs (I love the quilting-themed ones), and they are reasonably priced. They stay firmly attached to the ruler. Because they are made for use with cell phones, they are designed to stay in place through a lot of use. I also love that I don’t have to remove them to store the rulers in my ruler rack.
Machine Foot Control Stabilizer
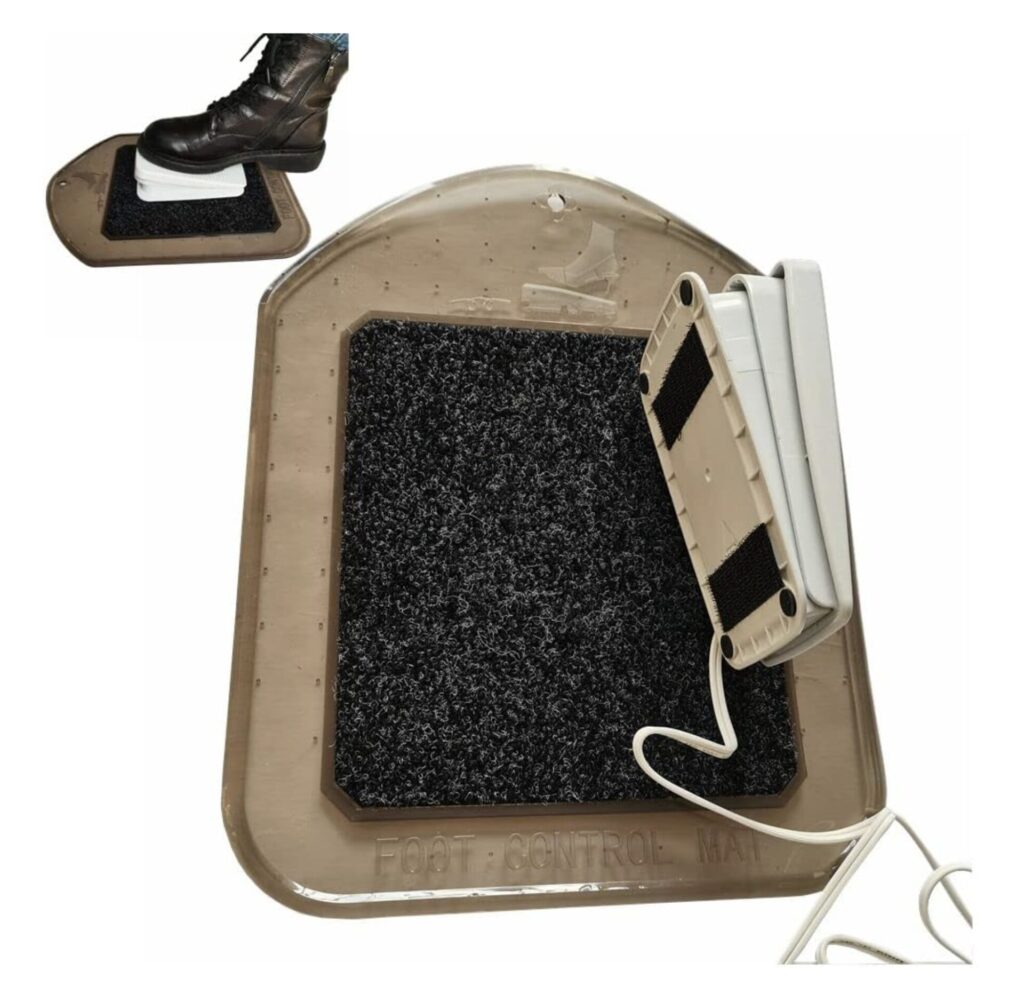
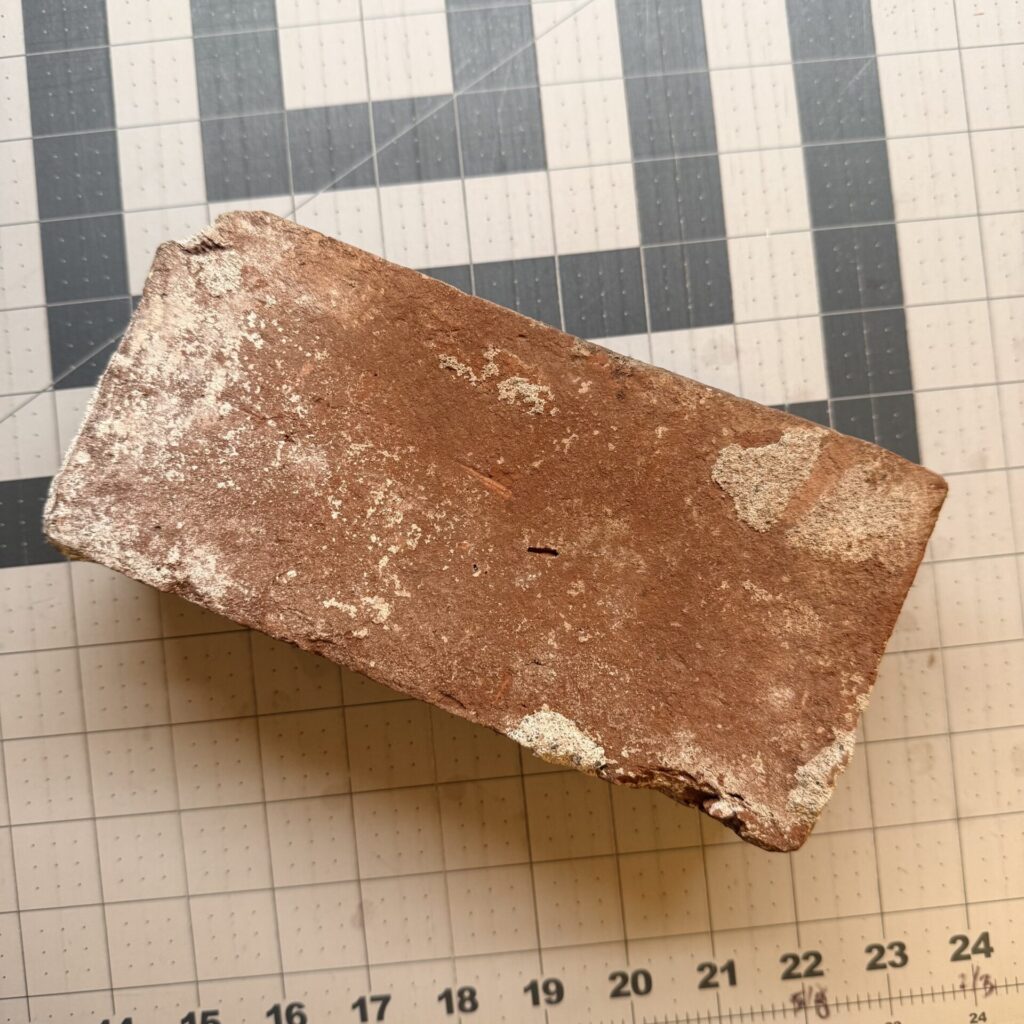
Machine Foot Control Stabilizer – This version works well and is much better looking than my brick.
A Brick. Yep – you read that right. I’ve been hauling this brick around for years. It sits on the floor under my machine table and the foot control is positioned against it. The foot control stays where it’s supposed to and I can focus on my stitching. It’s a free/cheap alternative that may not be the right tool for everyone but it works for me.
Binding Storage
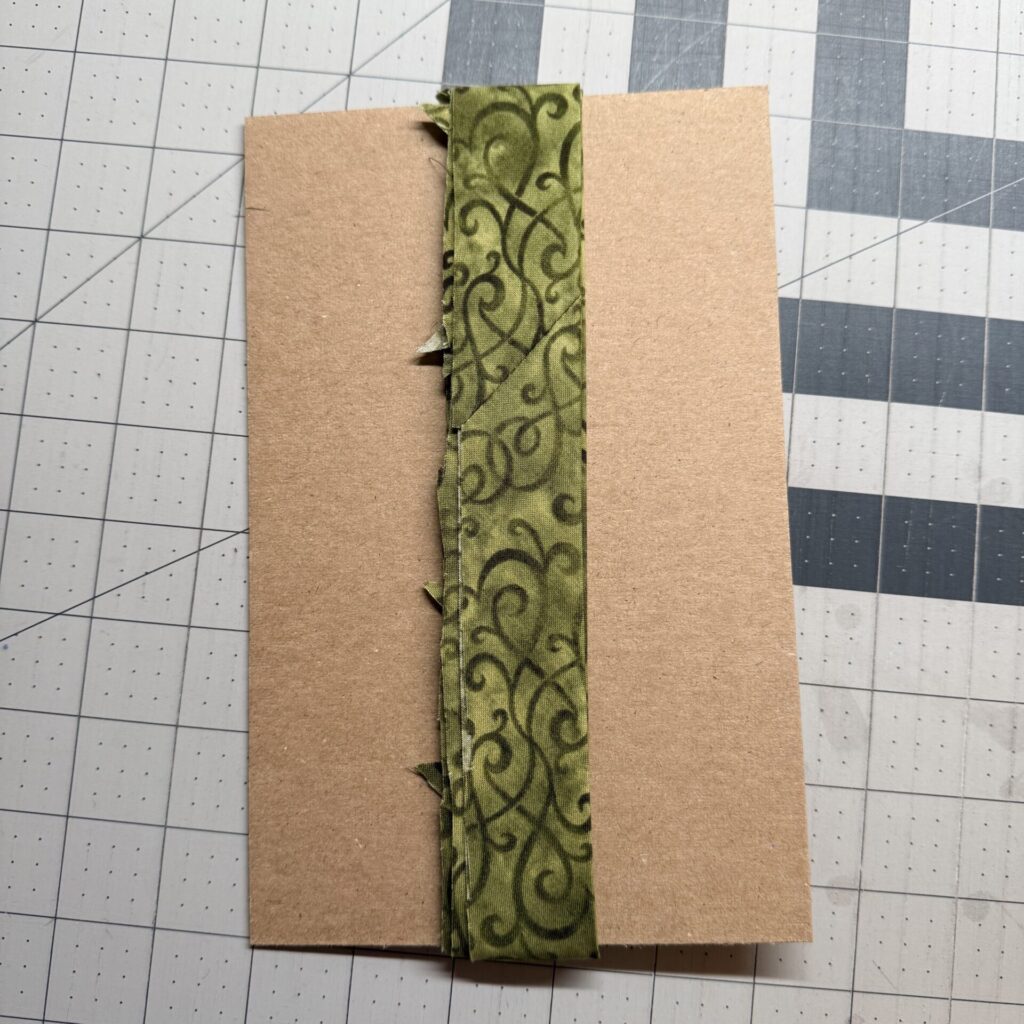
Recycled Chipboard. I’ve used these to wrap binding around for years. The size that comes off the back of a notepad works well. I can store 3 or 4 bindings on it. It’s a little bulky and it works but isn’t my favorite solution.
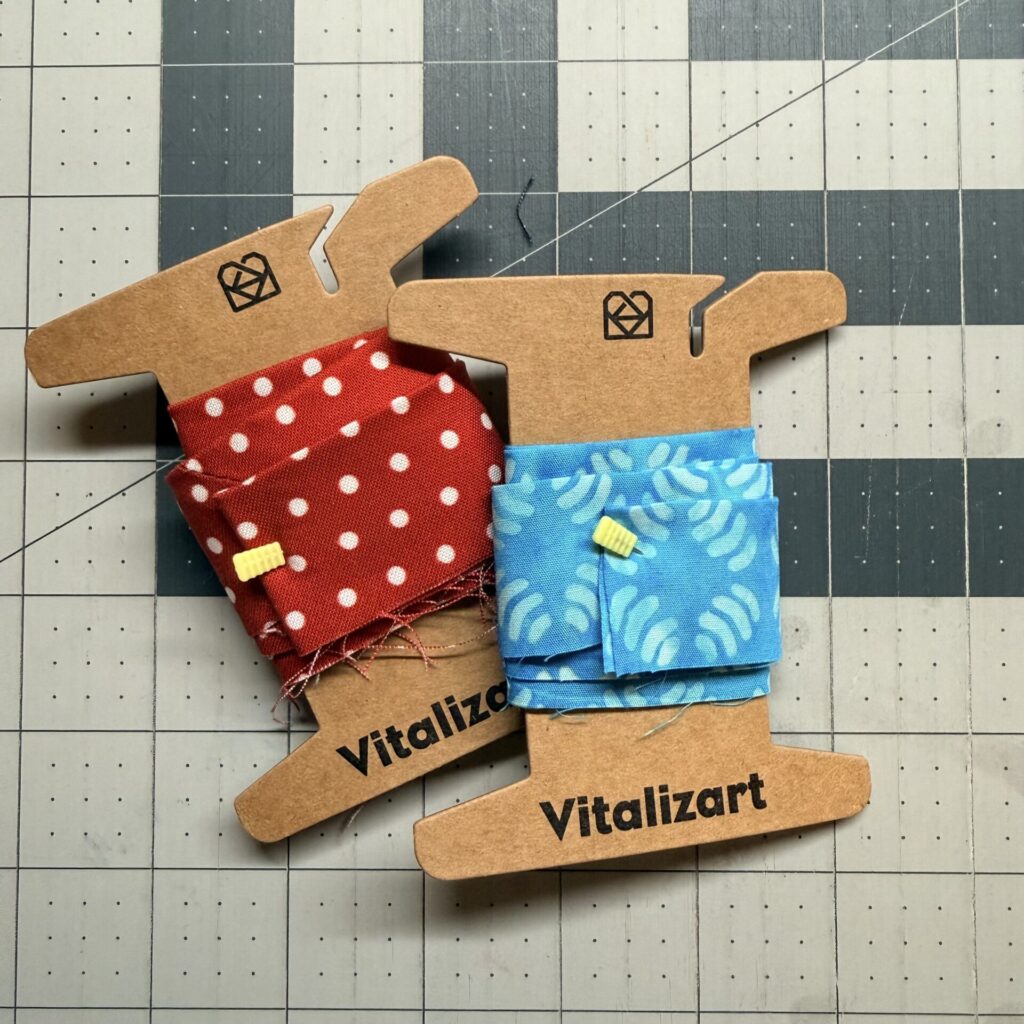
Ribbon Storage Cards – I LOVE these funny shaped little cards and use them to store all my leftover binding strips. Everything stays nice and neat, and I can easily find the one I’m looking for.
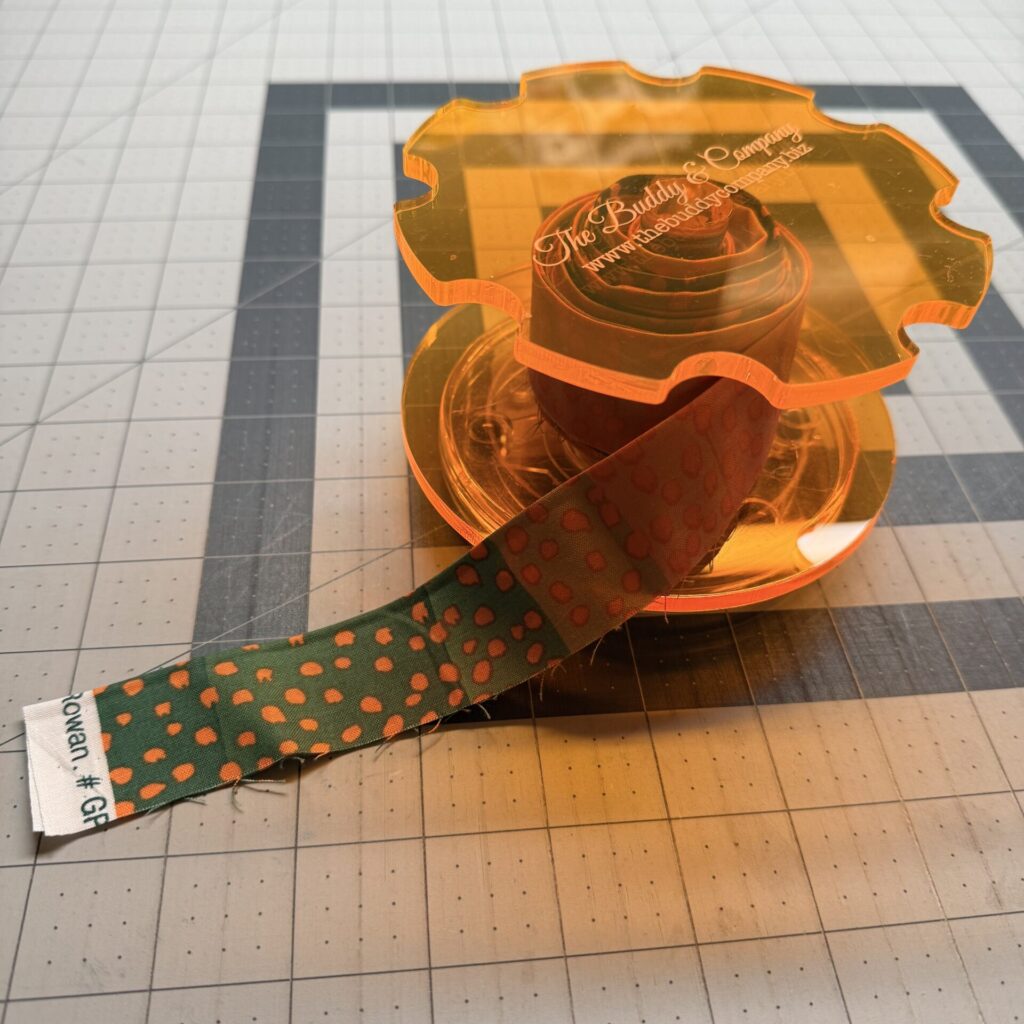
Binding Winder. I found this amazing binding storage winder at a wholesale show years ago. It uses ball bearings to easily turn in either direction. I position it at the end of my pressing station when I’m making a binding for a quilt and tape one end of the pressed binding to the center column. As I press the binding, I turn the wheel, and the binding is rolled onto the winder. At the machine, I reverse the process, and as I stitch the binding to the quilt, it slowly rolls off the wheel without tangling. This version isn’t made anymore, but if I find another version that works this well, I’ll share it with you.
Ironing Board
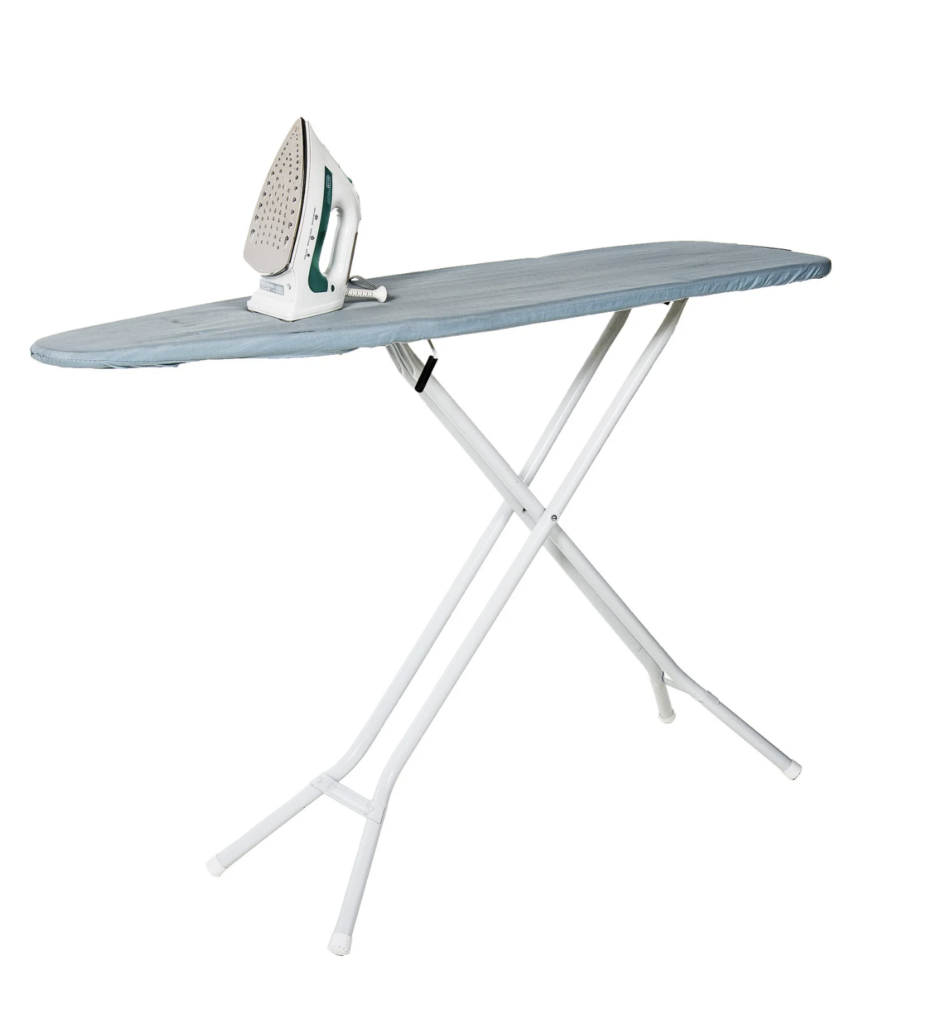
Standard Ironing Board. I have banished this beast from my sewing space. It’s back in the laundry room where its weird shape is actually helpful. I suppose if I had a much larger sewing space, I wouldn’t have such strong feelings about this normally useful ironing board.
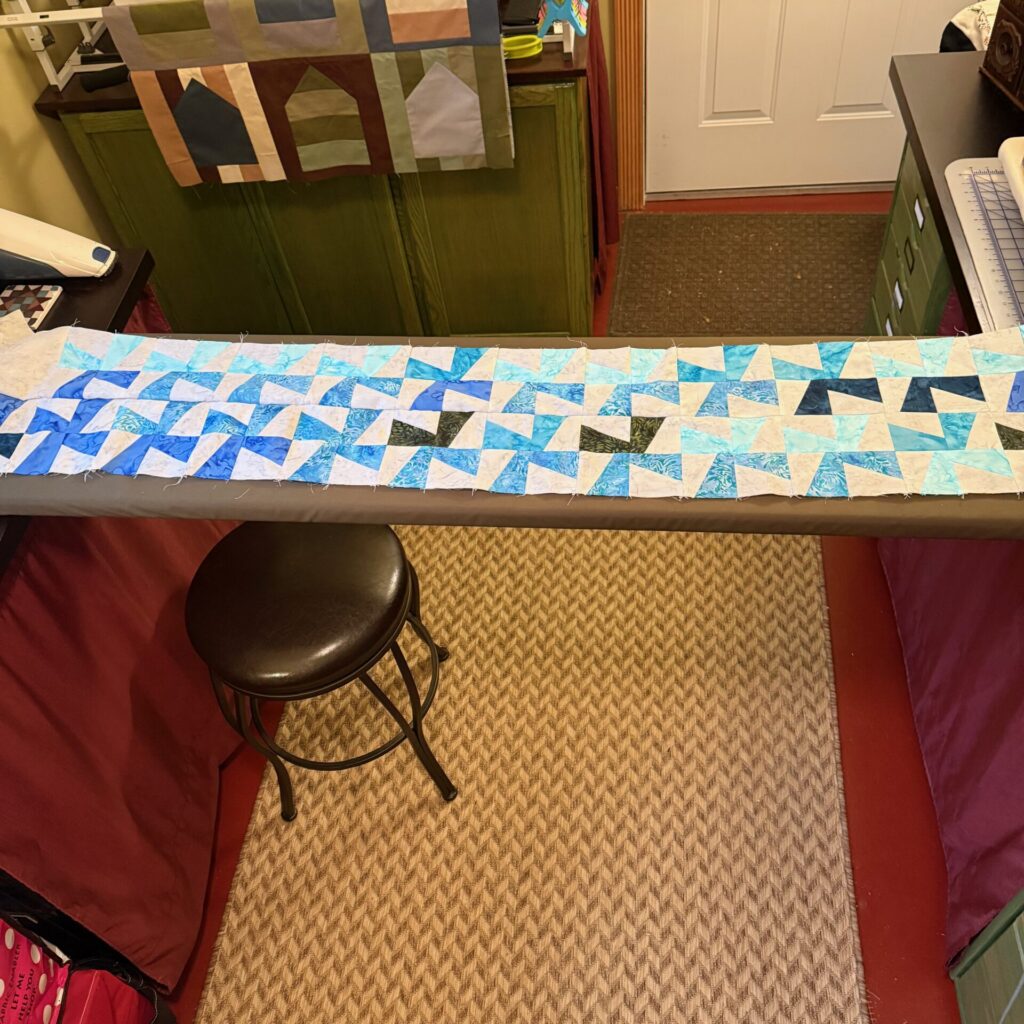
My DIY Ironing Board. This started as a long shelf that I wrapped with batting, some heat-reflective ironing board fabric, and a heavy canvas fabric. All of that was stapled into place. At a little over 52″ long and about 15″ wide (with no rounded end), I can press fabrics up to 52″ wide with no trouble at all. Pressing my quilt tops and backing takes a fraction of the time it used to take. Because my room is very narrow, I rest one end of the board on one cabinet and the other across the room on another cabinet. I store it on end behind the door when I’m not using it.
Quilting Tools: When to Save and When to Splurge
There’s no one “right” answer when it comes to spending money on quilting tools. What matters is finding the balance that works for you, your sewing habits, your hands, and your budget.
Maybe you love a particular brand of ruler but are perfectly content with an inexpensive seam ripper. Perhaps a specialty foot has transformed your sewing, while a homemade pressing tool does everything you need. Or maybe you’ve discovered that spending a little more on something that feels good in your hands makes all the difference in how much you enjoy your time at the machine.
I’d love to hear about your own quilting tool trade-offs!
Where do you get thrifty, and which tools are non-negotiable for you? Share the tools you save on, the ones you’re willing to splurge on, and why they make sense for your quilting. I’ll gather your ideas and share some of them in a future Quiltblox blog post and newsletter. It will be fun to see how differently we all approach making the most of our quilting dollars!
More reading on the subject of Quilting Tools:
Essential Tools We Need to Update Once in a While
Overcoming Challenges: Sewing With Tired or Arthritic Hands
My DIY Quilter’s Ironing Board
Tips and Tools to get Perfect 1/4″ Seams
Happy Stitching!